Project Kit
Bill of Materials
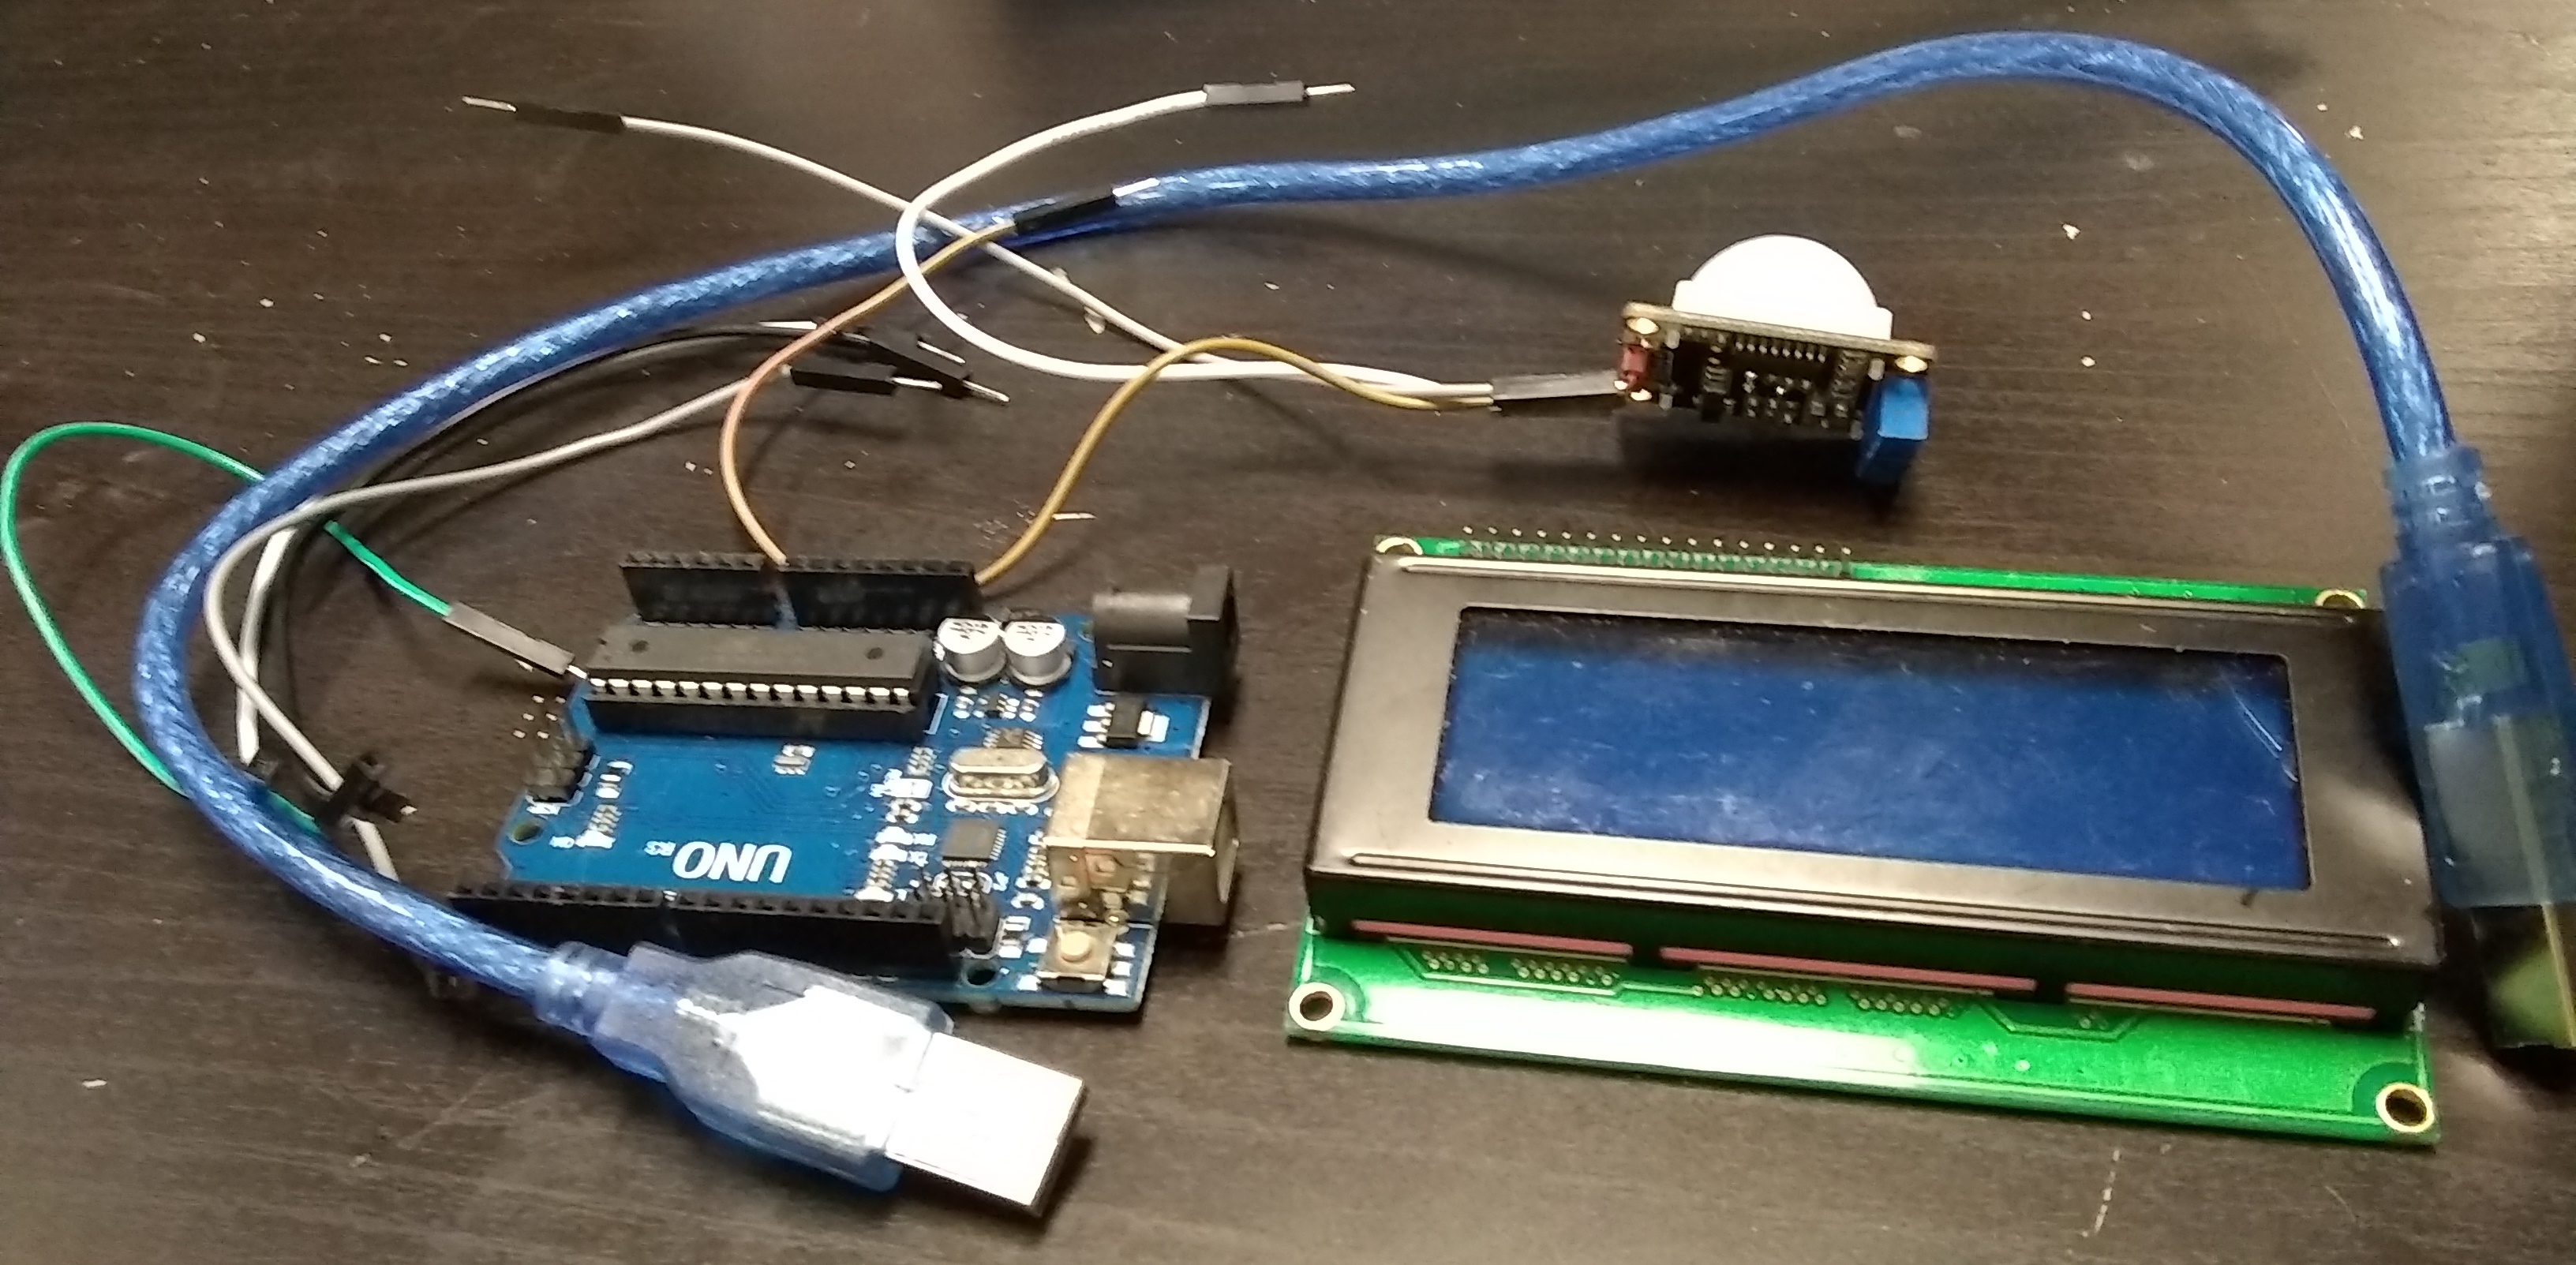
- 1 x Arduino Uno
- 7 x jumper wires (male to female)
- 1 x usb type b cable
- 1 x passive motion sensor for the class
- 1 x lcd screen that uses an I2C Bus
Steps
Before you begin be sure you have the arduino ide installed. You might want to review the class presentation if you found this on the internet.
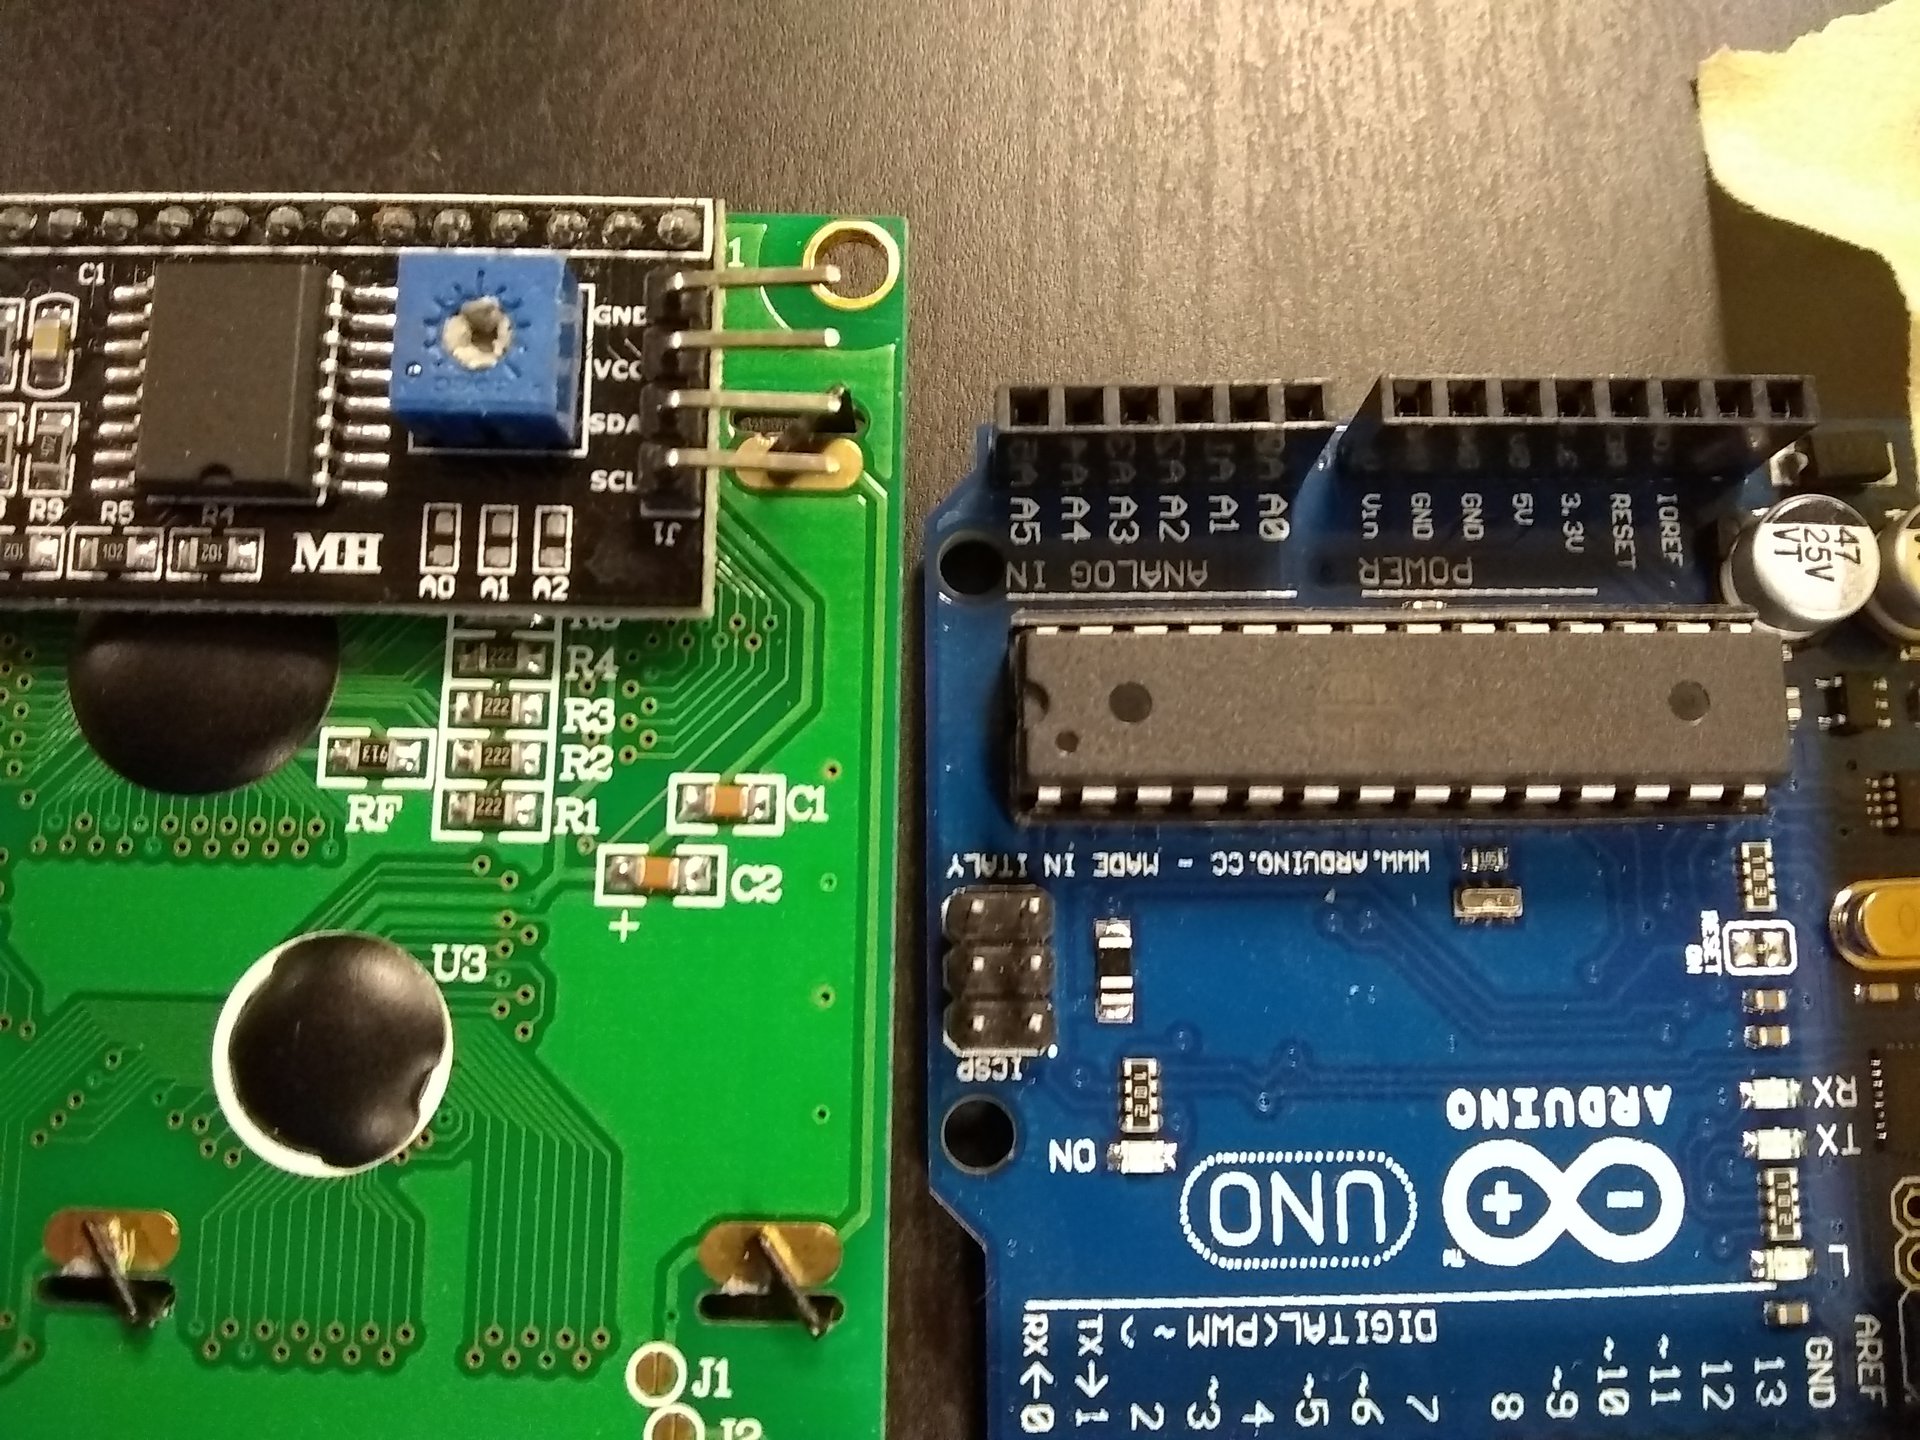
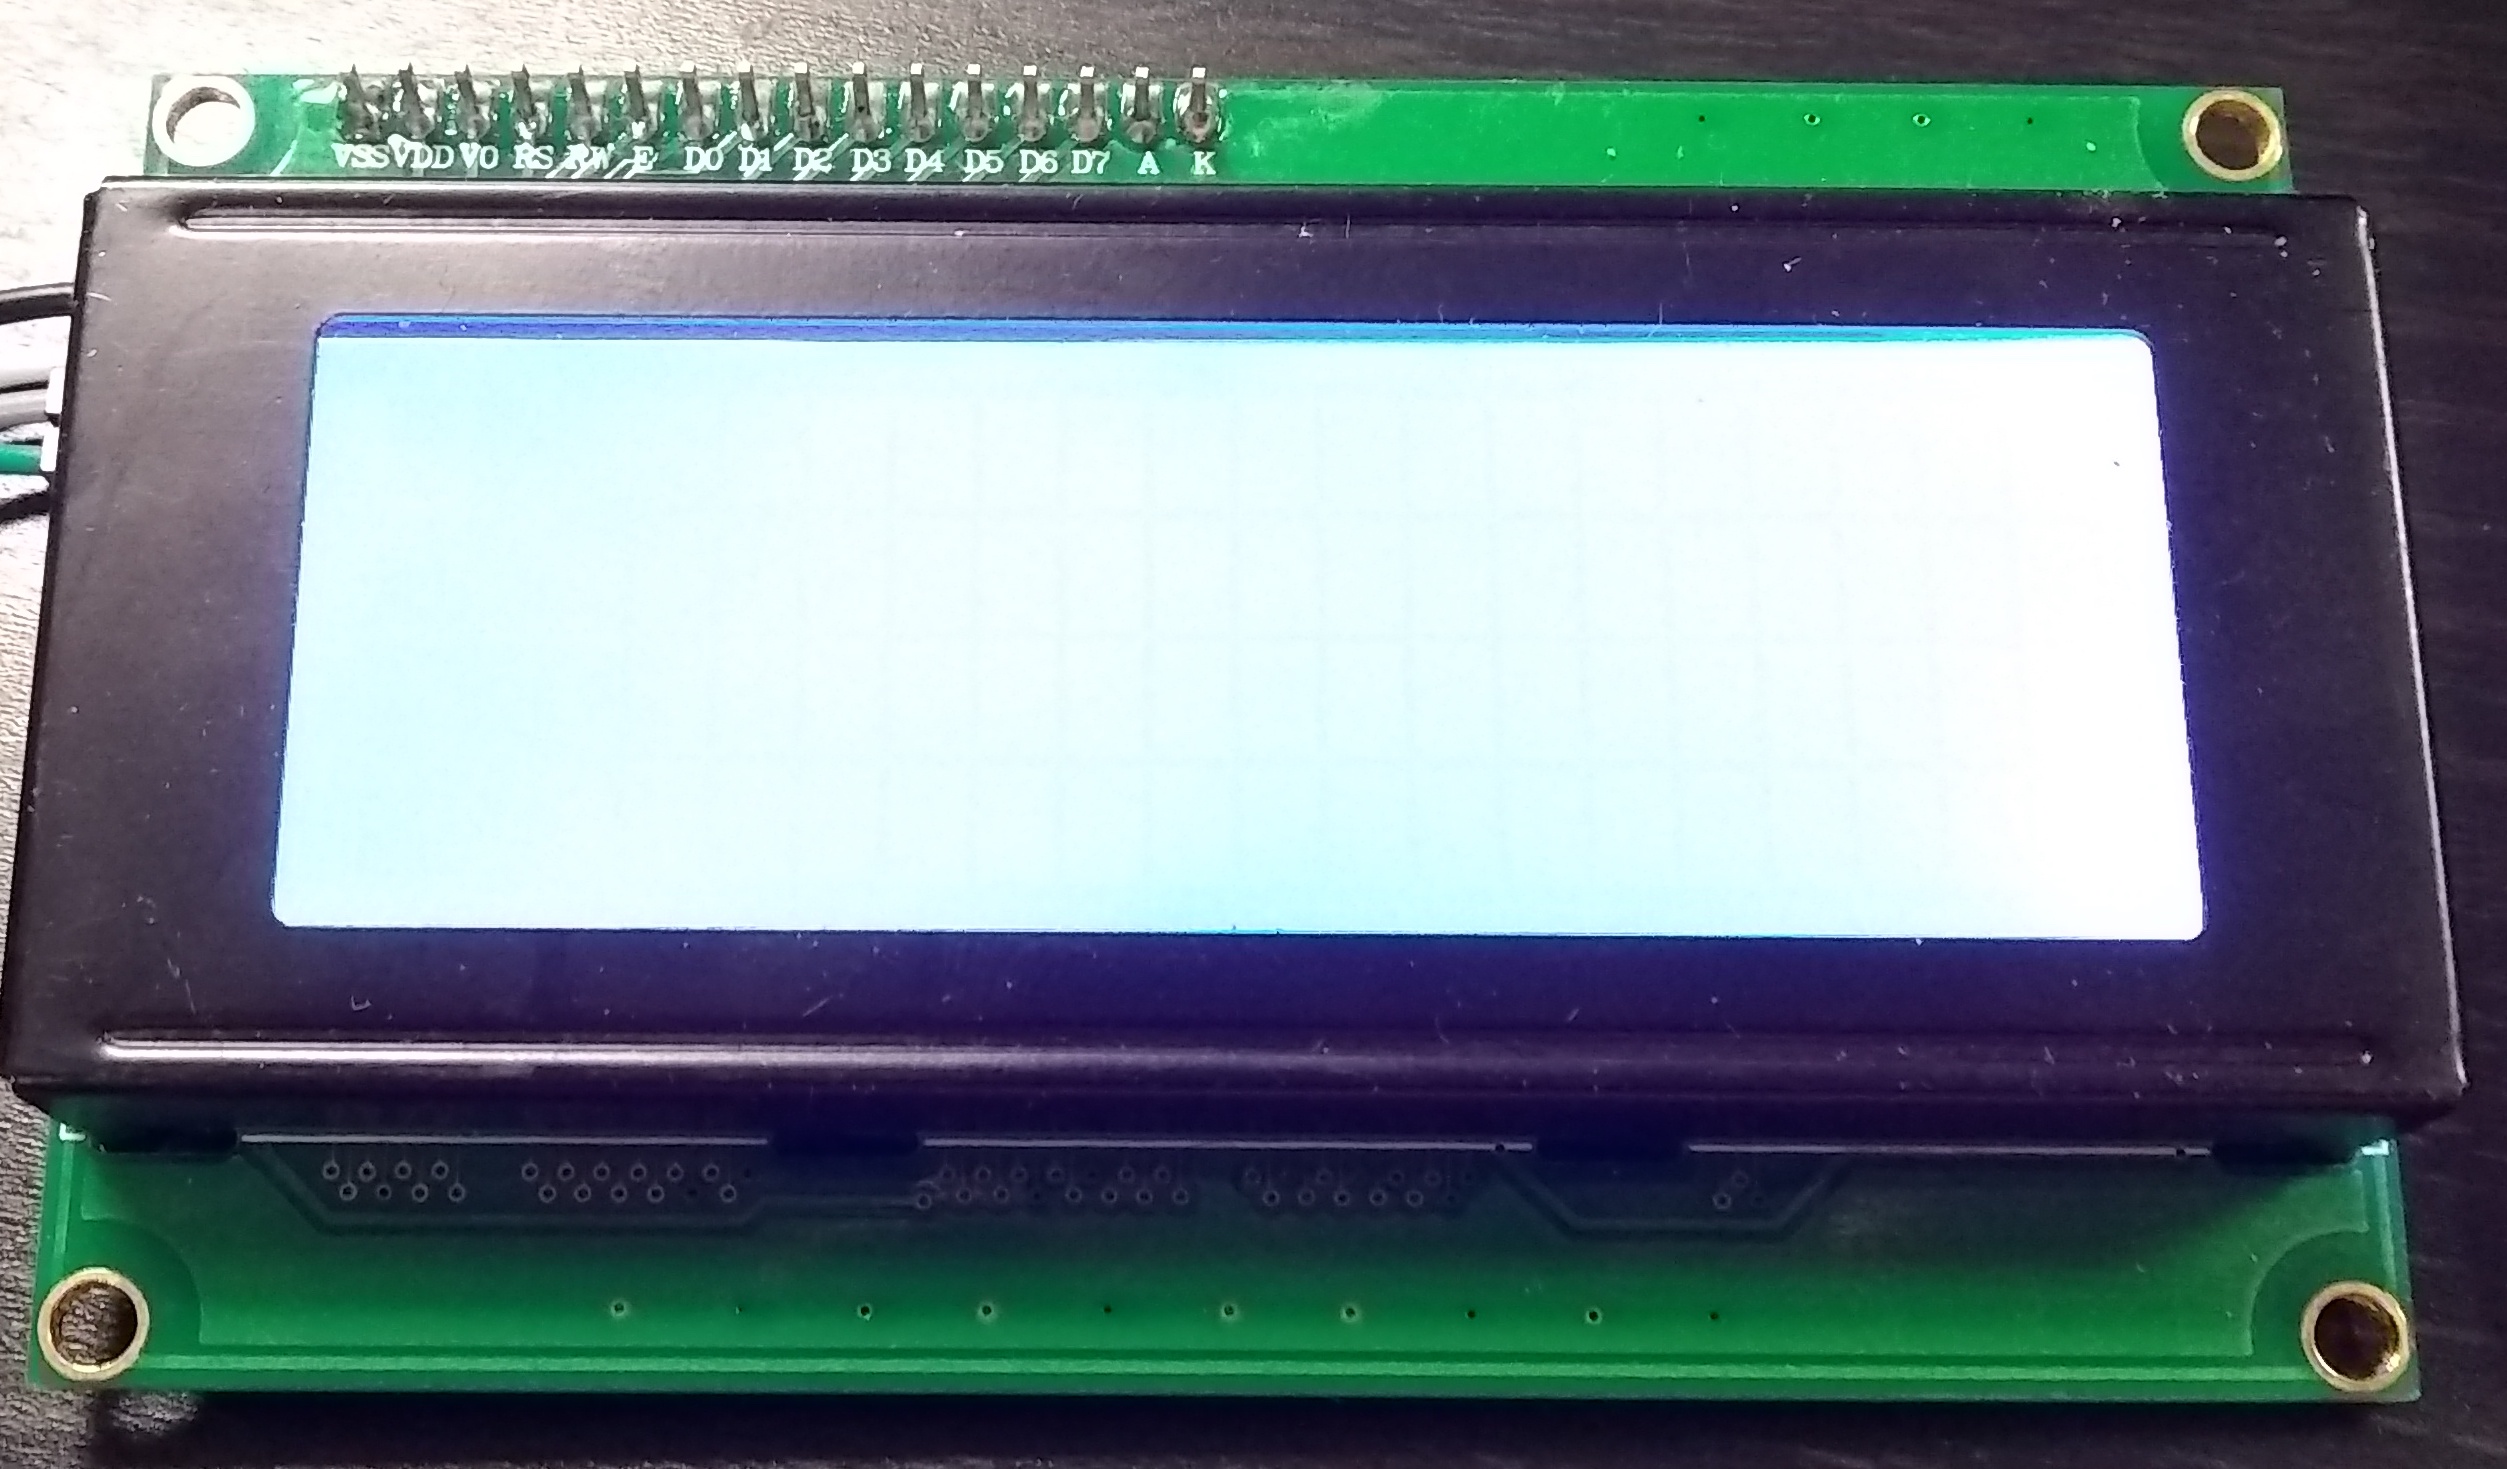
1) Turn the lcd screen on it’s back side and notice that it 4 pins connected to it. You can read more about it here
- ground (gnd)
- vcc (volts / +)
- sda (Serial Data Line)
- slc ( Serial Clock Line)
2) Take one of the wires and plug it into ground of the lcd screen and ground of the arduino.
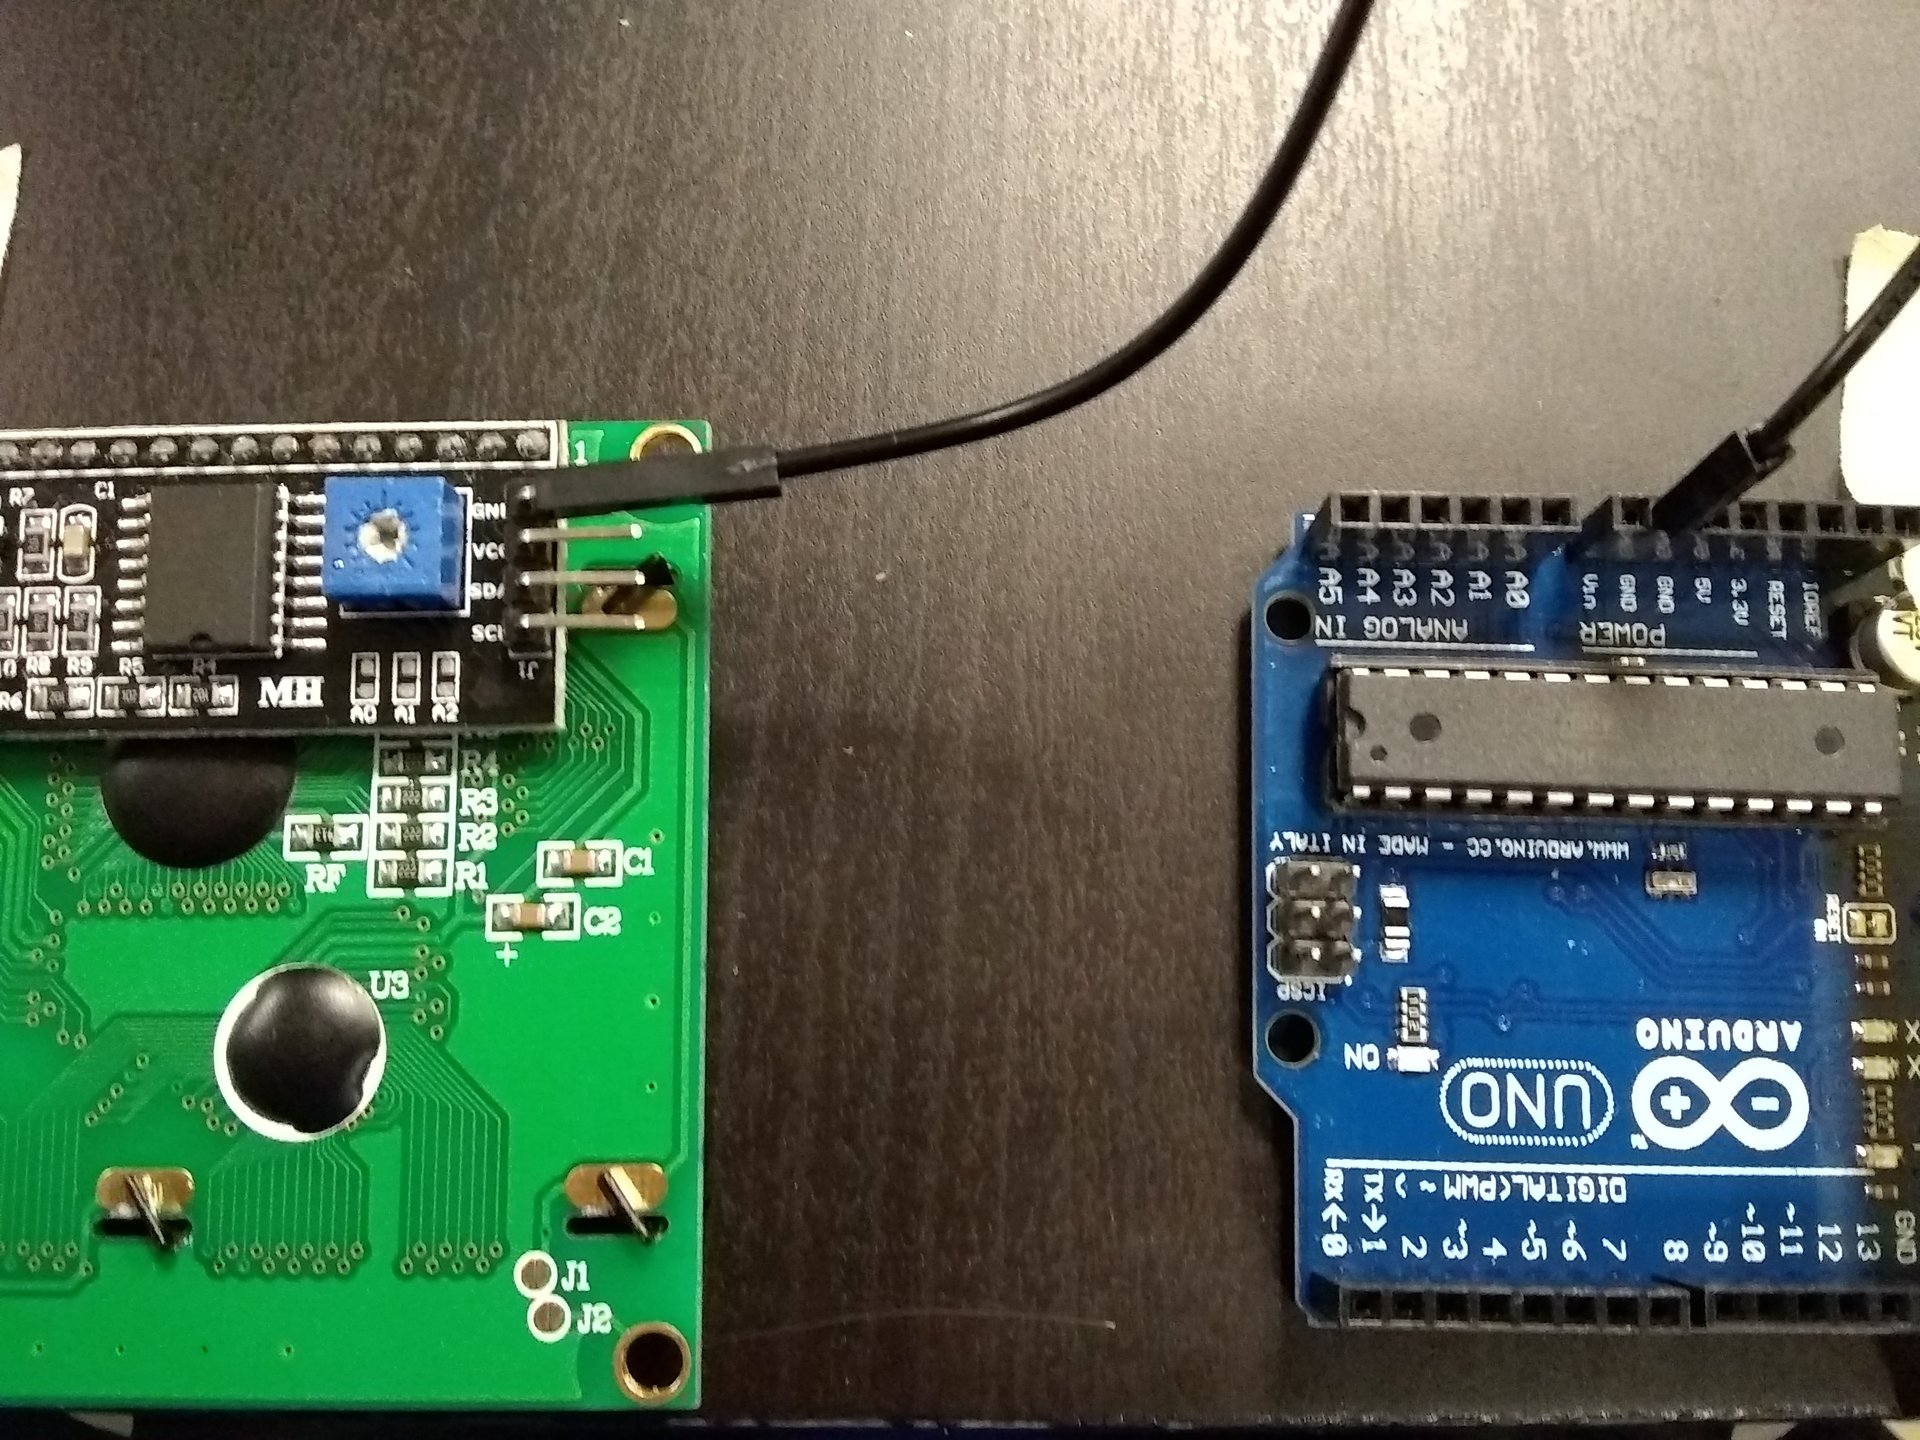
3) Take one of the wires and plug it into vcc of the lcd screen and 5v of the arduino.
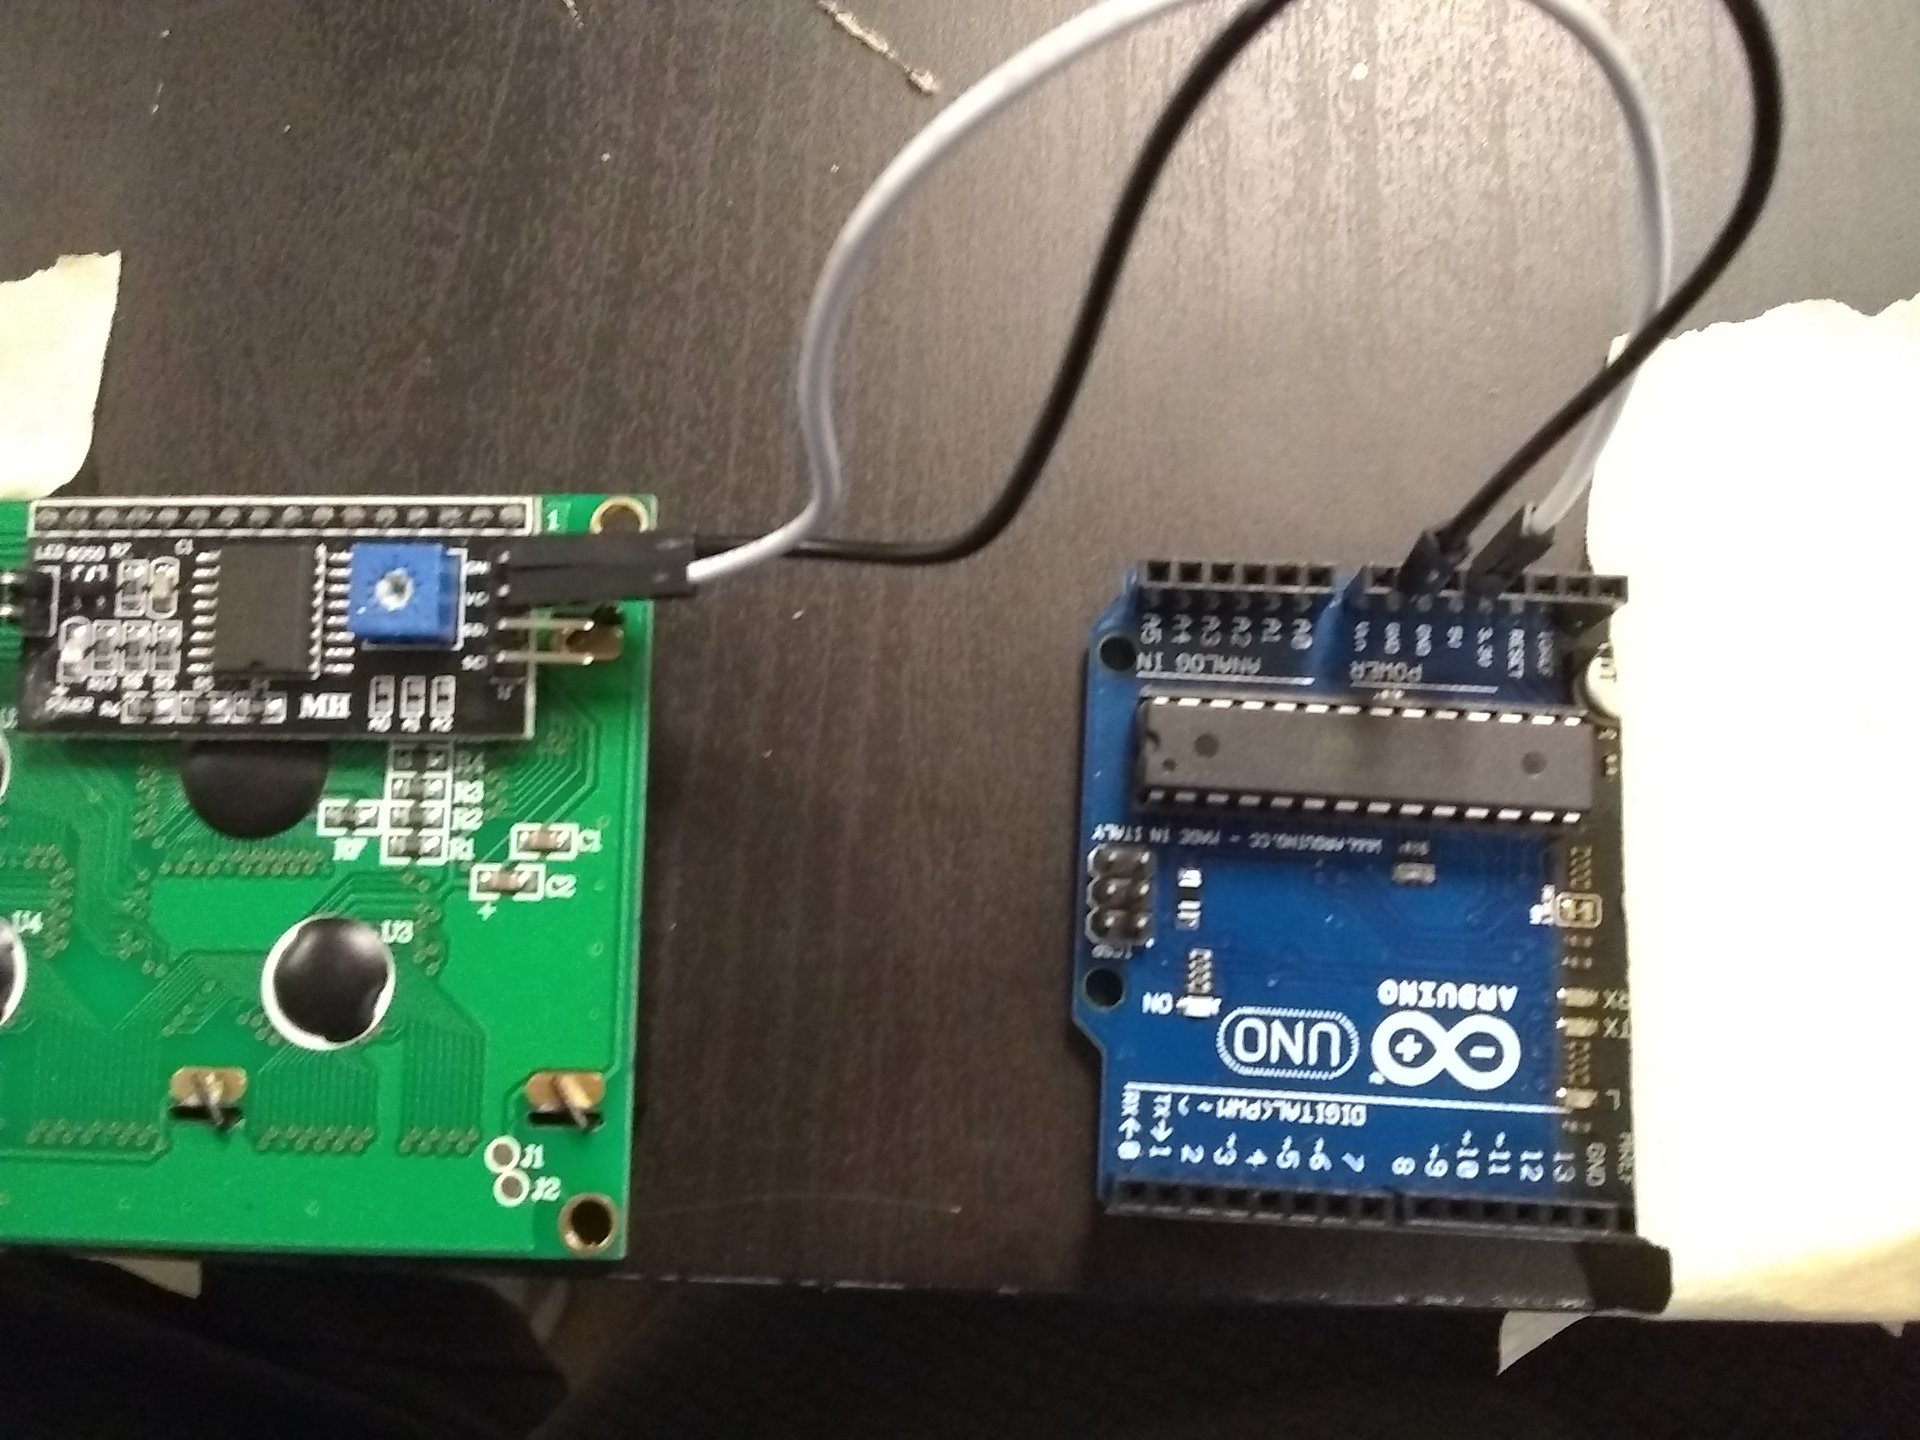
4) Take one of the wires and plug it into sda of the lcd screen and A4 of the arduino.
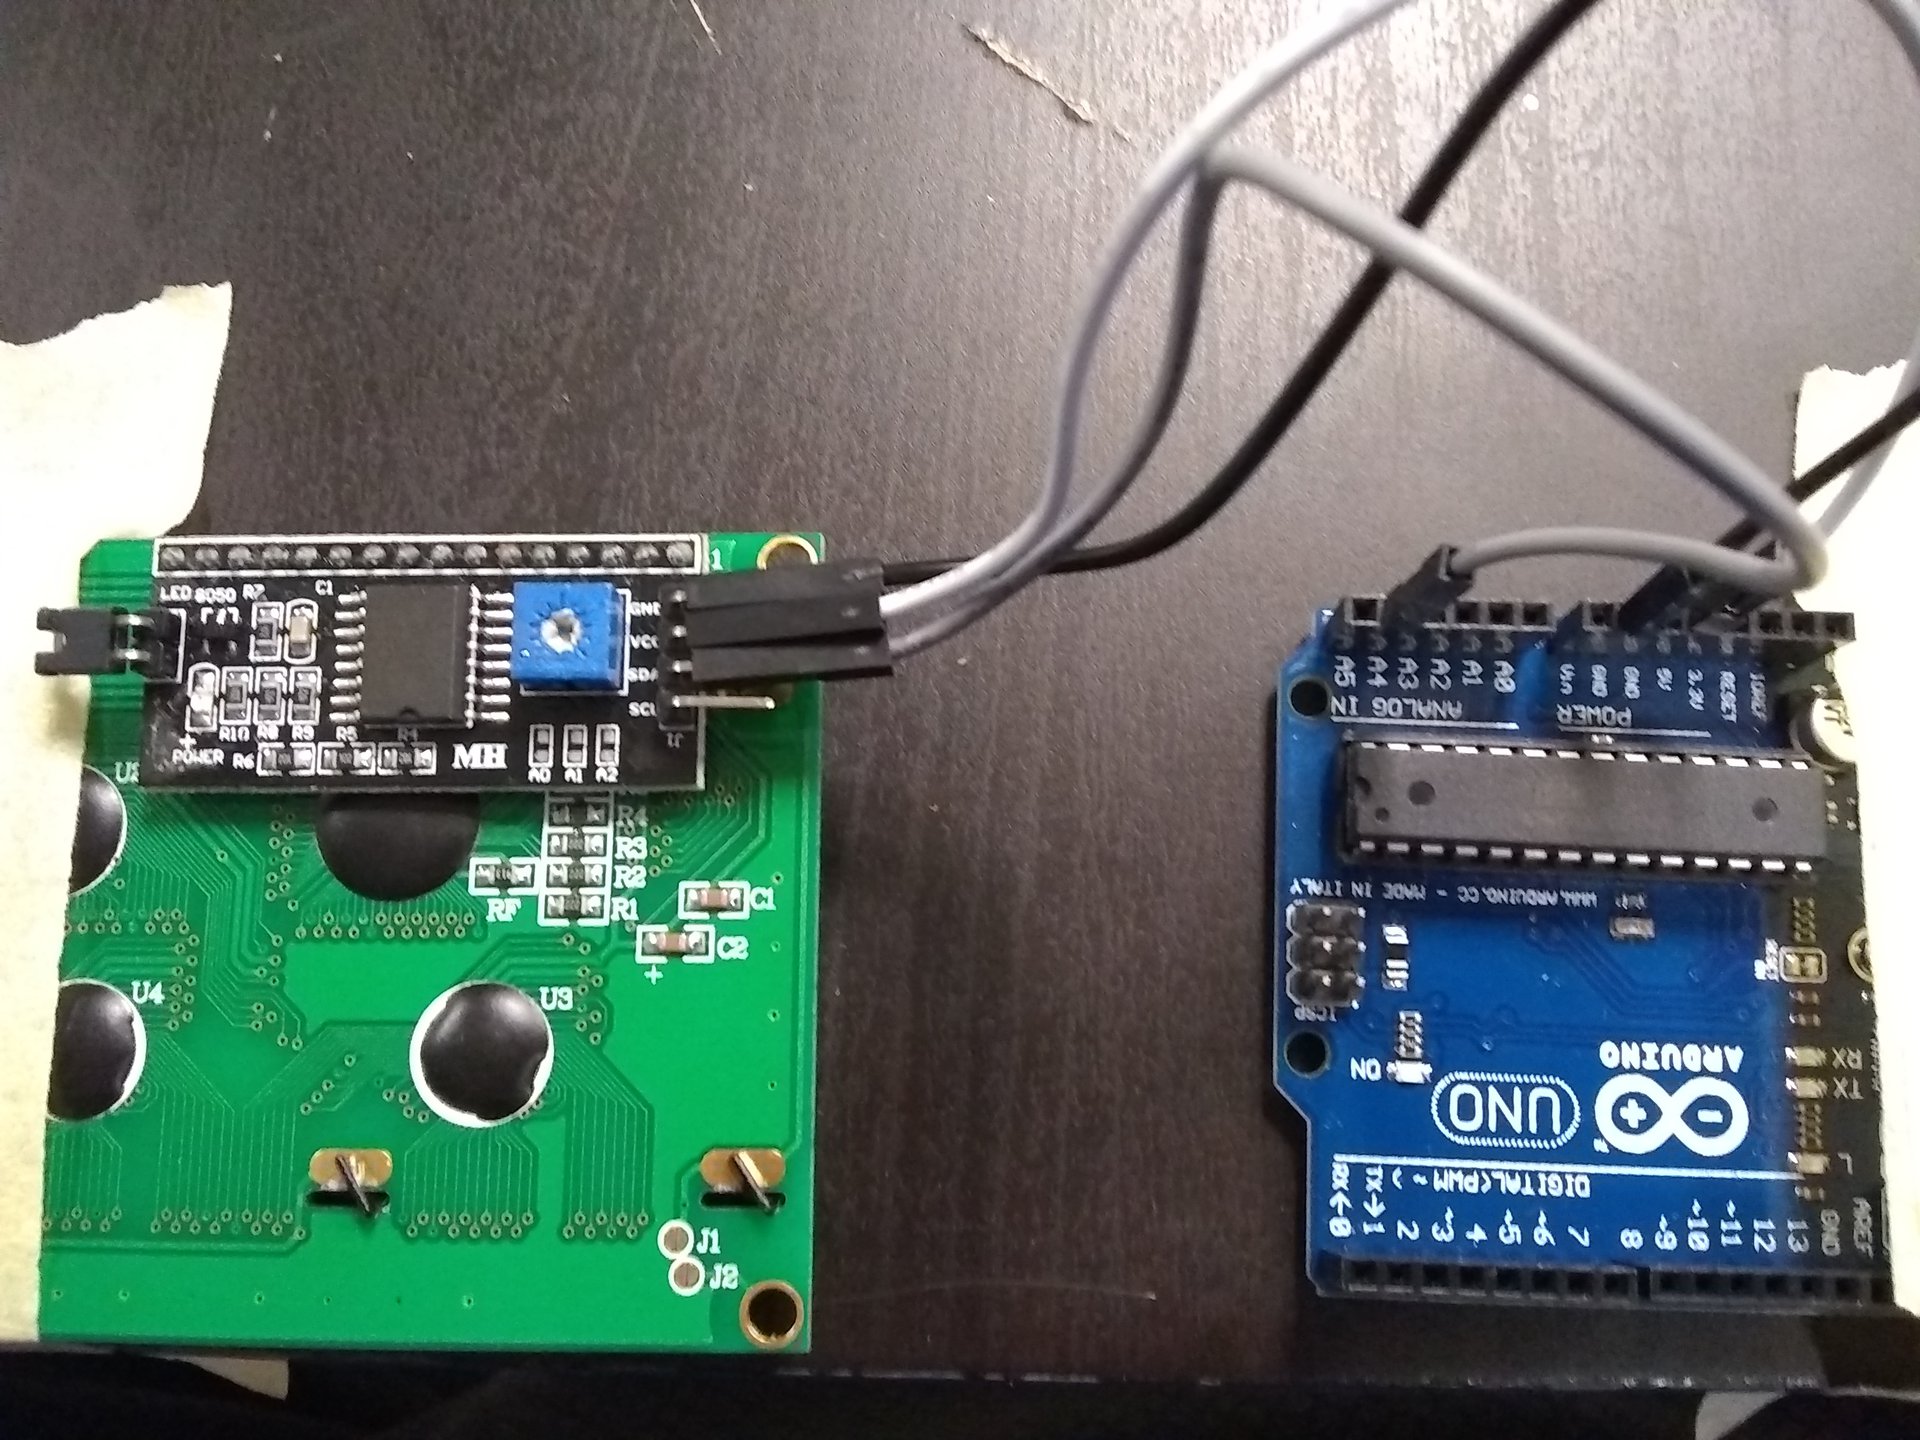
5) Take one of the wires and plug it into scl of the lcd screen and A5 of the arduino.

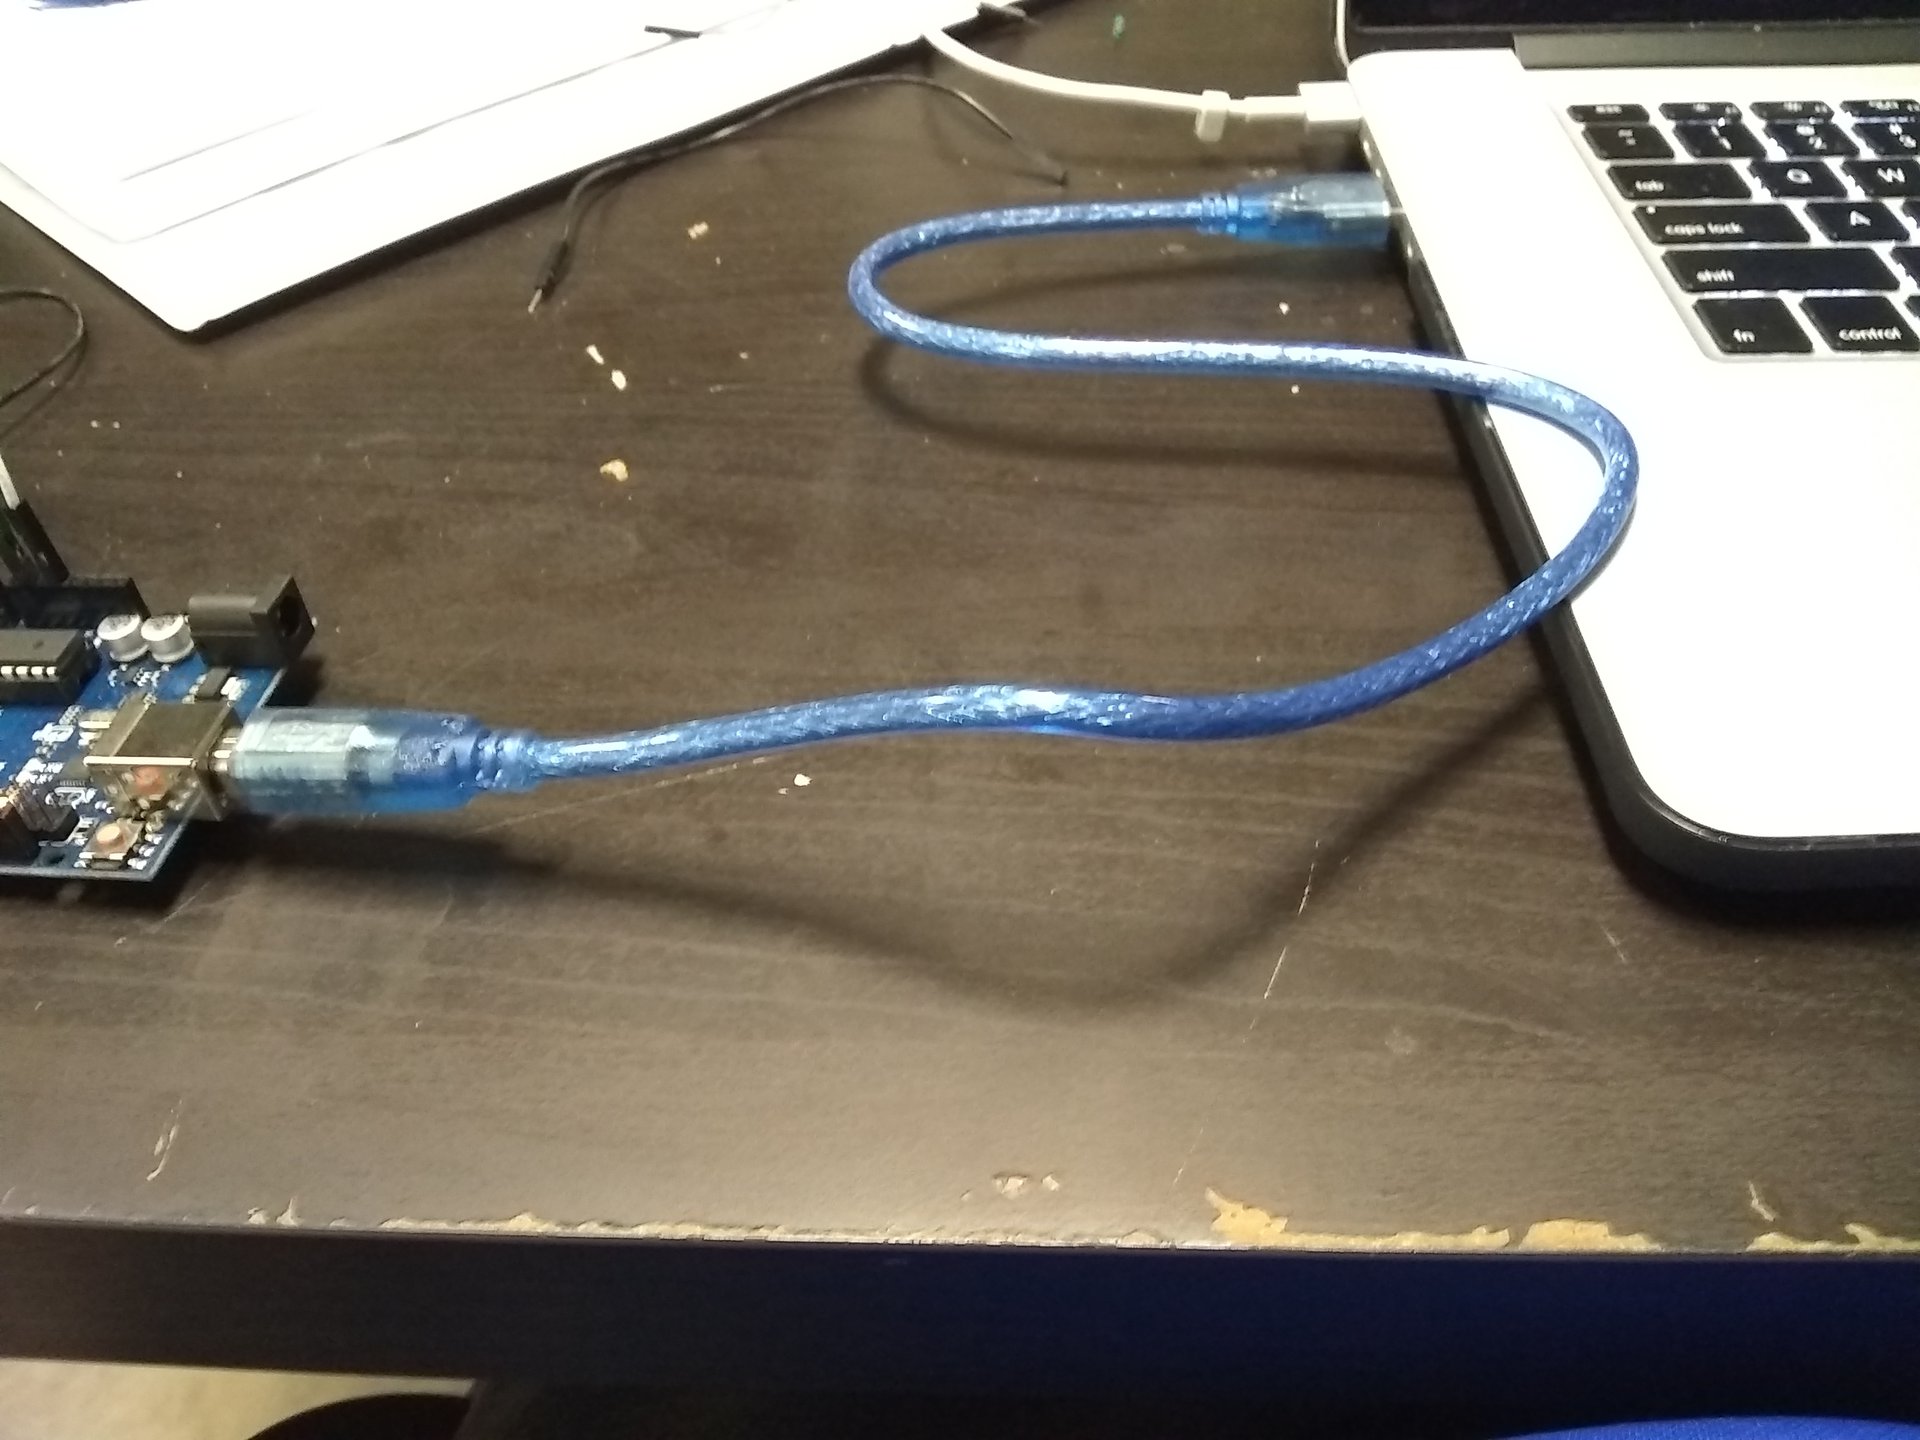
6) Take the arduino and plug it into the computer.
7) Open the arduino ide and paste in this code.
#include <Wire.h>

#include <LiquidCrystal_I2C.h>

LiquidCrystal_I2C lcd(0x3F, 4, 20);

void setup() {
    lcd.init();
}


void loop() {
  lcd.backlight();
  delay(1000);
  lcd.noBacklight();
  delay(1000);
}
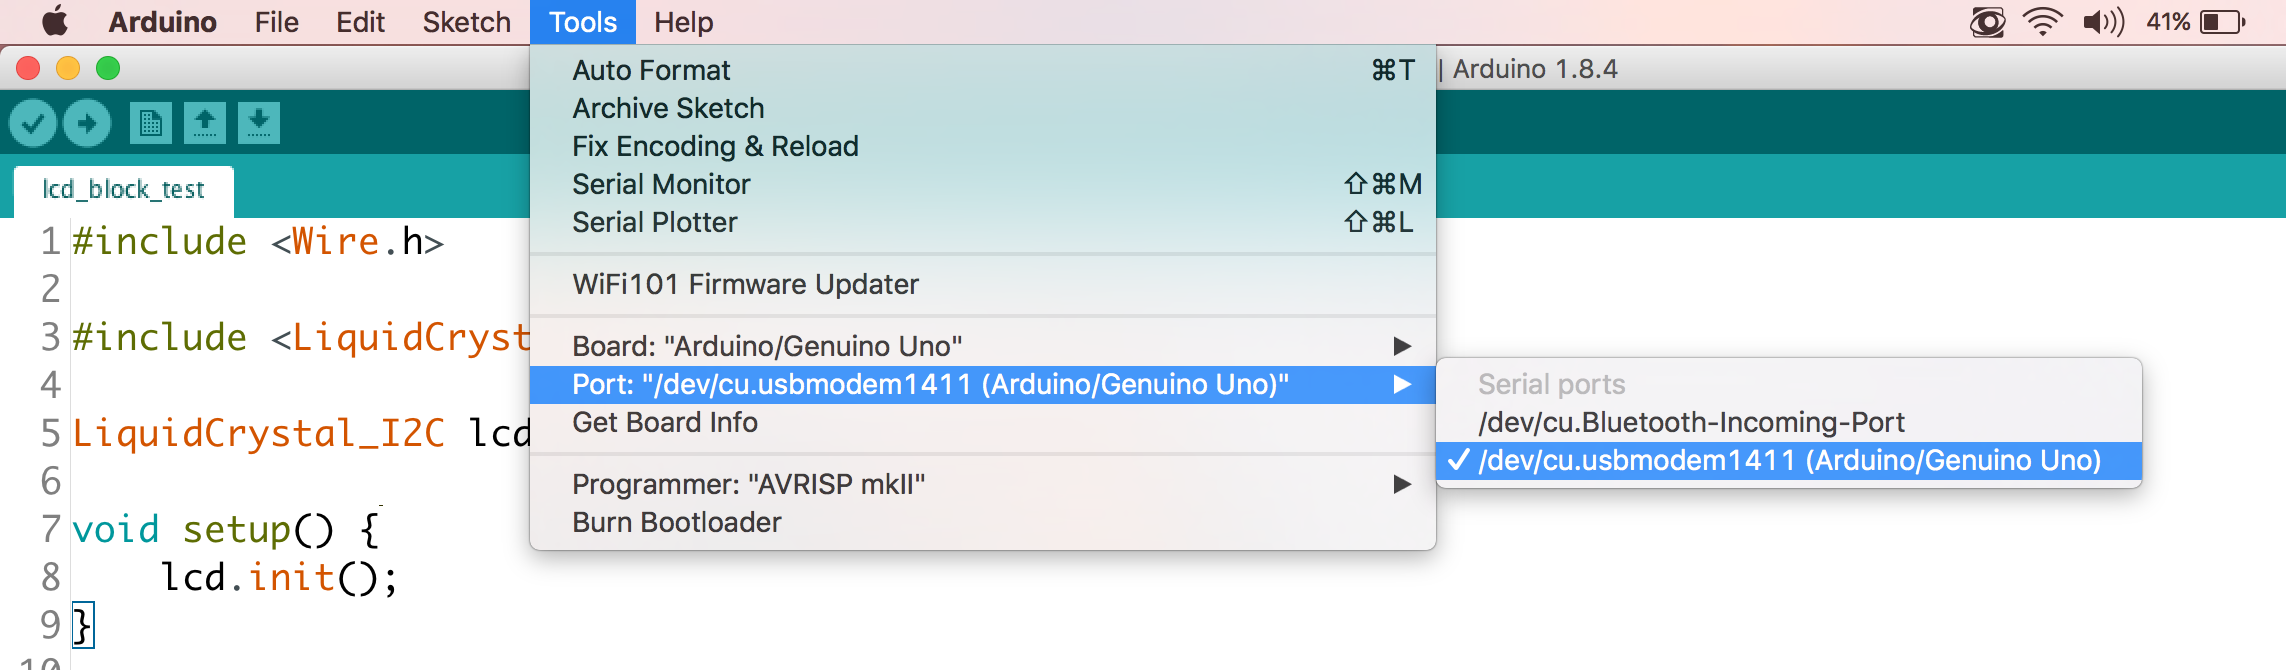
8) Open the tools -> ports and select the arduino connected to the usb port.
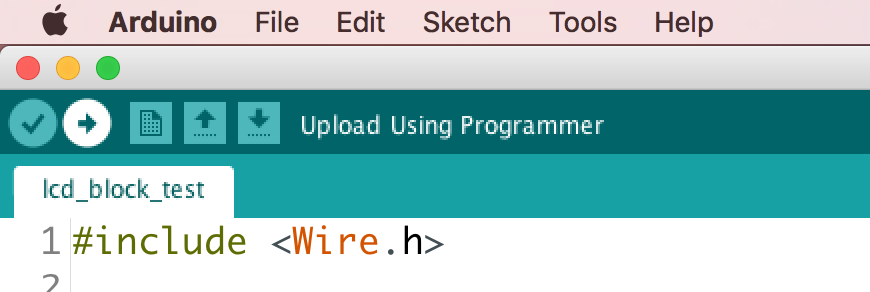
9) Then click the upload button and upload your sketch to the arduino. (The upload button looks like an arrow.)
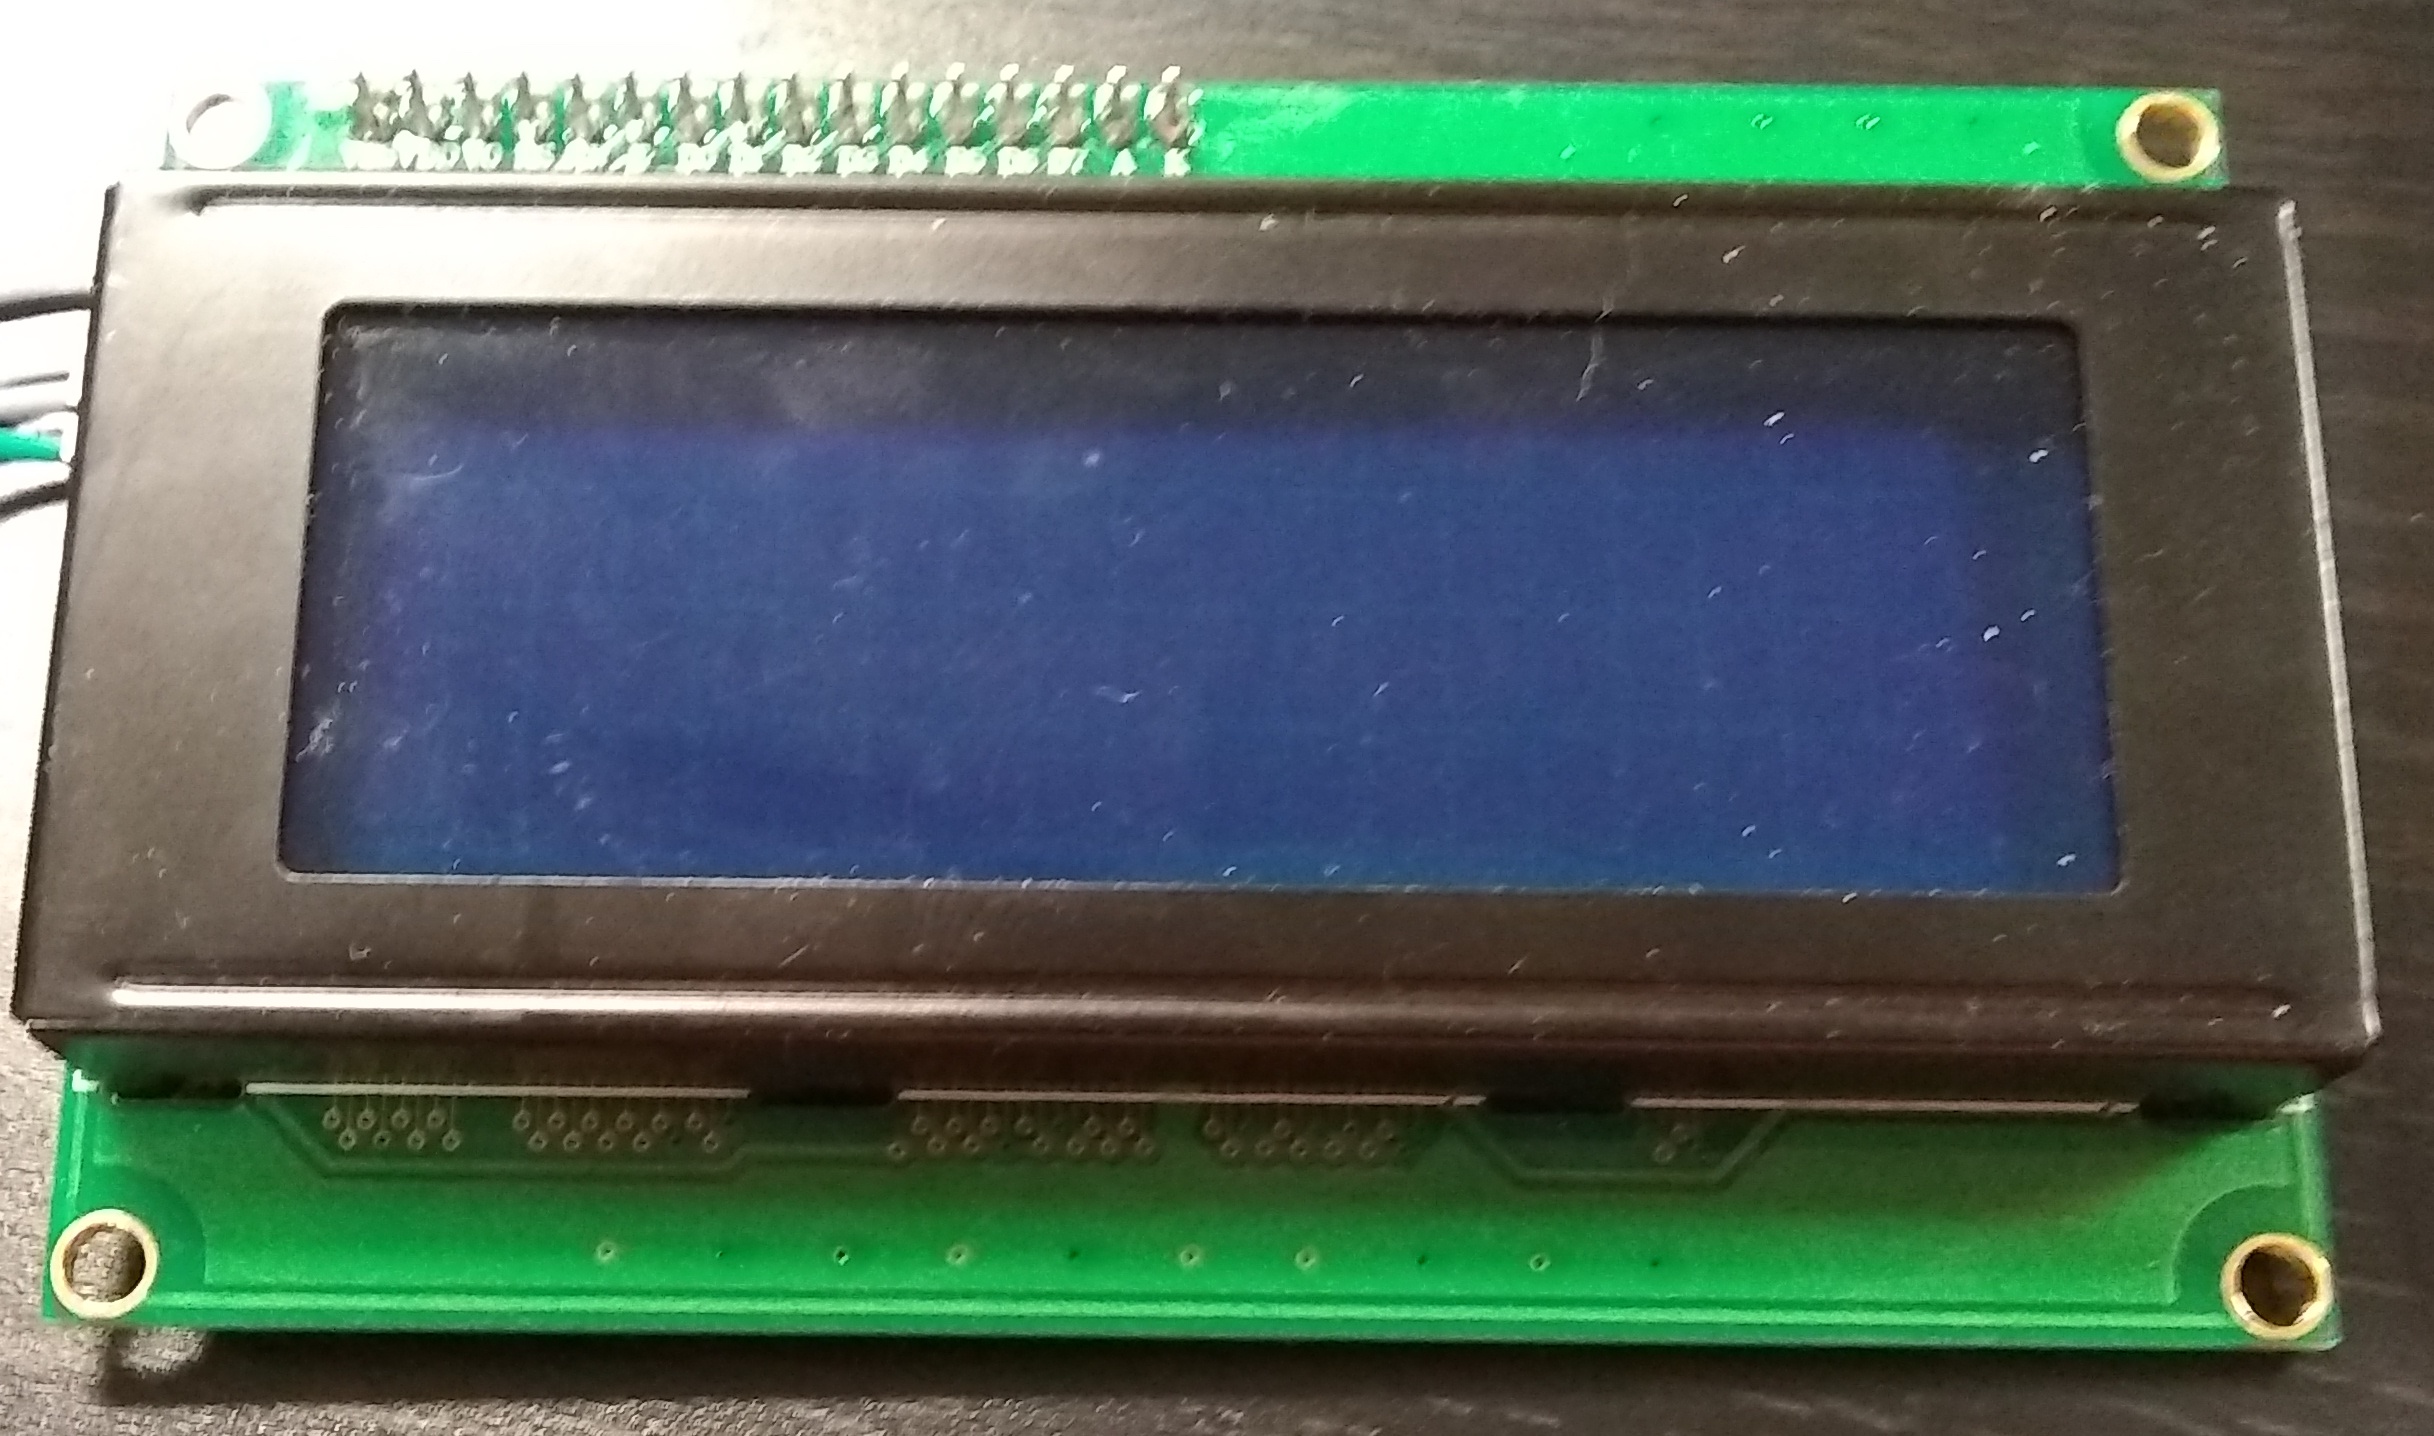
10) Now the backlight should go on and off every 1 second. If you want to see the text you will have to keep the back light on.
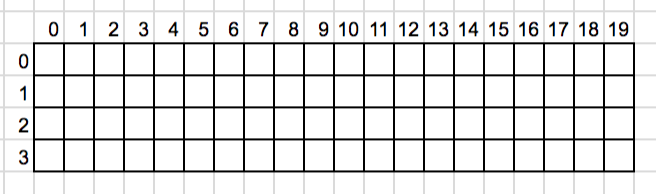
Now we are going to learn how to print something on screen. So in the lcd is a grid system that is 0 based. Meaning the number start a 0. The lcd that we are using for this class has 4 rows and 20 columns. A column is on the x axis, meaning it is used to specify something to the left or to the right. A row is on the y axis, meaning it is used to specify something up or down. This is not like a normal numbering system because as you go down the y axis numbers go up.
(Challenge) Can you tell me the column and row position of the colored blocks.
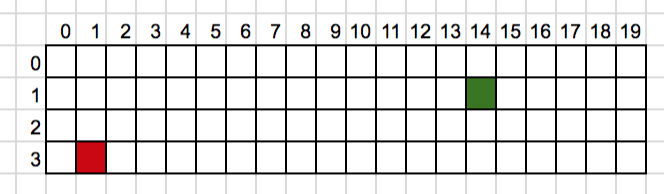
You can set the position to print using lcd.setCursor(column, row). You use lcd.print(“say something””) to print stuff onto the screen.
11) Copy the code and paste it into the arduino ide. Then upload the sketch to the arduno.
#include <Wire.h>

#include <LiquidCrystal_I2C.h>

LiquidCrystal_I2C lcd(0x3F, 4, 20);

void setup() {
    lcd.init();
    lcd.backlight();
    lcd.setCursor(0, 0);
    lcd.print("What is your name?");
}


void loop() {

}
12) (Challenge) Can you print your name on the second row of the lcd screen.
So now we are going to build off what we did in the last class. We are going to hook up the pir sensor and have it display the number of times it sensed something.
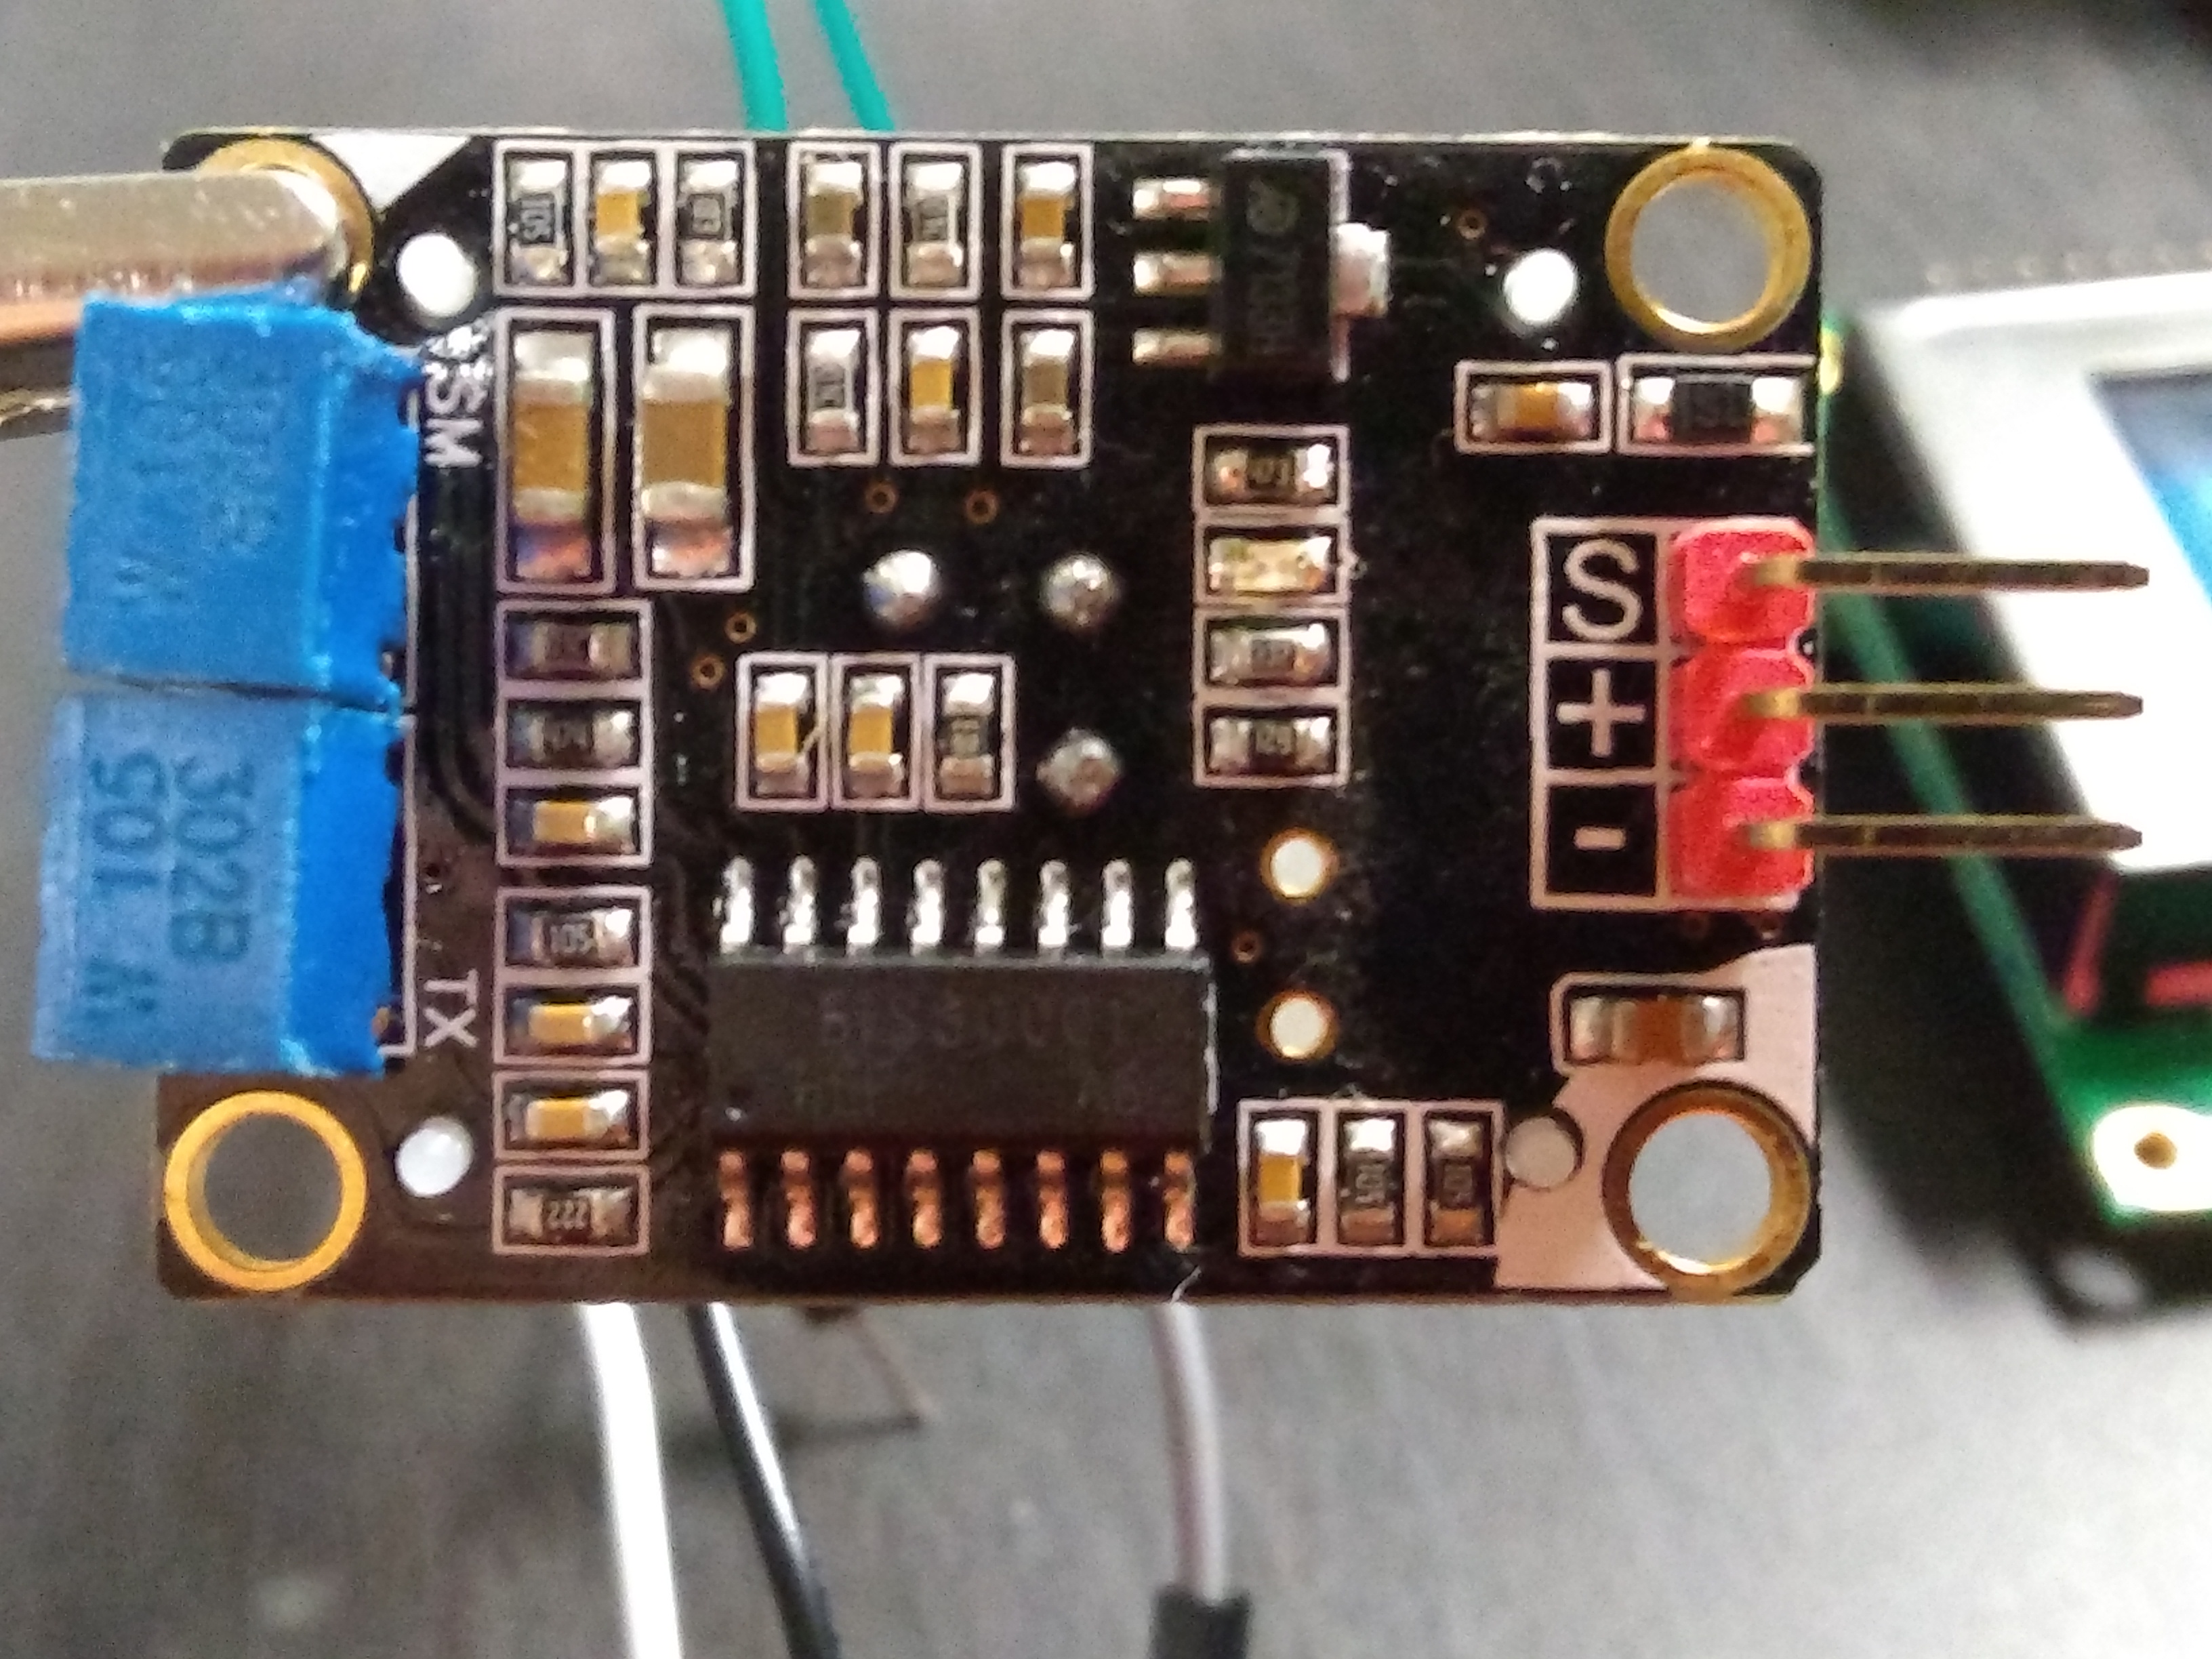
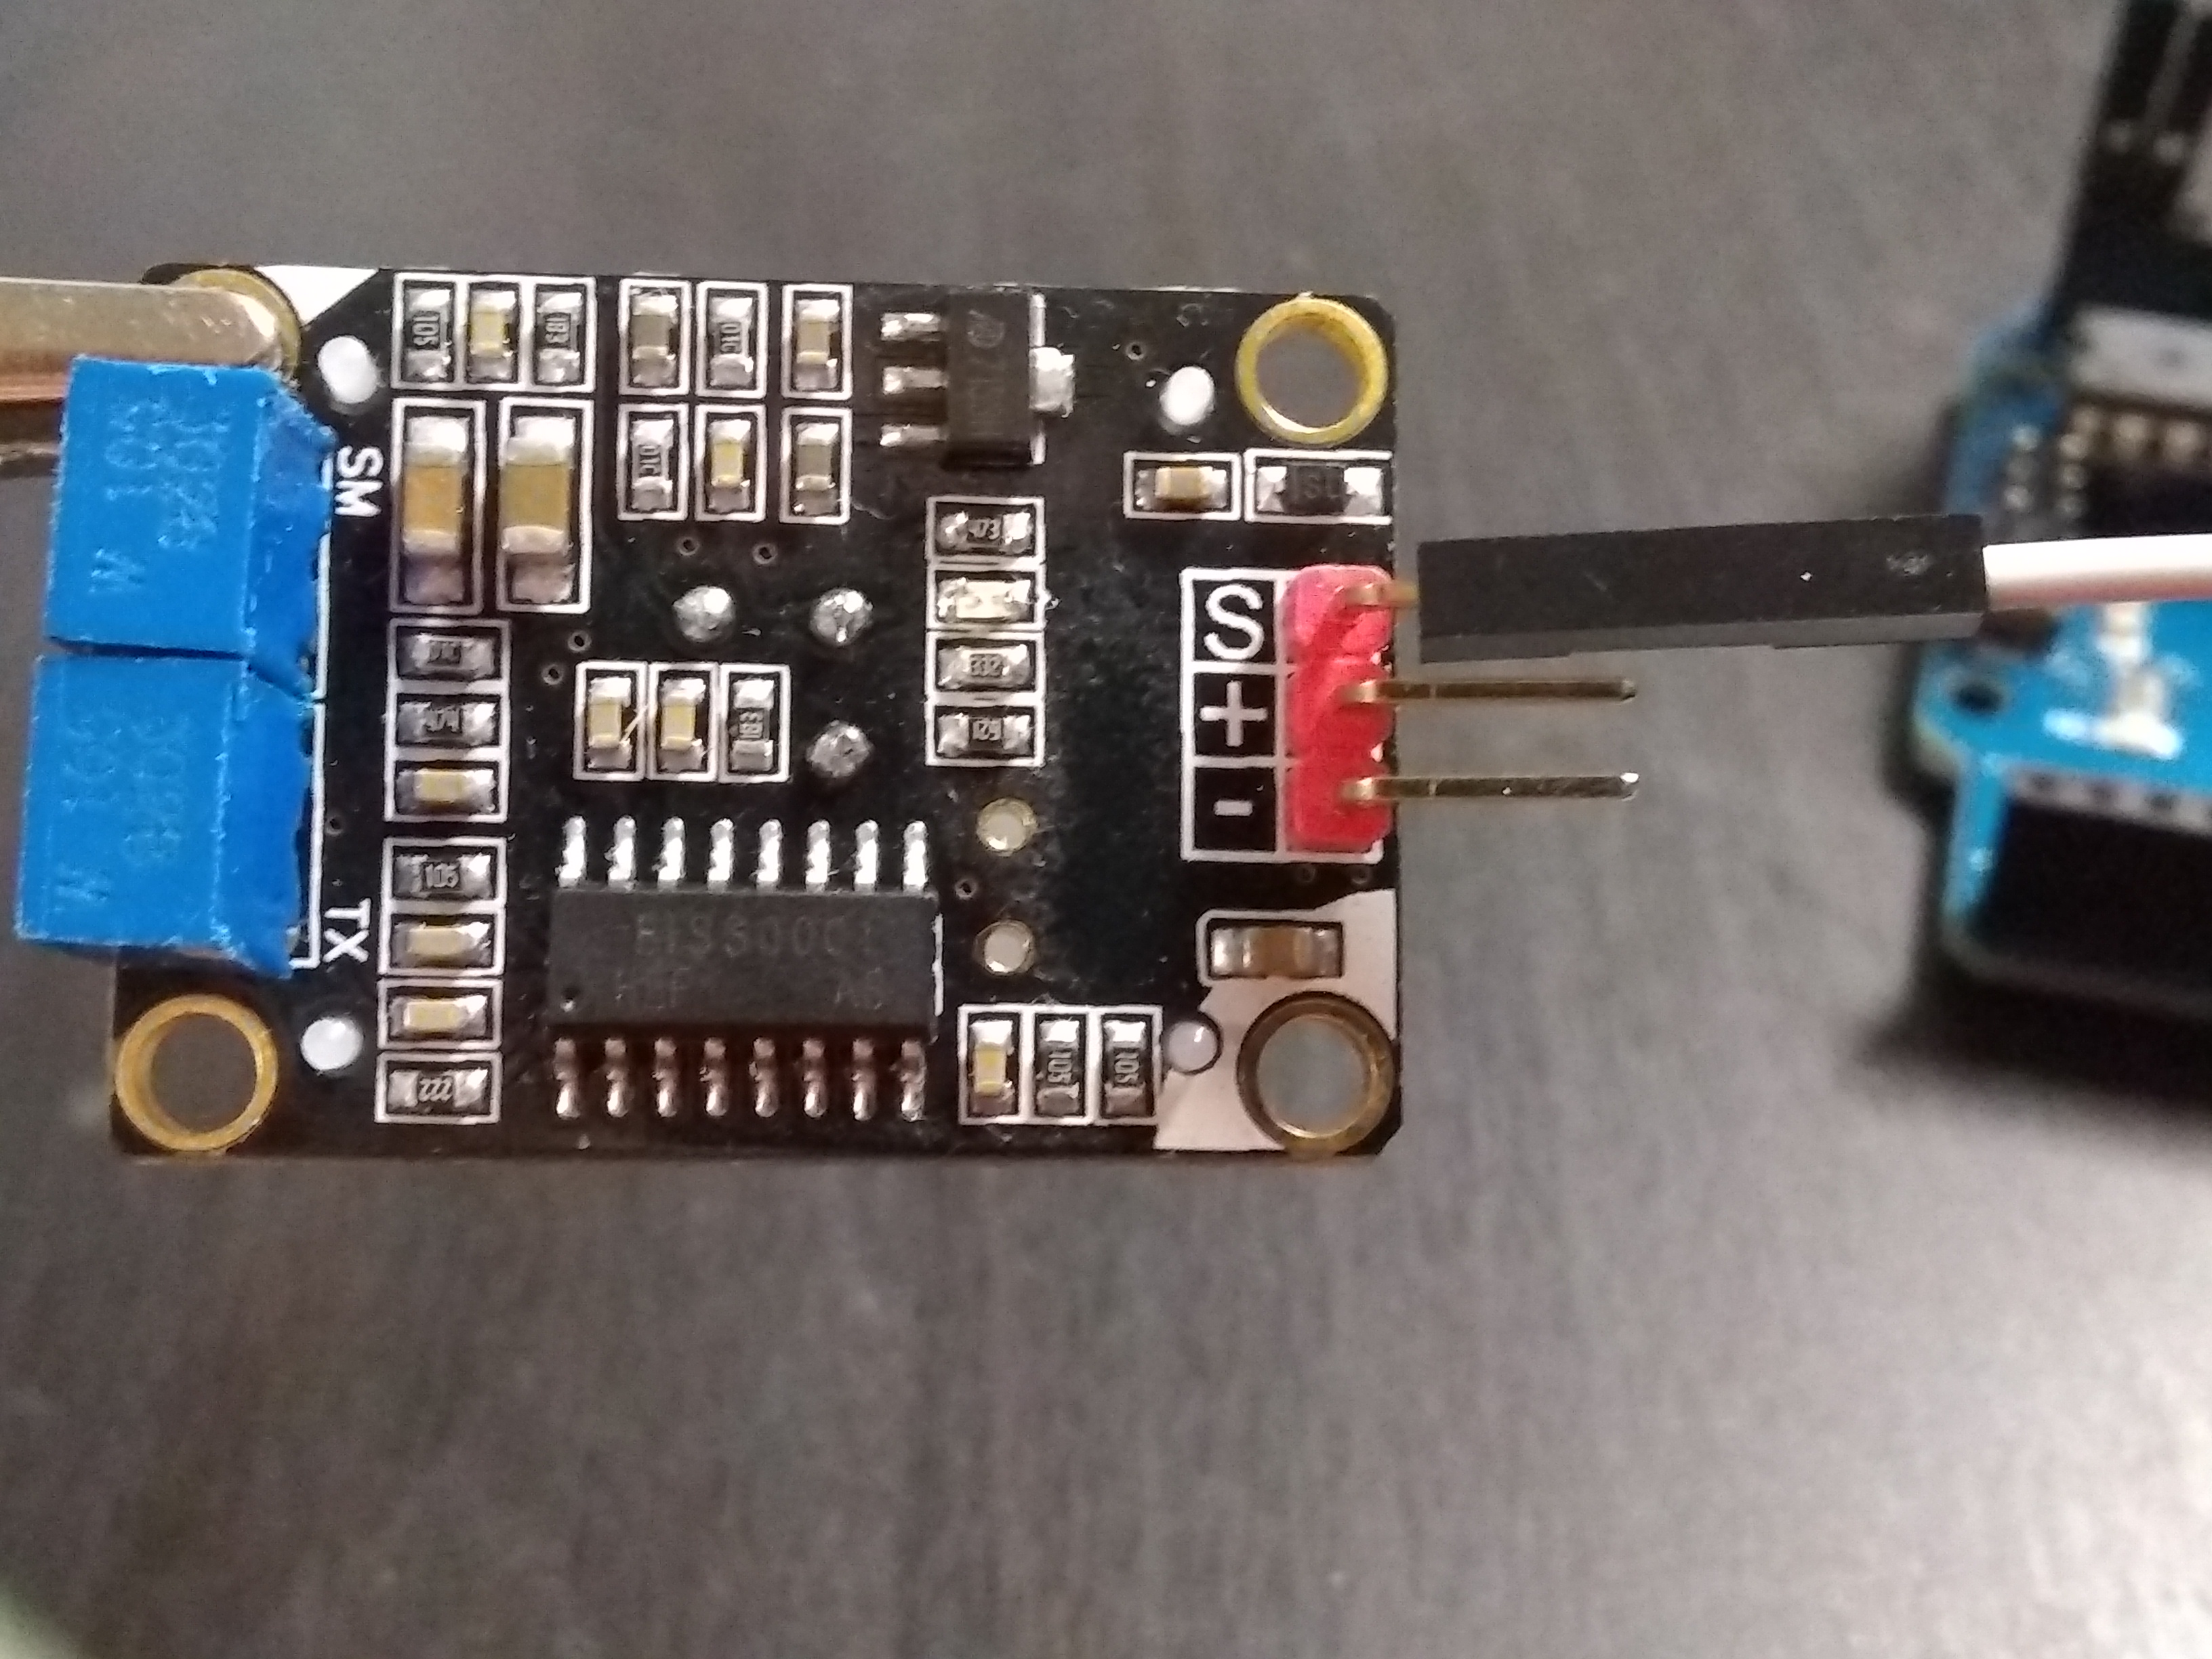
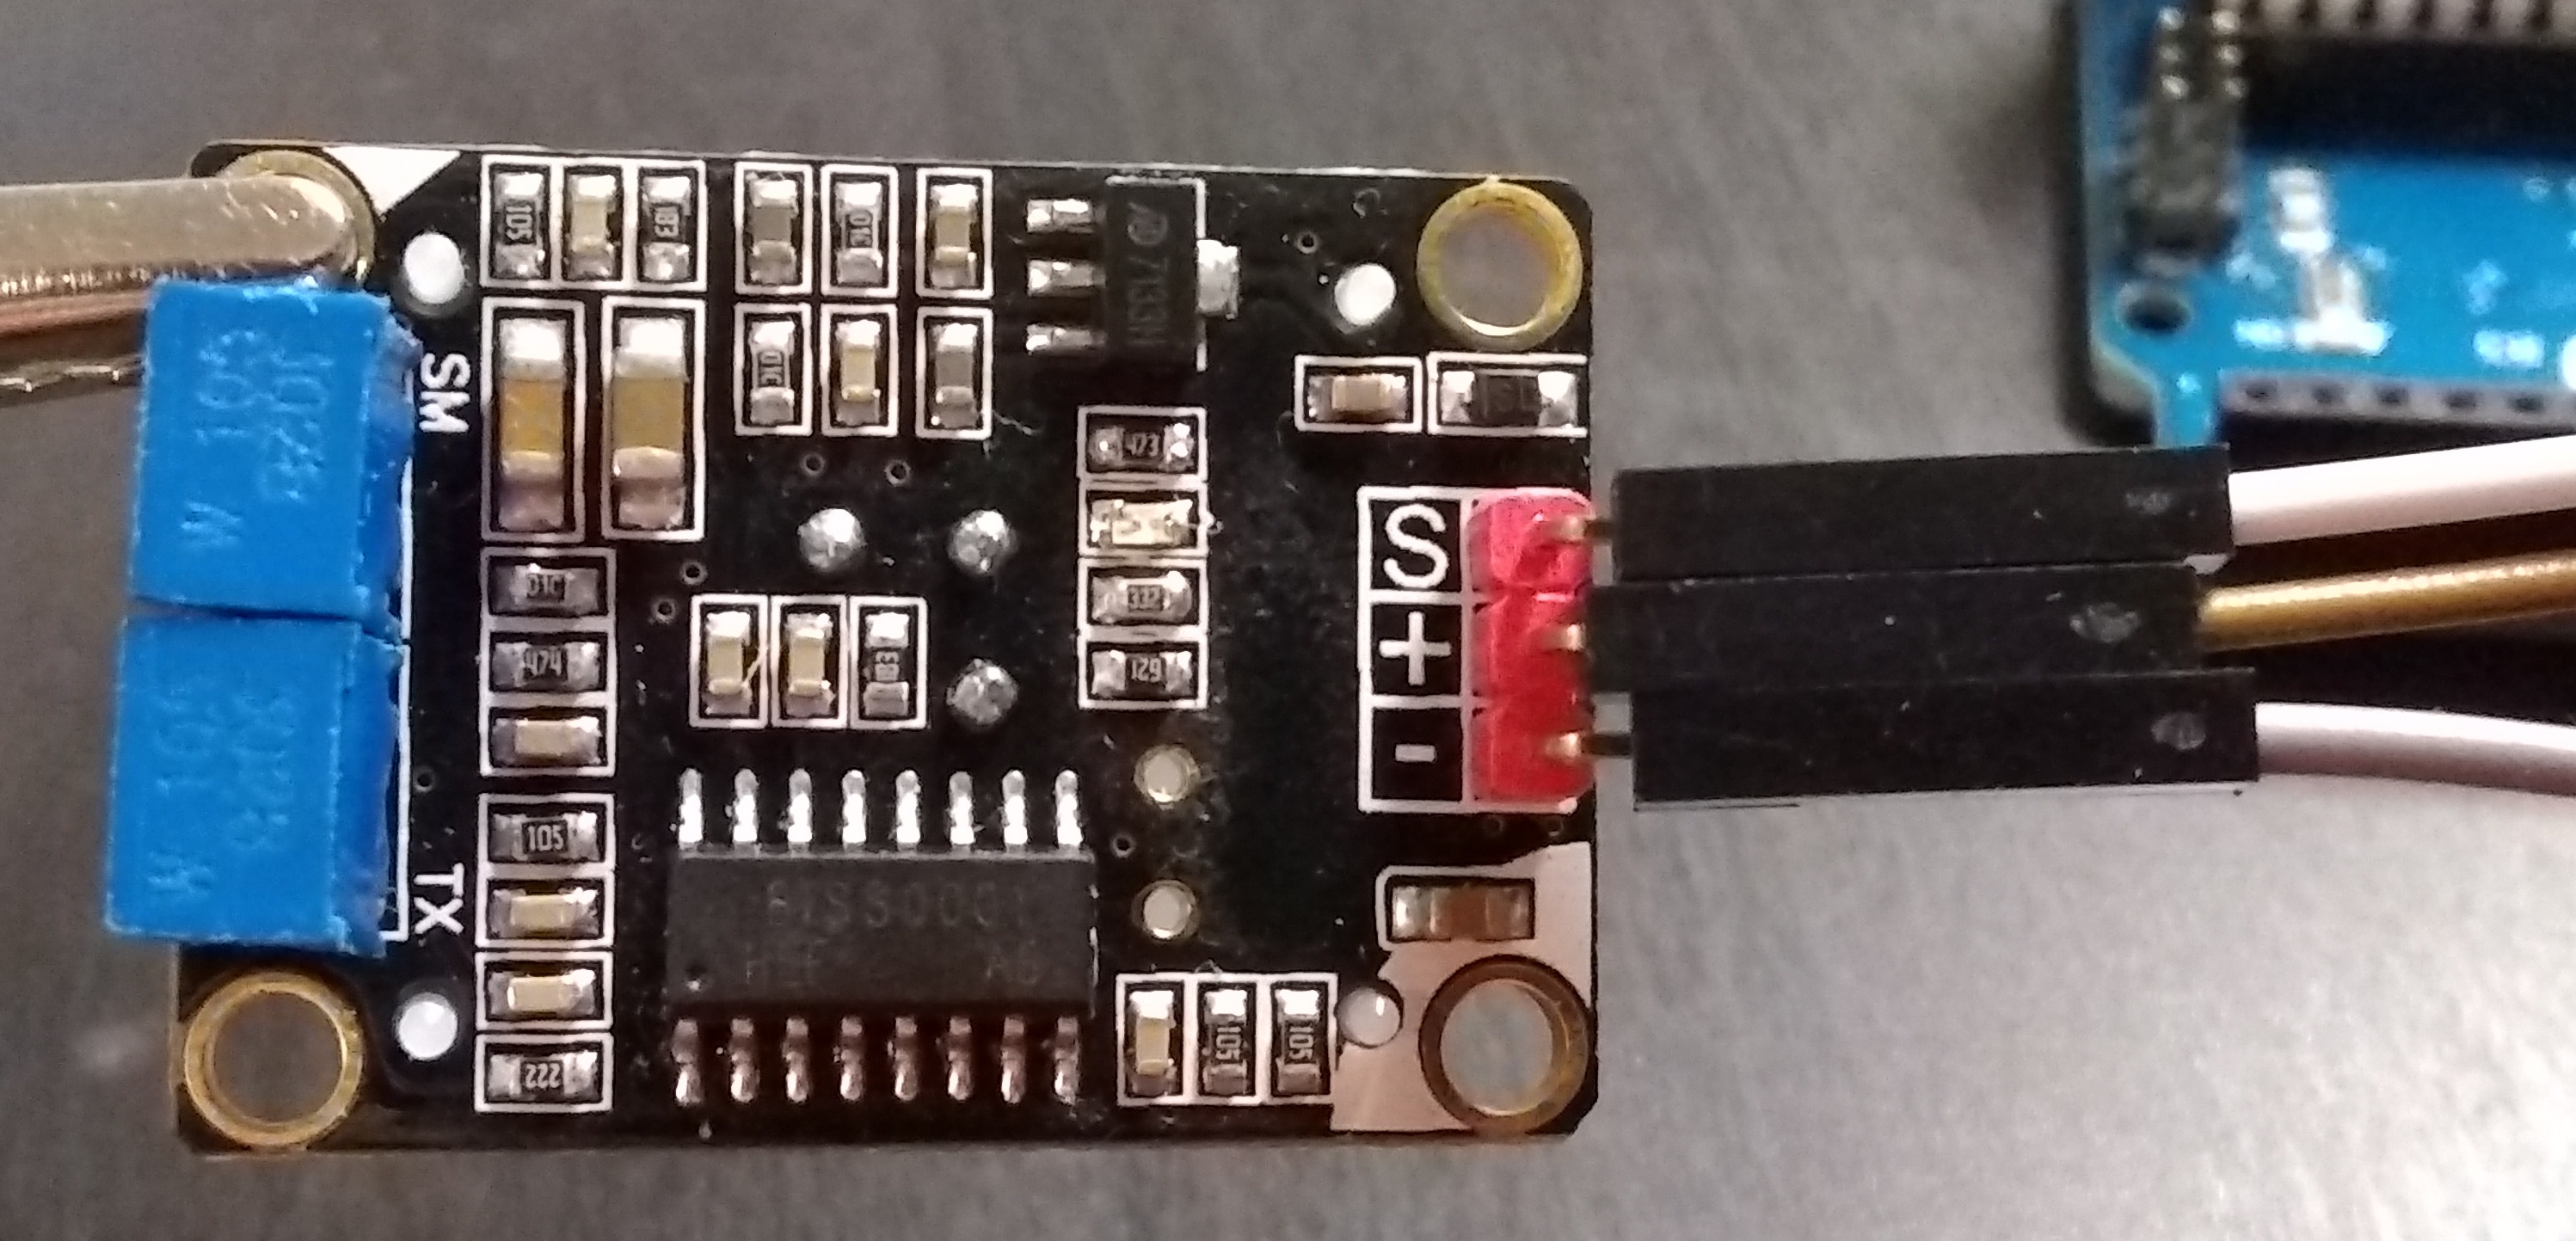
13) Look at the back of the sensor and notice that it has S, +, -. S is the sensing pin, + is the volts / positive pin, and - is the ground / negative pin.
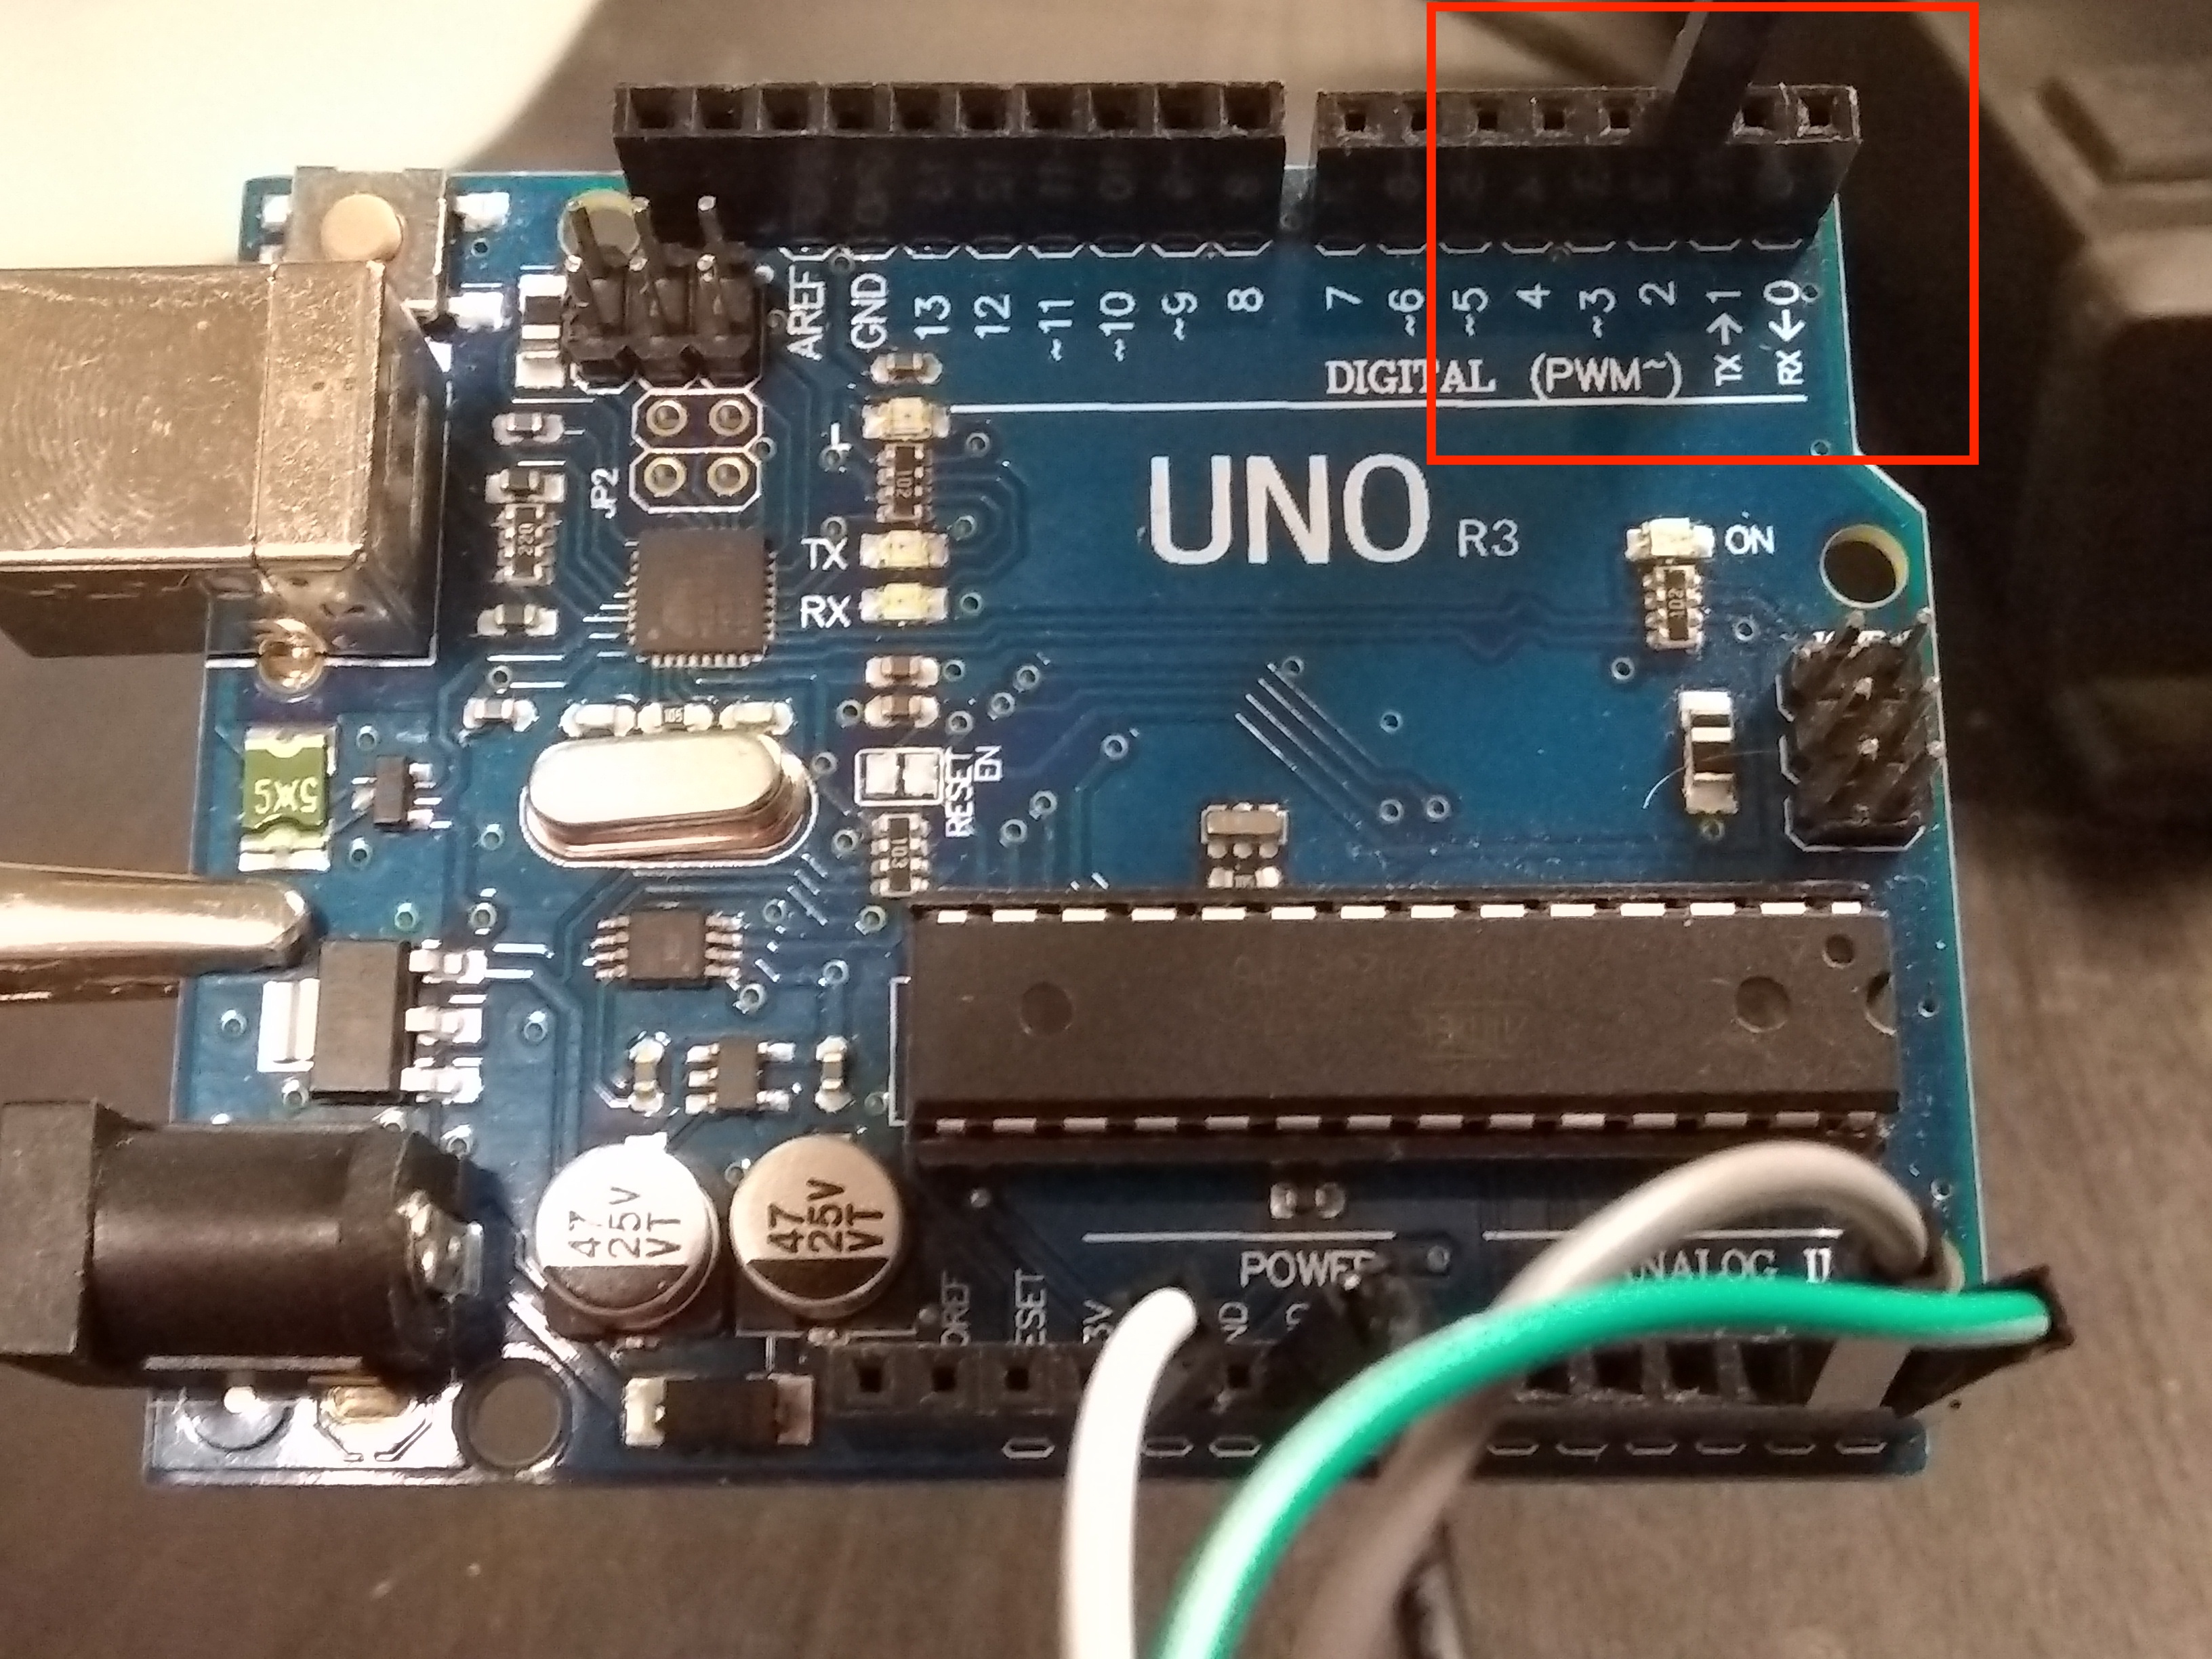
14) Take a male to female jumper wire and plug end into the S pin of the sensor and the other end into pin 2 of the arduino.
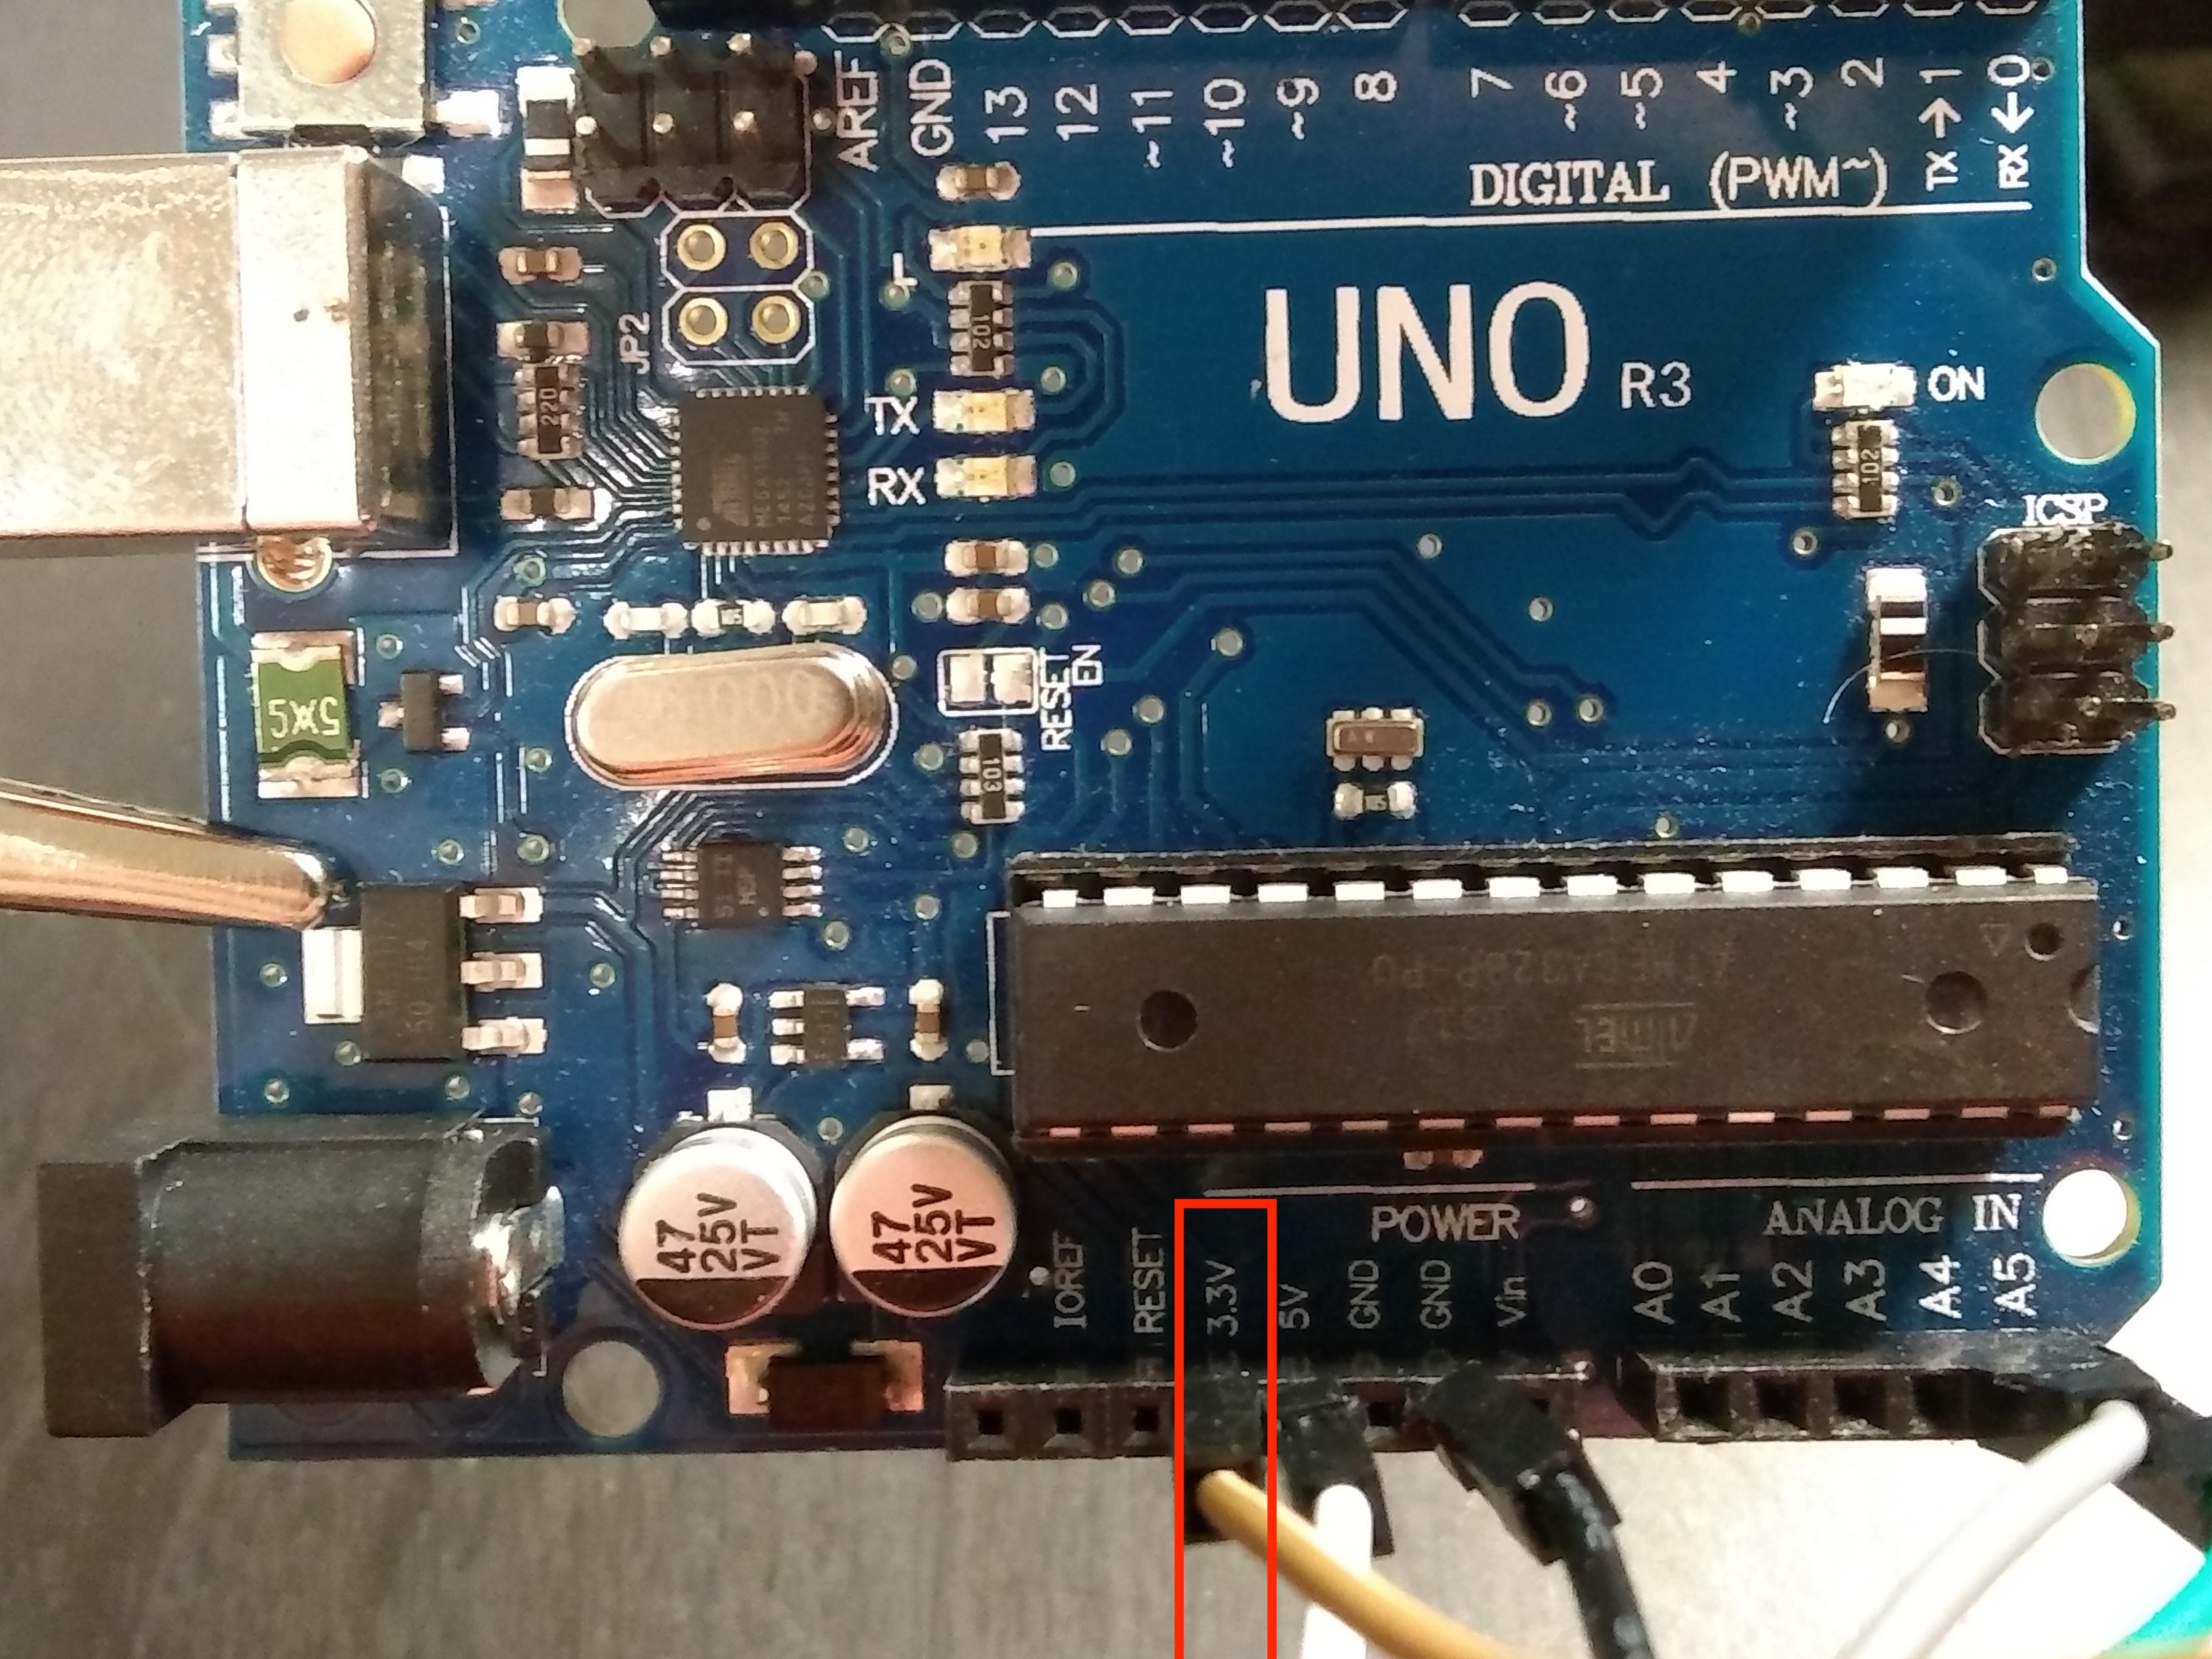
15) Take a male to female jumper wire and plug end into the + pin of the sensor and the other end into pin 3.3 volts of the arduino.
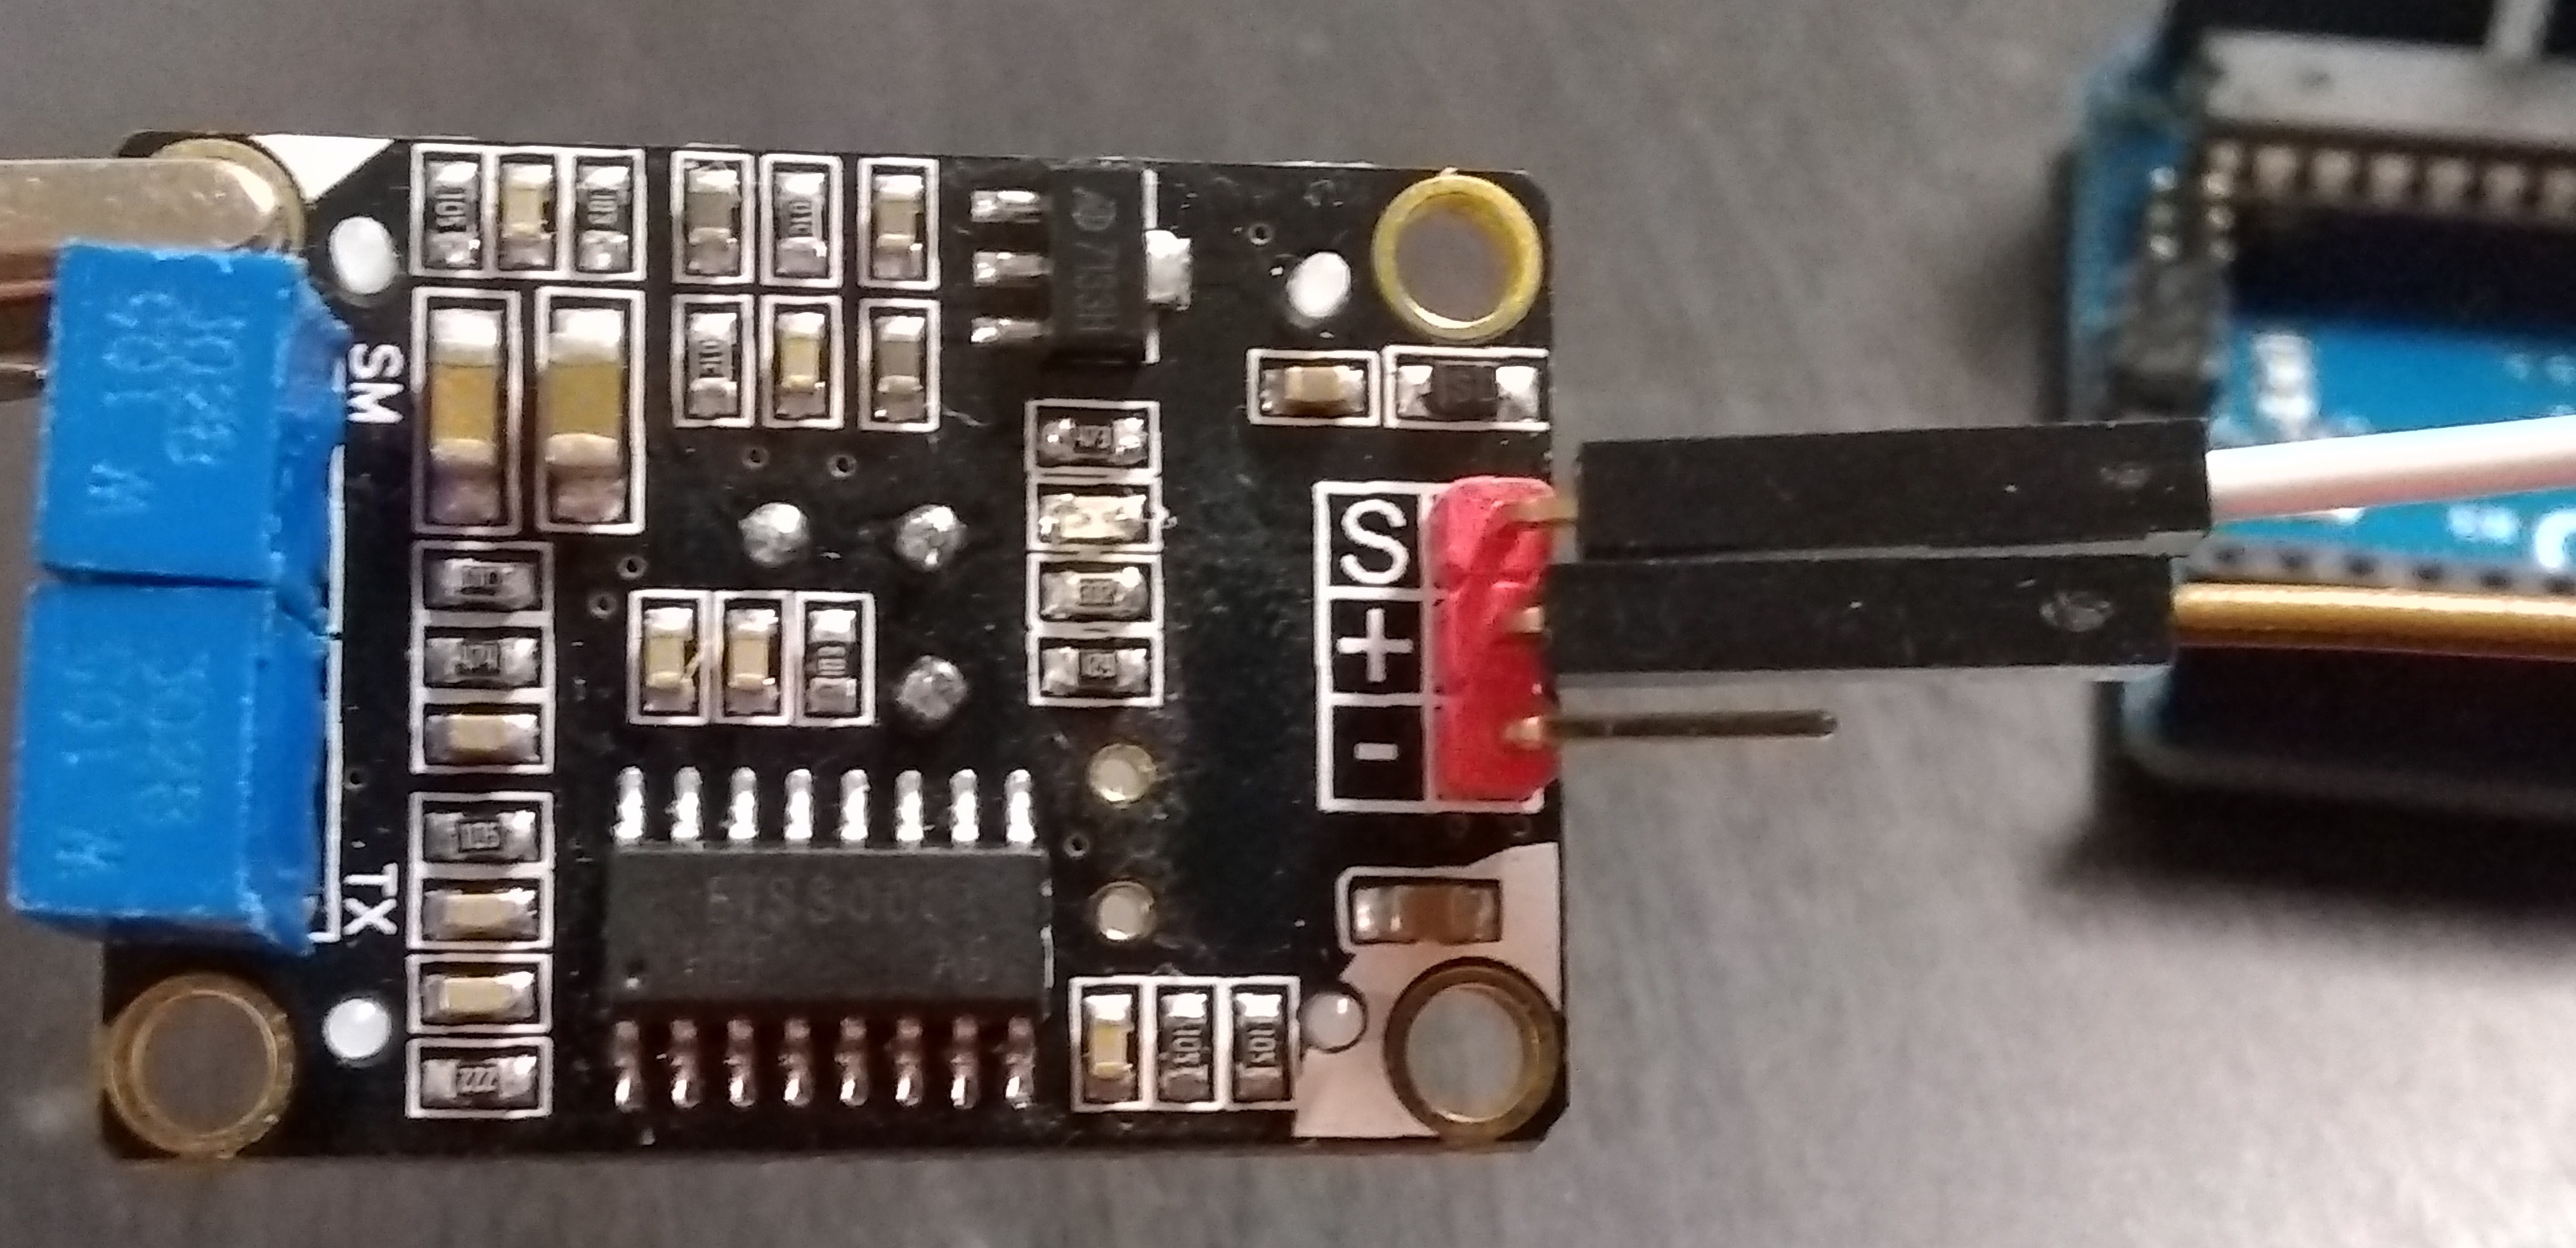
16) Take a male to female jumper wire and plug end into the - pin of the sensor and the other end into pin ground / - of the arduino.

17) Now we are going to write some code. Copy the code onto the screen. What this will do is increase the number on the screen by 1 every second.
#include <Wire.h>

#include <LiquidCrystal_I2C.h>

LiquidCrystal_I2C lcd(0x3F, 4, 20);
const String starterText = "I see you: ";

int counter = 0;
void setup() {
    lcd.init();
    lcd.backlight();
    lcd.setCursor(0, 0);
    lcd.print(starterText);
}


void loop() {
   counter += 1;
   lcd.setCursor(starterText.length(), 0);
   lcd.print(counter);
   delay(1000);
}
Side Note: The only other function I wanted to go over is lcd.clear(). This function will clear all the text on the screen.
18) (Challenge) Use what you learned in the last lesson to hook the sensor to print the number of times the sensor has sensed something. Always ask questions!!!
Challenge Projects
-
Make this piece of text go back and worth _ _/. -
Use the serial monitor to print stuff to the lcd screen. Serial Monitor. Hint use this function: ReadStringUntil.
- Have fun you earned it!!!