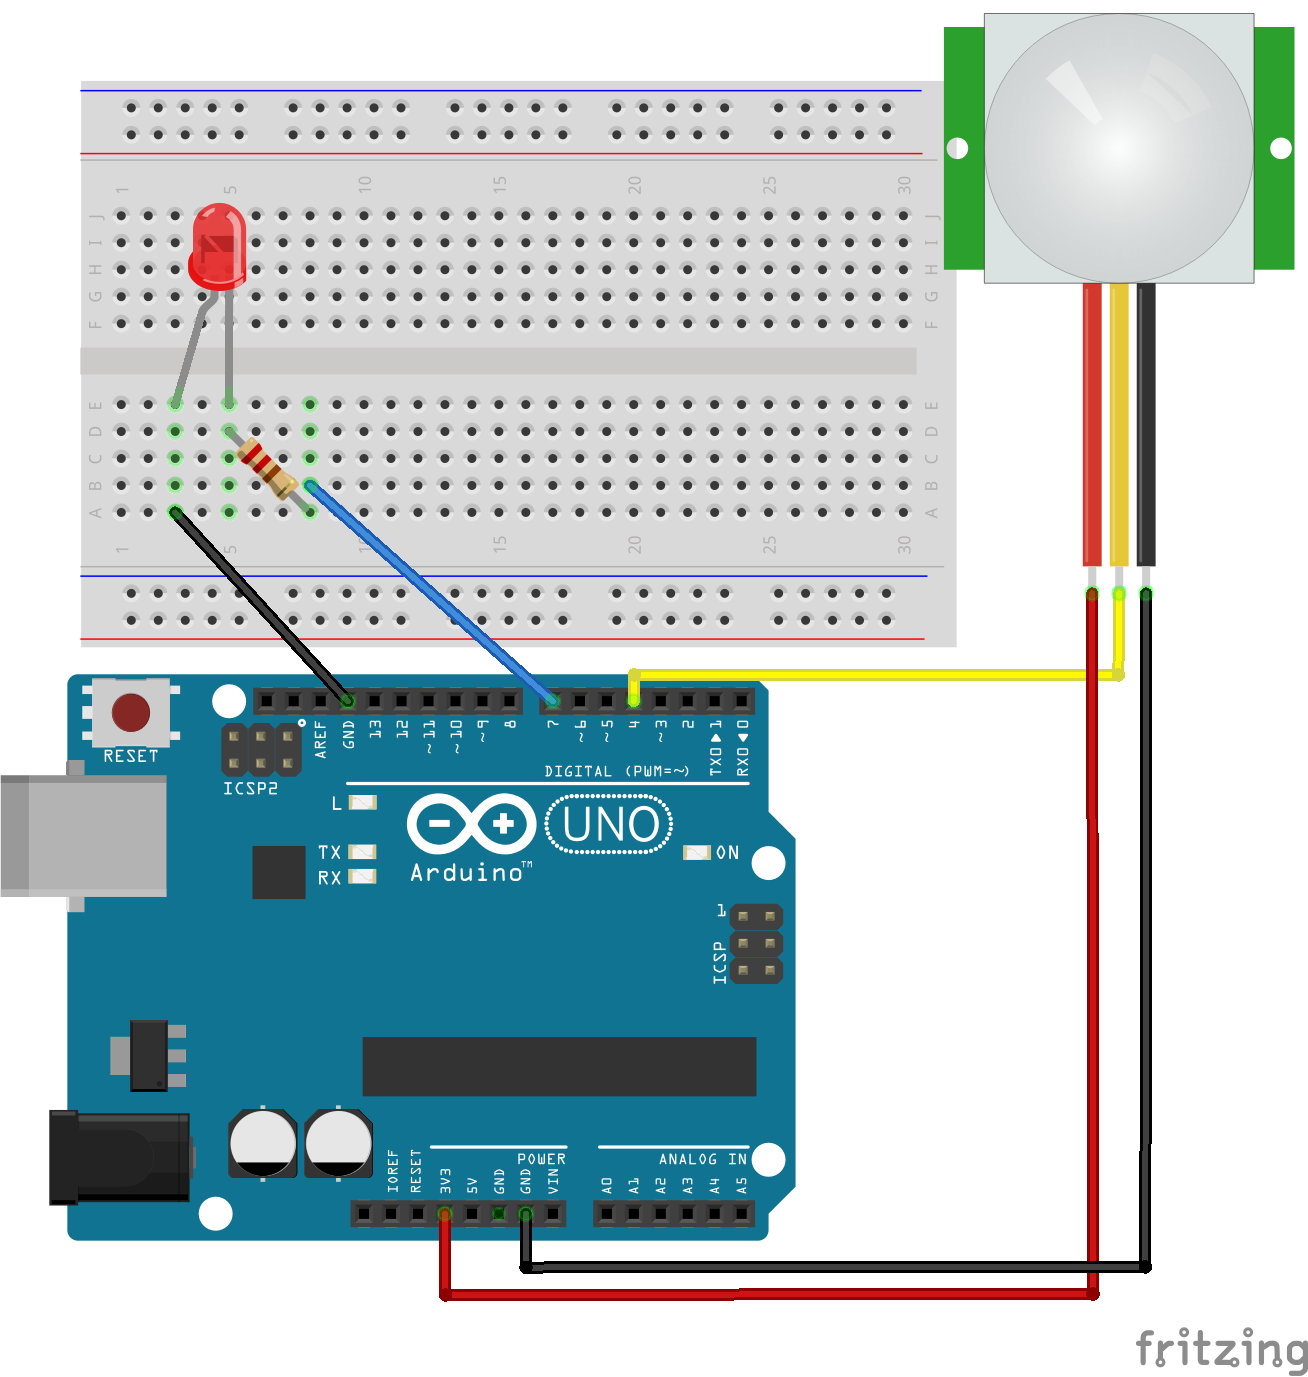
Schematic
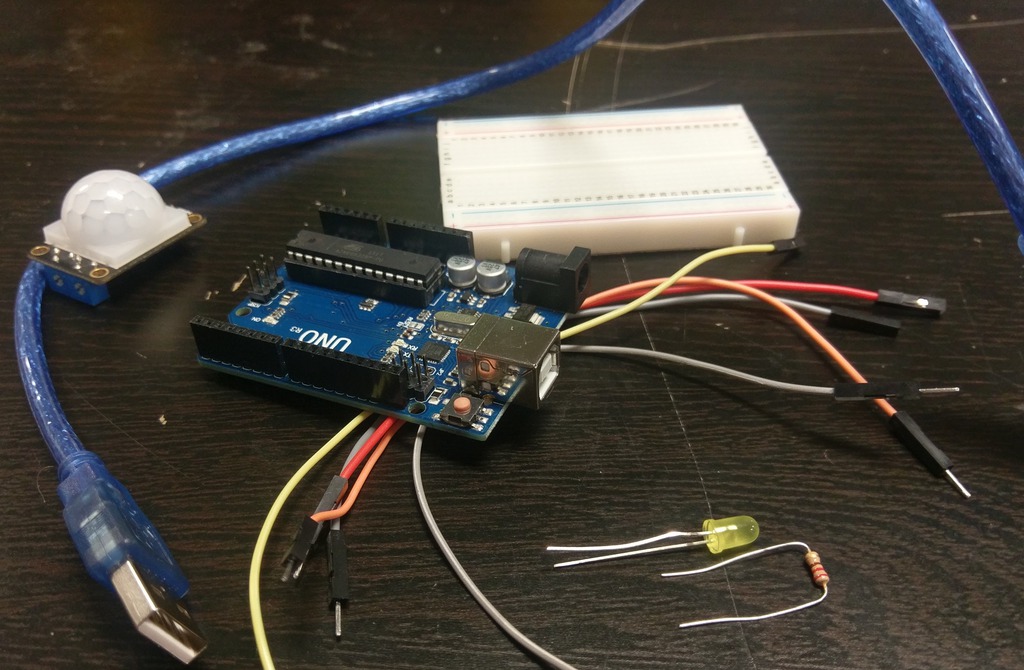
Project Kit
Bill of Materials
- 1 x Arduino Uno
- 1 x led
- 1 x 220 Ohm Resistor
- 2 x jumper wires (male to male)
- 3 x jumper wires (male to female)
- 1 x passive motion sensor (pir)
- 1 x breadboard
- 1 x usb type b cable
Steps
Before you begin be sure you have the arduino ide installed. You might want to review the class presentation if you found this on the internet.
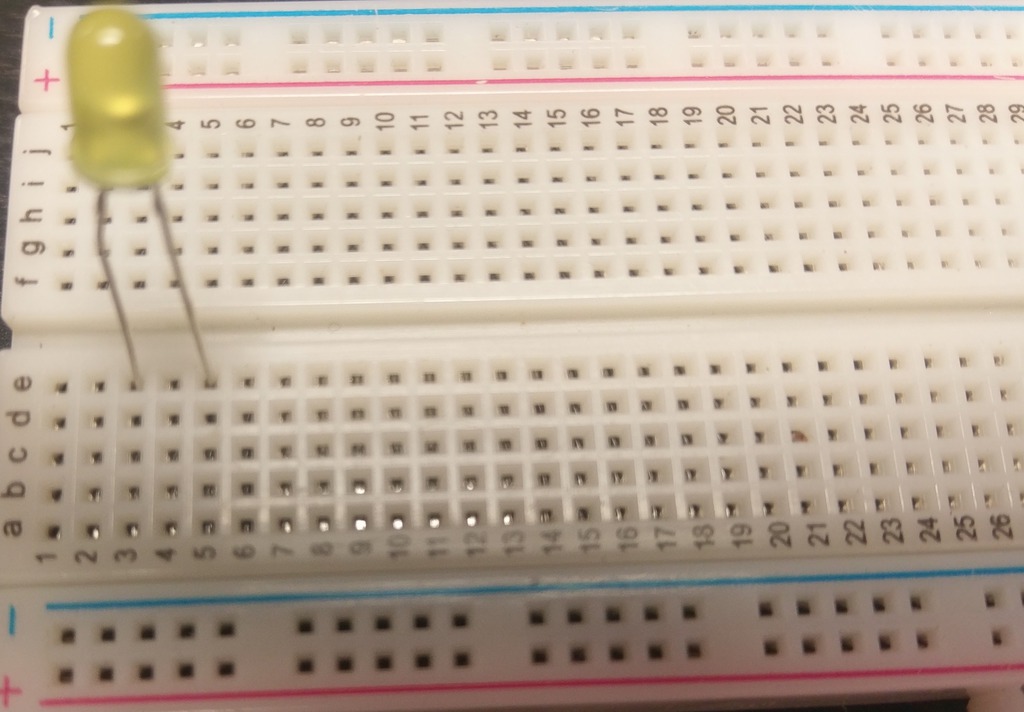
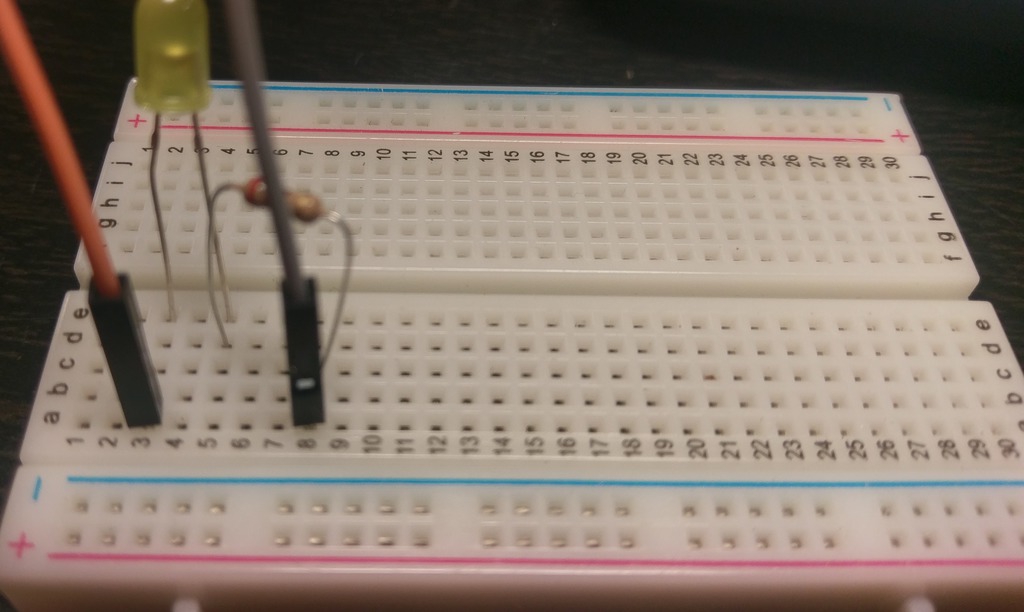
Step 1) Take the led and put the long side (positive) into (5, e) and short side (negative) into (3, e) of the breadboard.
Step 2) Take the resistor and plug one end into (5, d) and the other end into (8, a).
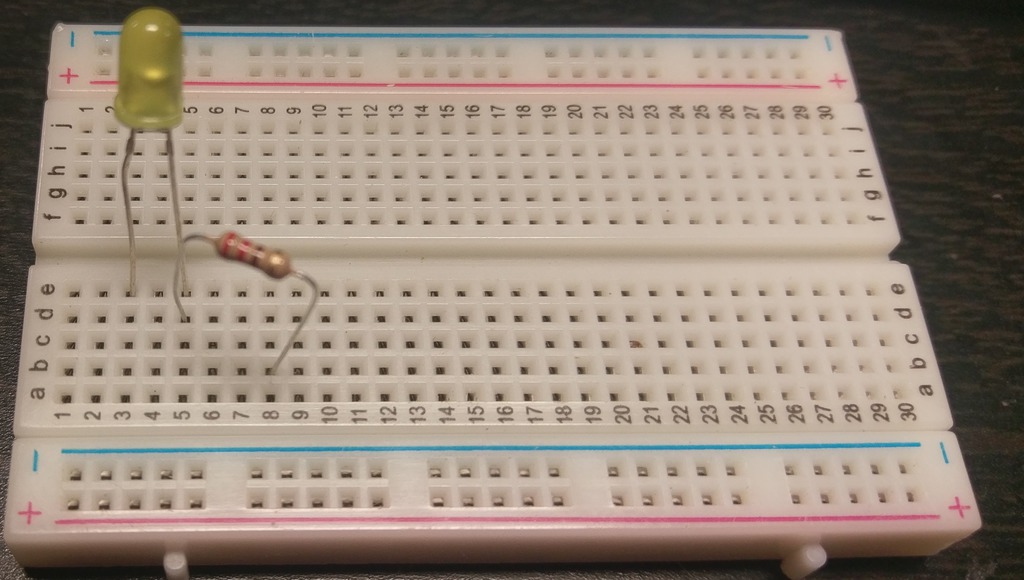
Step 3) Plug one end of the male to male jumper wire into (3, a). Take the other wire and plug it into (8, b).
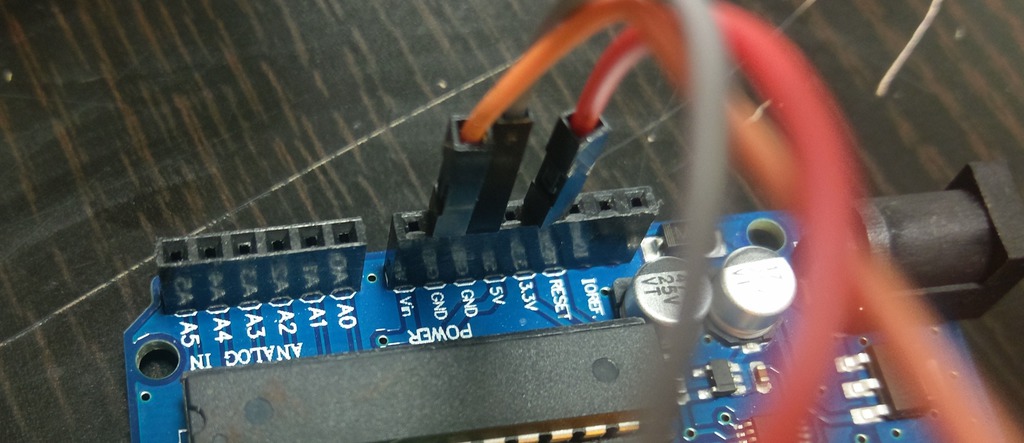
Step 4) Plug the other end of the jumper wire plugged into (8, b) into arduino pin 7.
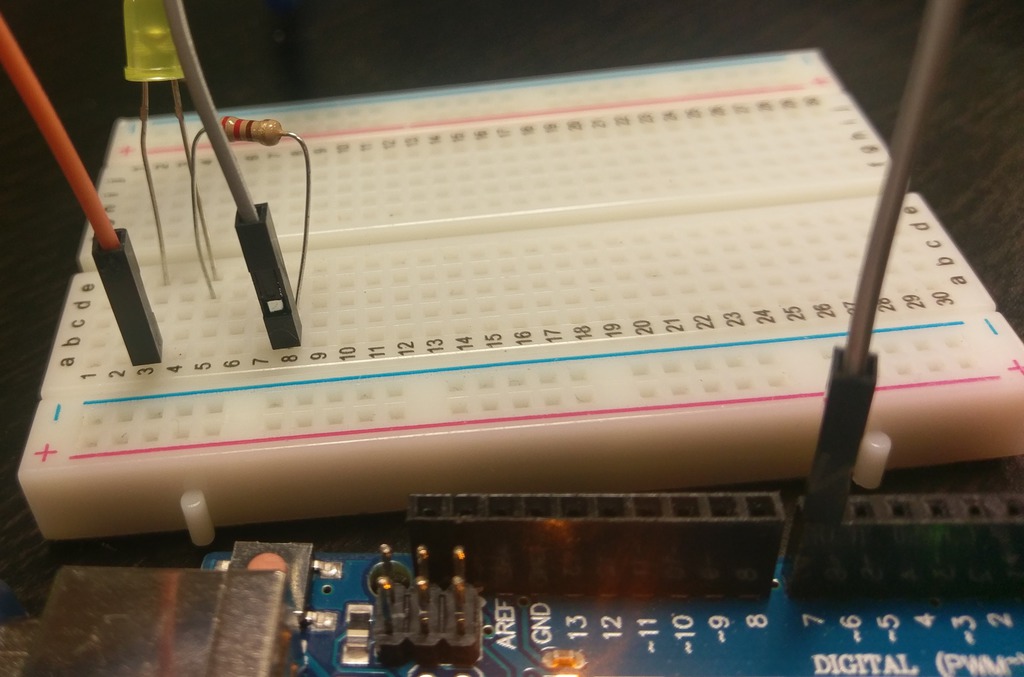
Step 5) Take the other end of the second jumper wire and plug it into ground (gnd) in the arduino.
Step 6) Take a female to male wire and plug one end into pin s of the sensor and the other end into pin 4 of the arduino
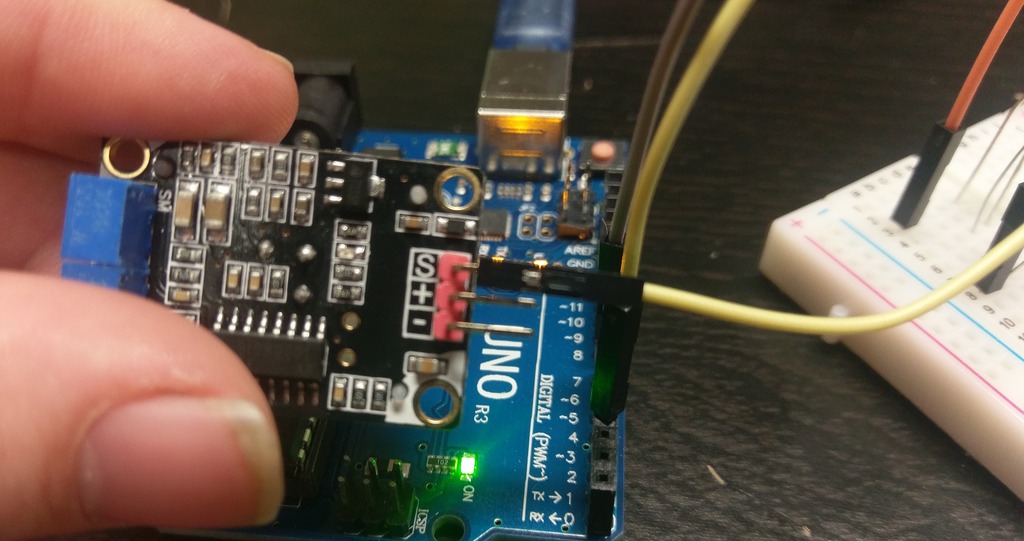
Step 7) Take a female to male wire and plug one end into pin ground (gnd) of the sensor and the other end into pin ground of the arduino
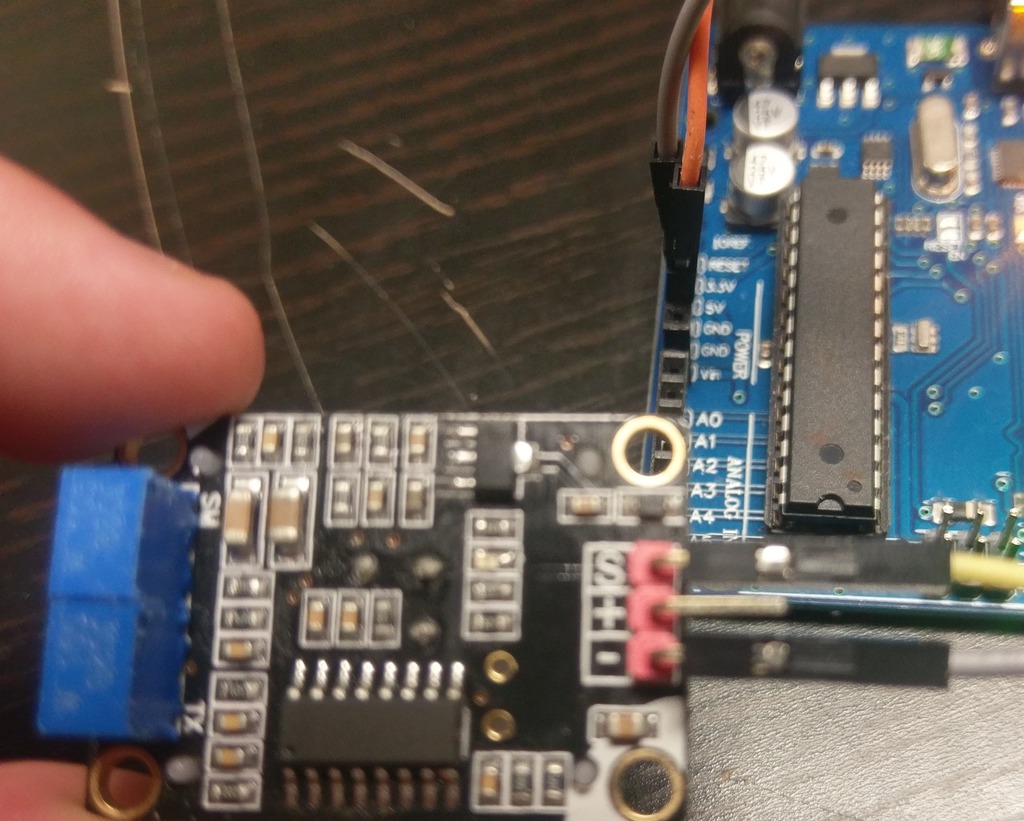
Step 8) Take a female to male wire and plug one end into pin + of the sensor and the other end into pin 3.3 volts of the arduino
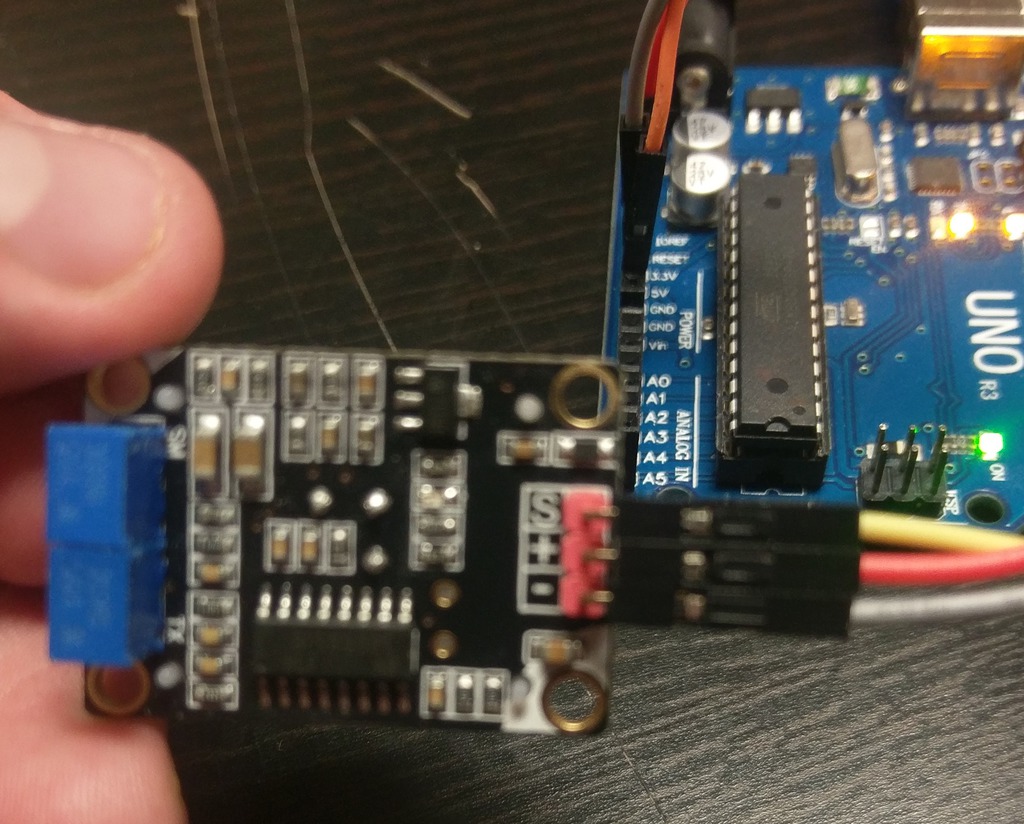
It should like this when you are done.
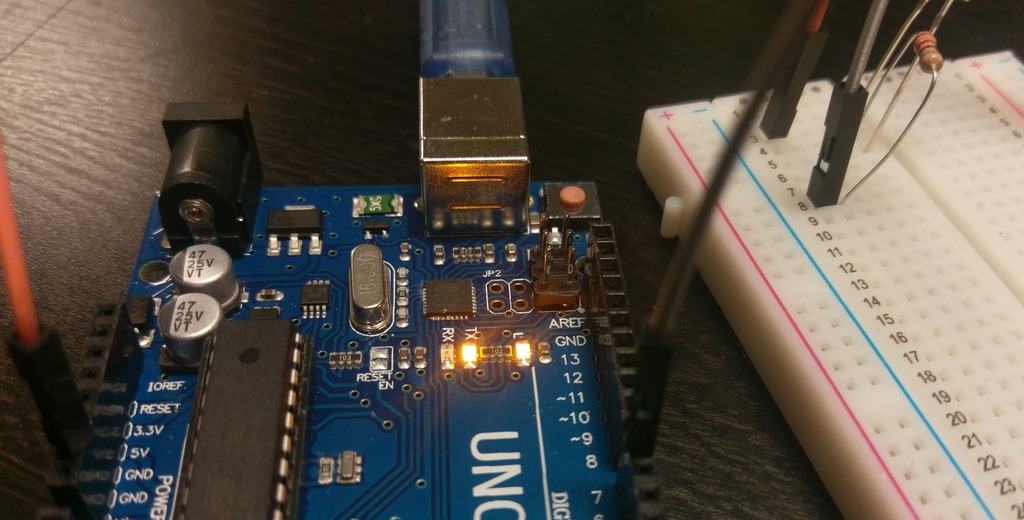
Step 9) Plug in the arduino into the computer
Step 10) Open the arduino ide and paste the code in below.
int led = 7;
int pirSensor = 4;

void setup() {
  // put your setup code here, to run once:
  pinMode(pirSensor, INPUT_PULLUP);
  pinMode(led, OUTPUT);
  Serial.begin(9200);
}

void loop() {
  // put your main code here, to run repeatedly:
  if (digitalRead(pirSensor)) {
        Serial.println("Sensed Something");
        digitalWrite(led, HIGH);
  }
  else {
      digitalWrite(led, LOW);
      Serial.println("Sensed Nothing");
  }

  delay(500);
}
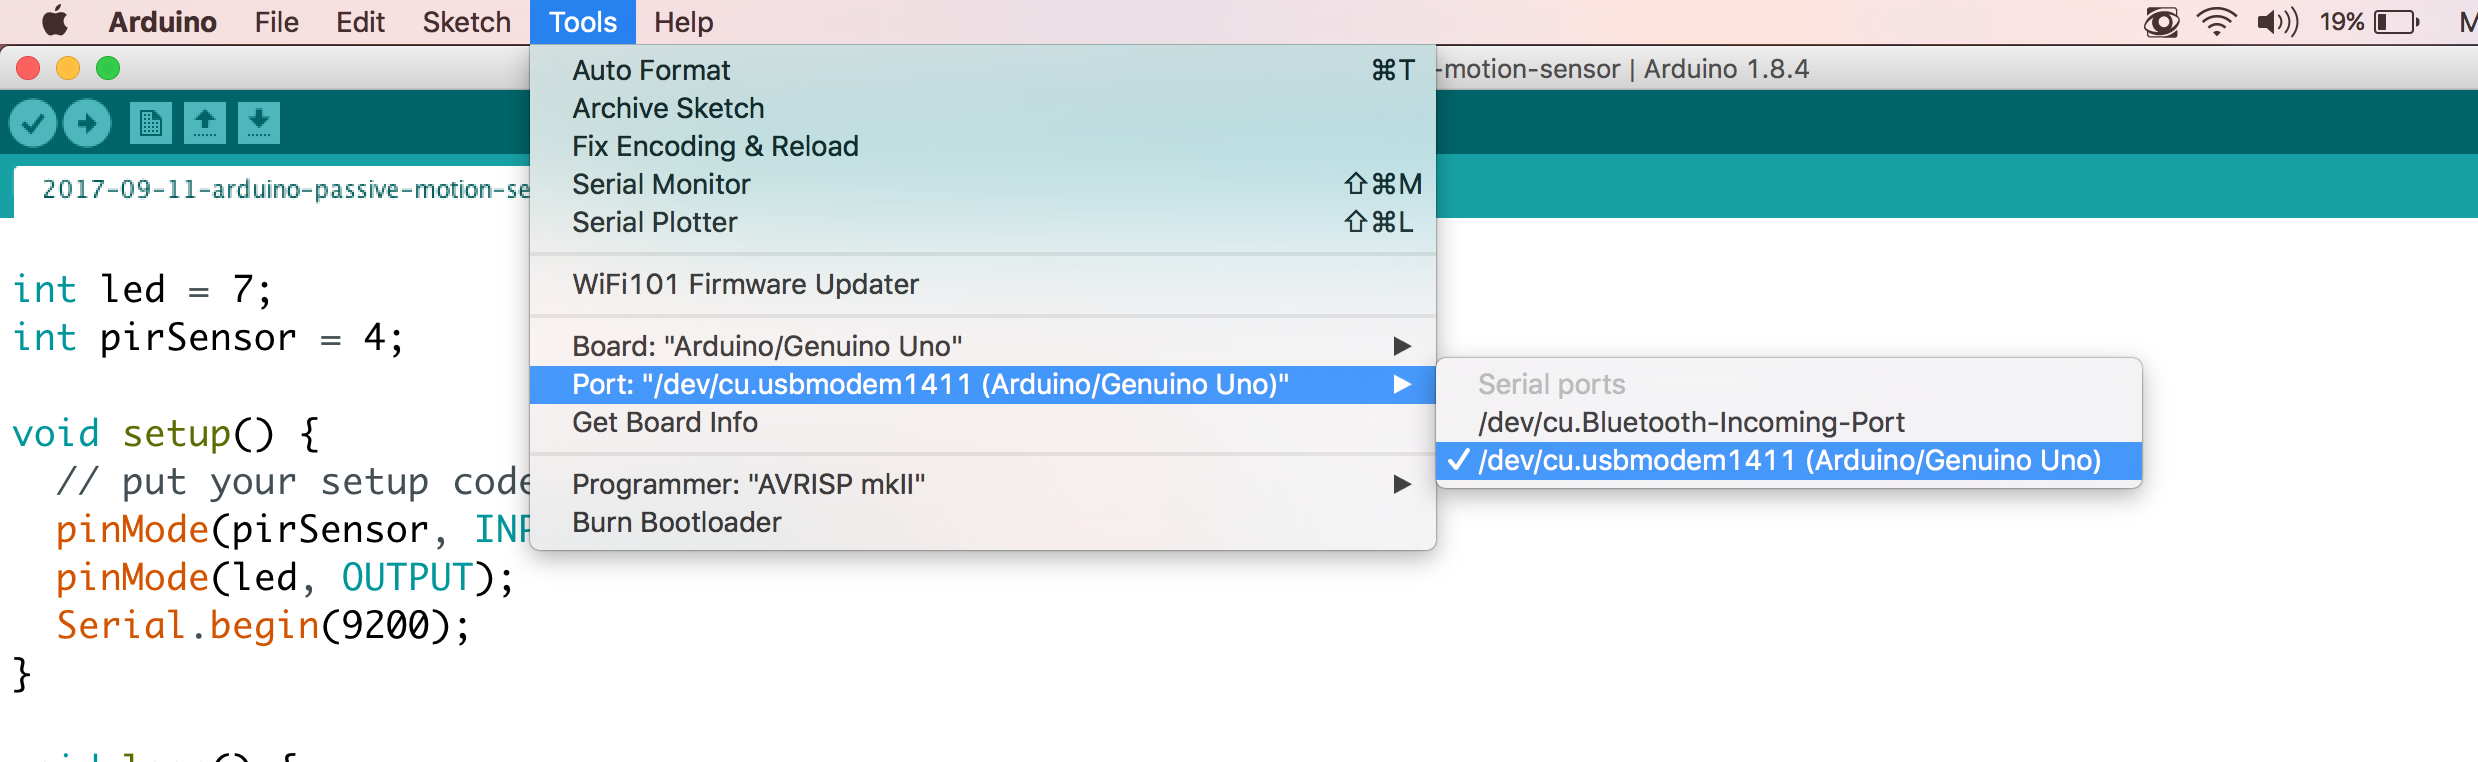
Step 11) Select the port in the arduino ide that your board is hooked up to
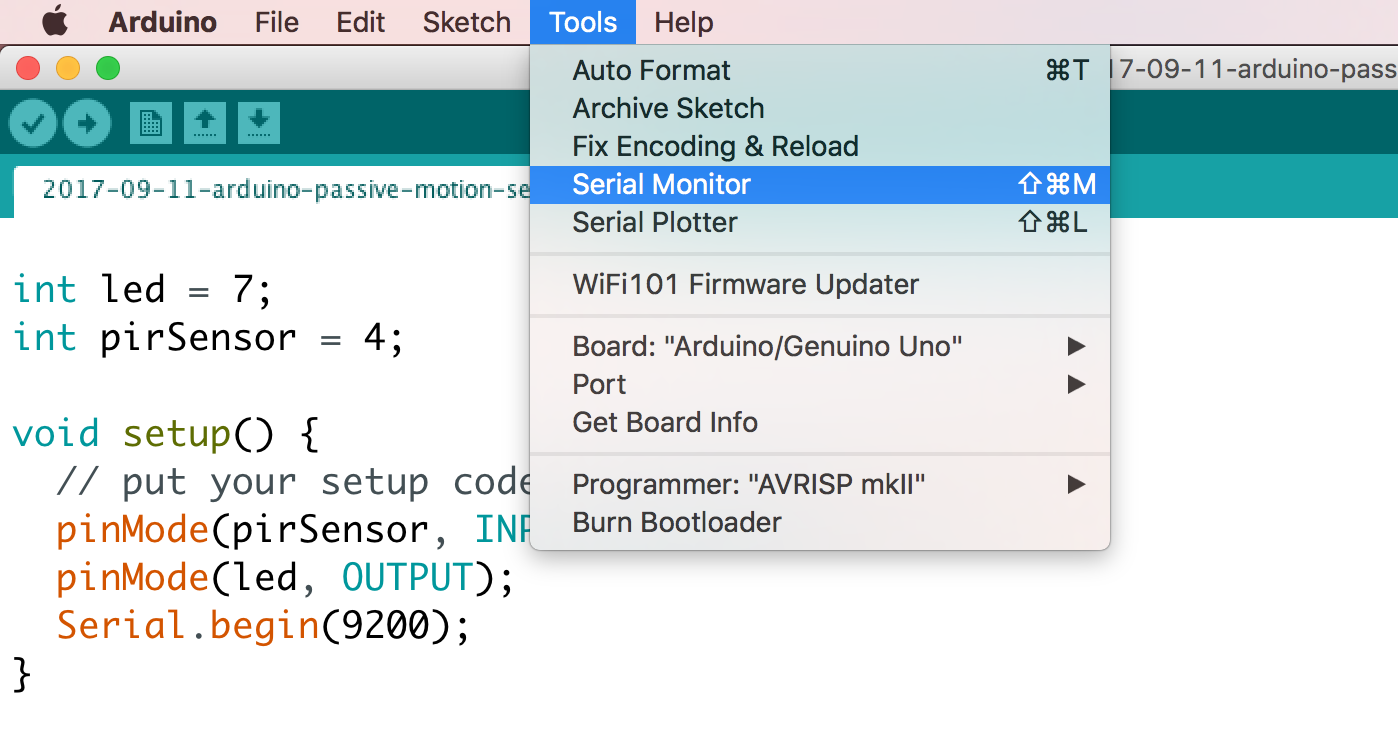
Step 12) Open the serial monitor
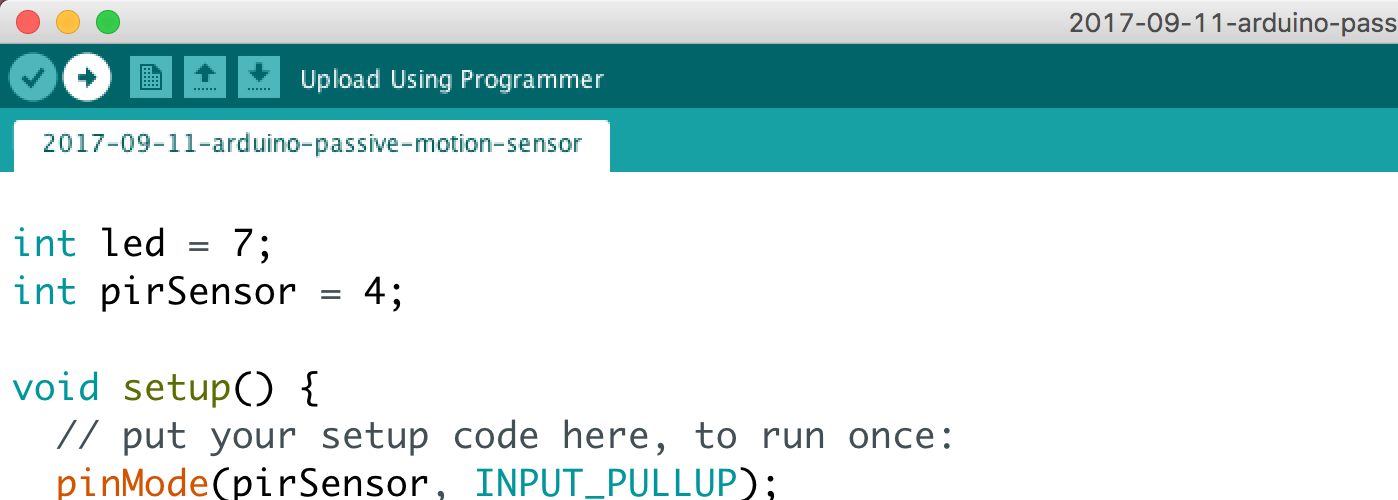
Step 13) Upload the arduino sketch
Challenge Projects
-
Count the number of times that sensor has found something and display that in the serial monitor.
-
Use Serial.readStringUntil to build something that you can use to send commands to the arduino and control the delay in the program.
-
Do your own thing and build something on top it, aka just have fun. :)