Project Kit For the Workbook
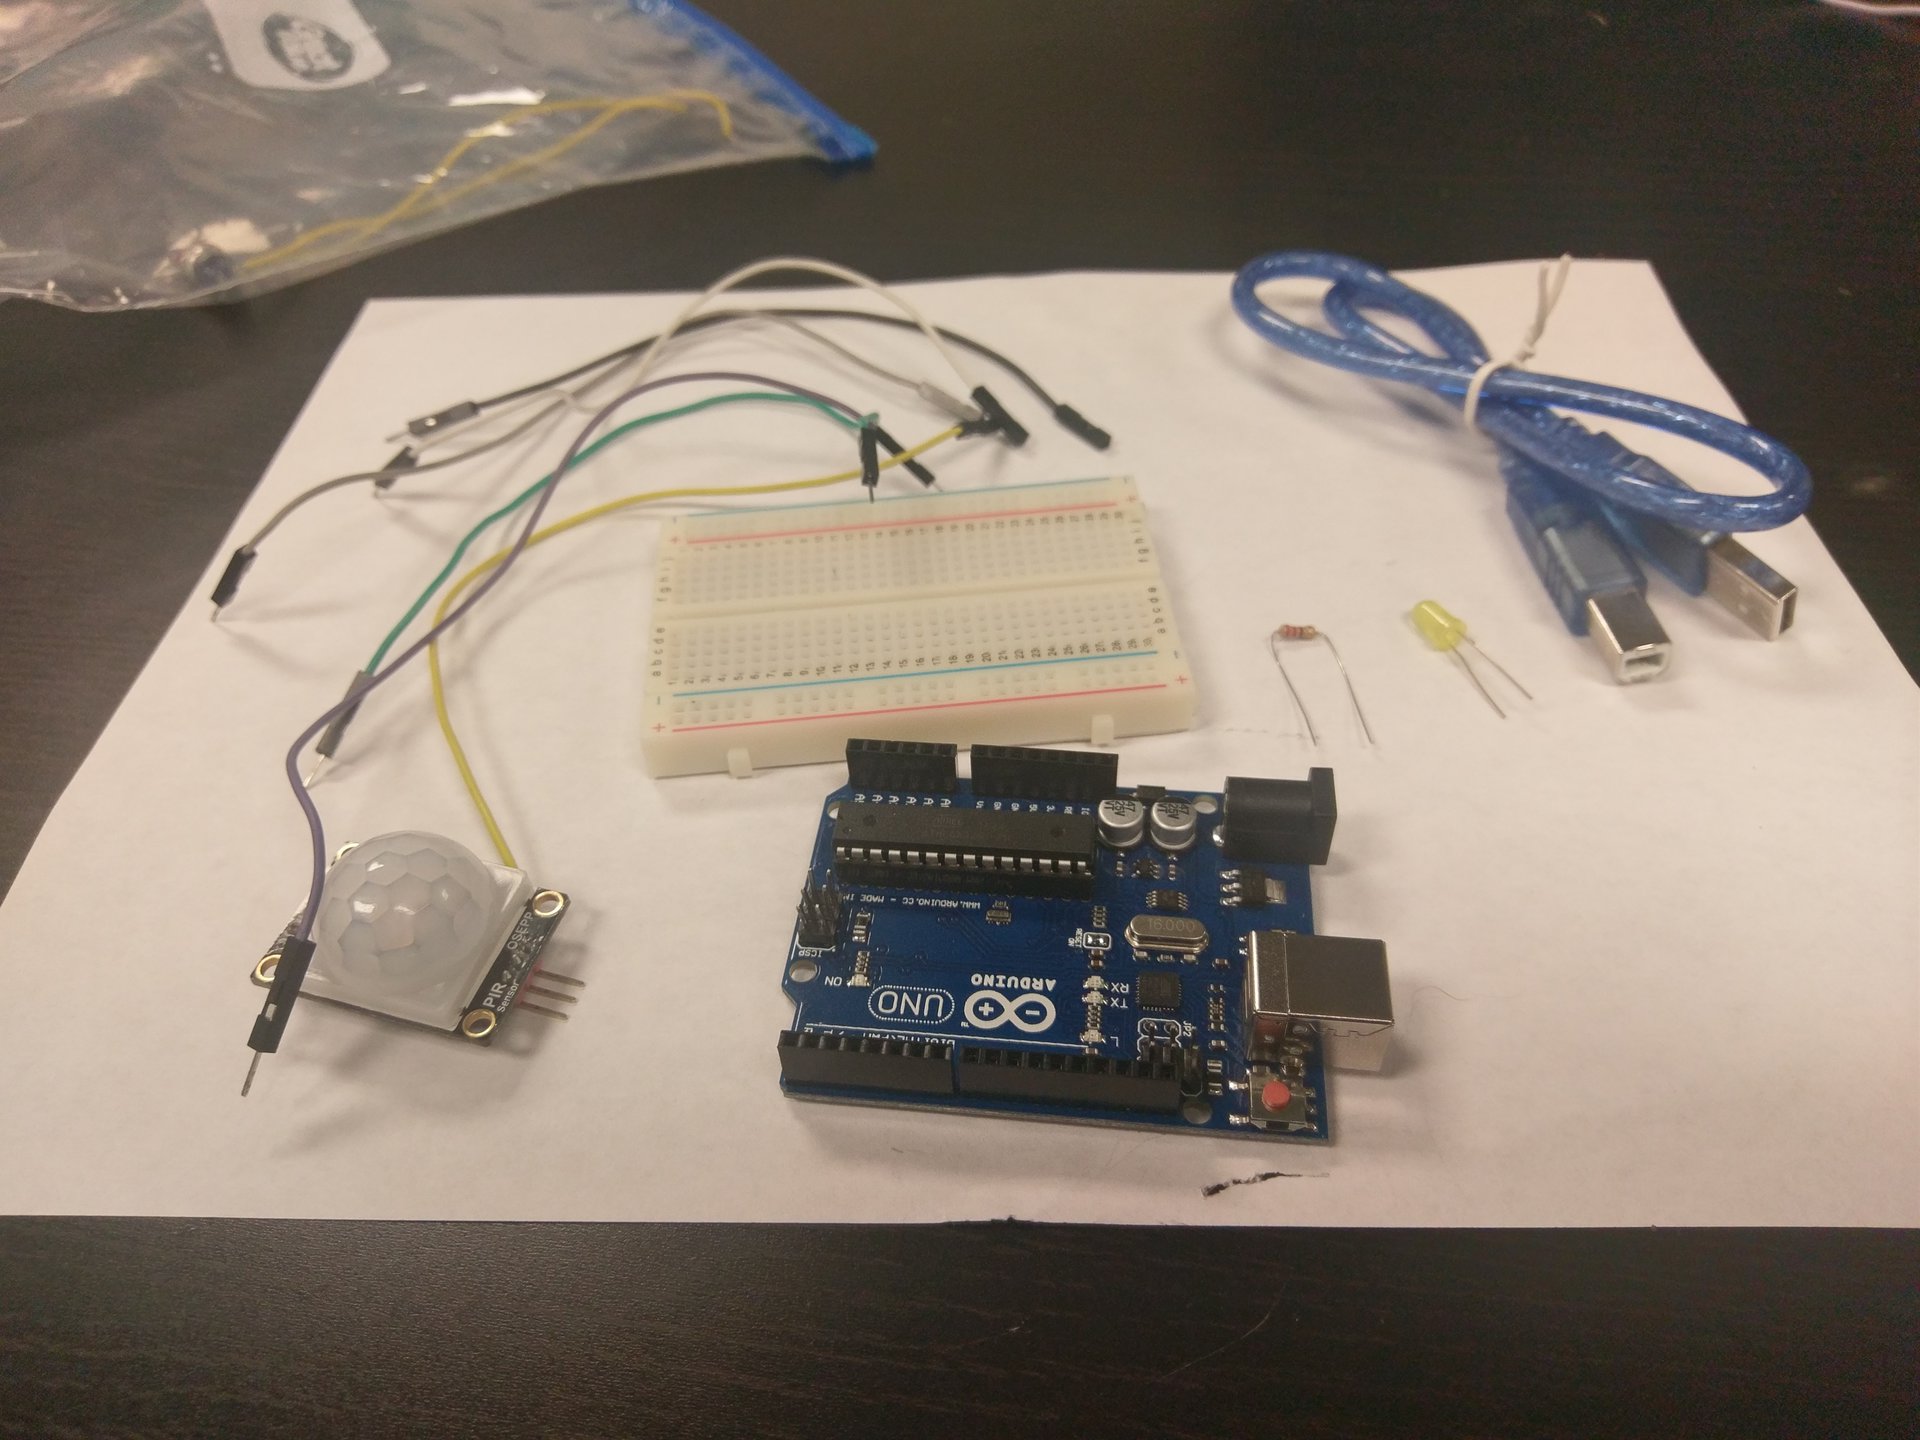
Bill of Materials
- 1 x Arduino Uno
- 1 x led
- 1 x 220 Ohm Resistor
- 3 x jumper wires m to m
- 3 x jumper wire m to f
- 1 x passive motion sensor
- 1 x breadboard
- 1 x usb type b cable
Steps
If you have not setup your block environment go here and do steps 1 through 4.
1) Open a command prompt / terminal and type in:
cd ~/Desktop/ArduinoBlocks/

2) In the command prompt type:
sh start.sh
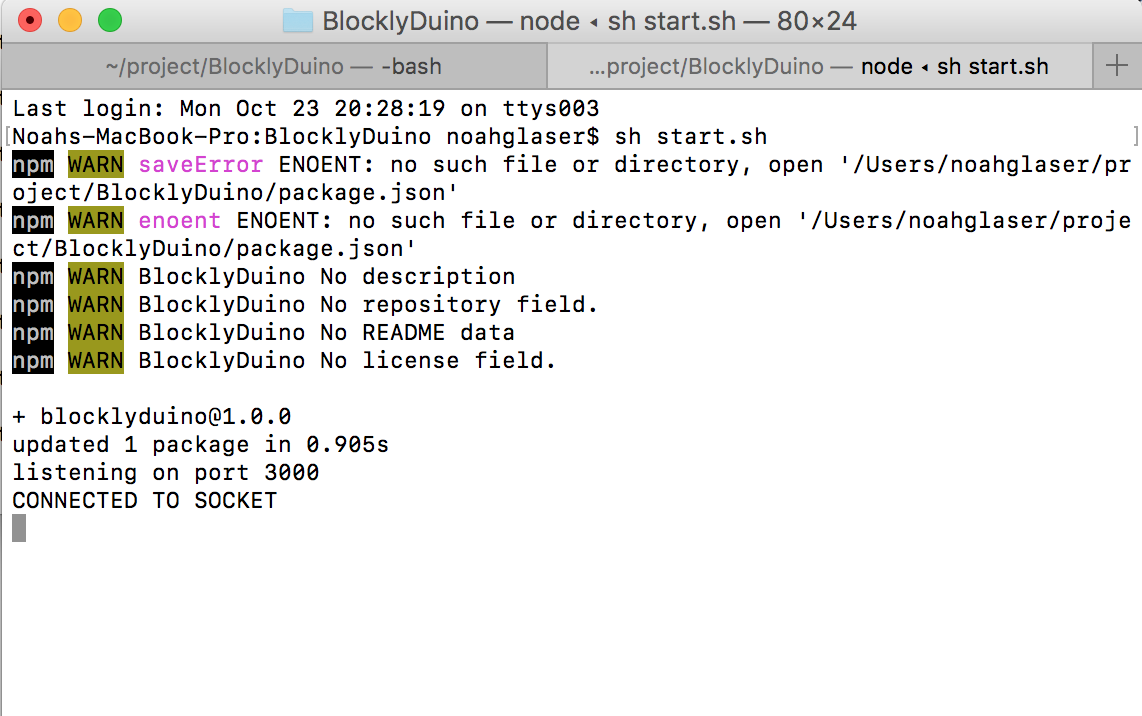
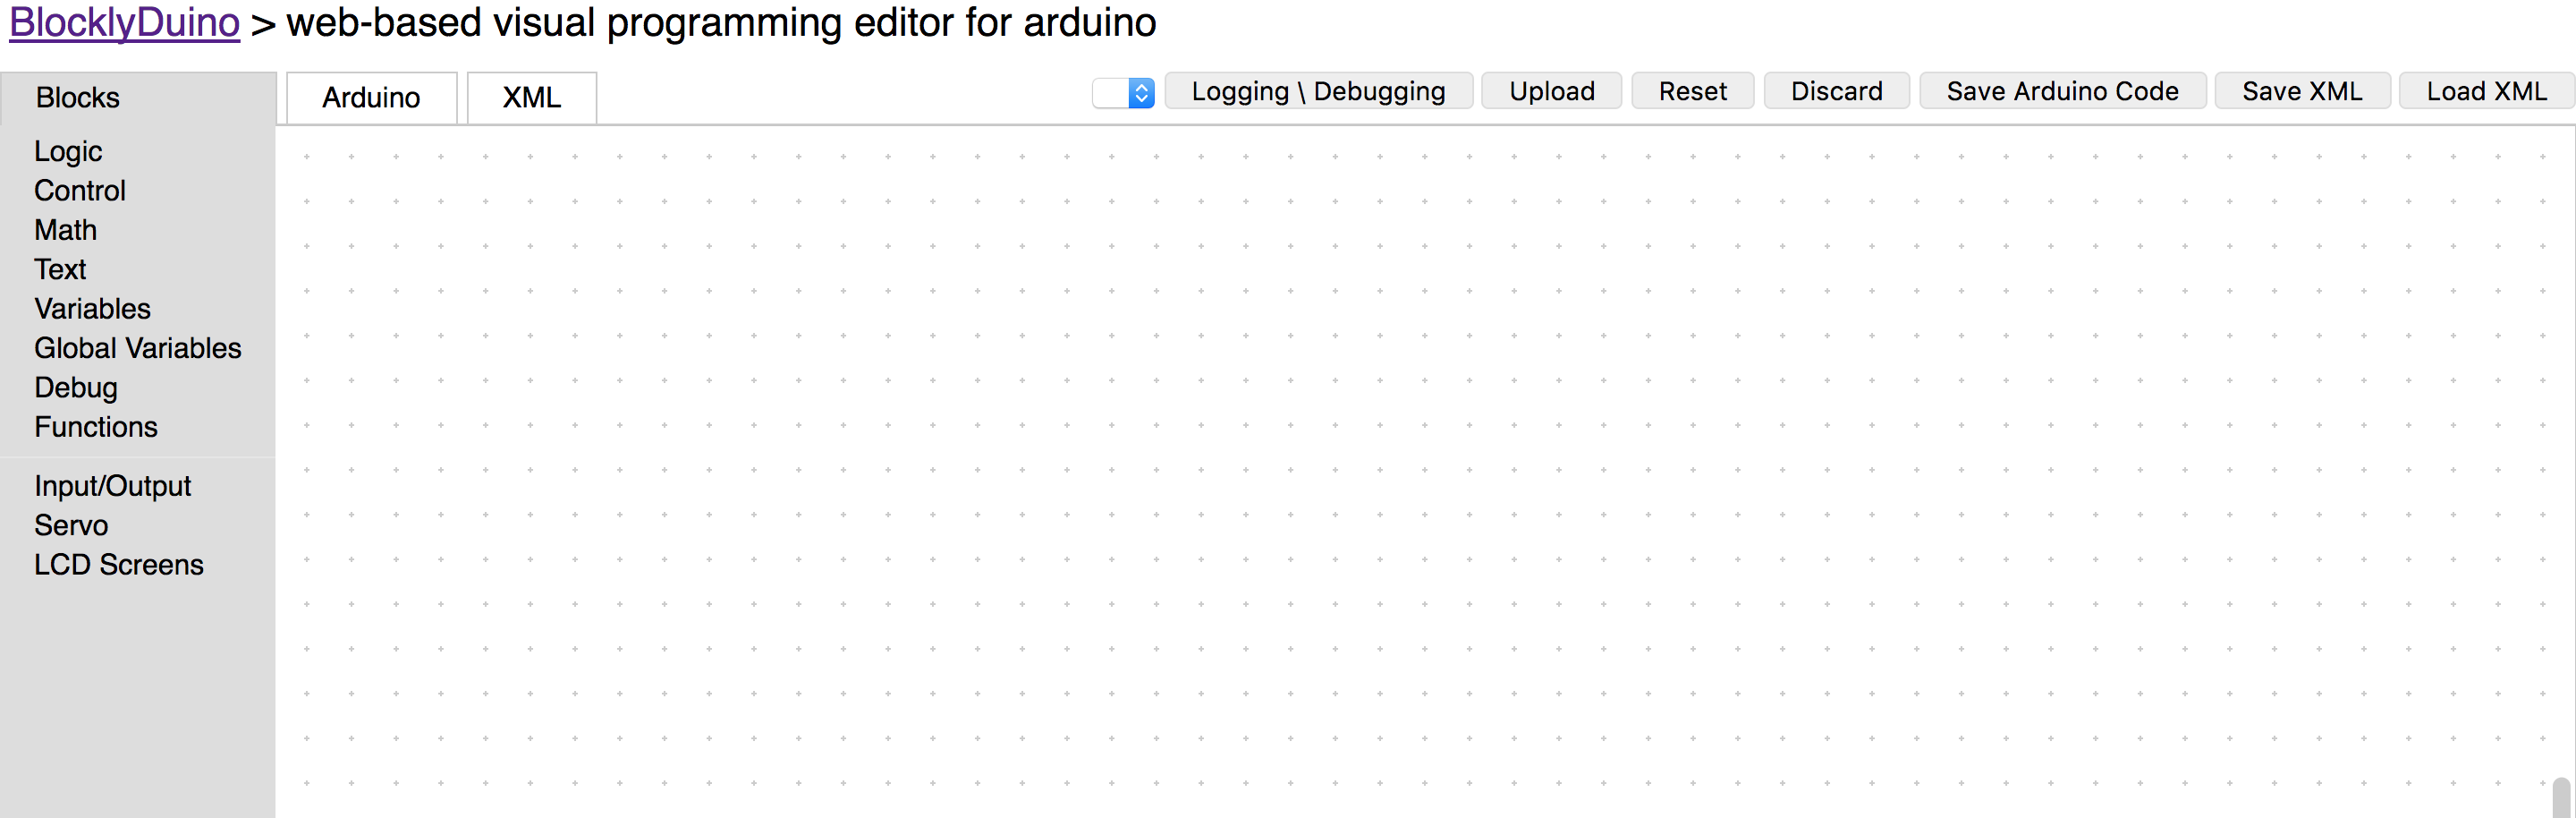
3) Now open your Block Environment, http://127.0.0.1:3000/. Click on Discard if you see blocks on the screen.
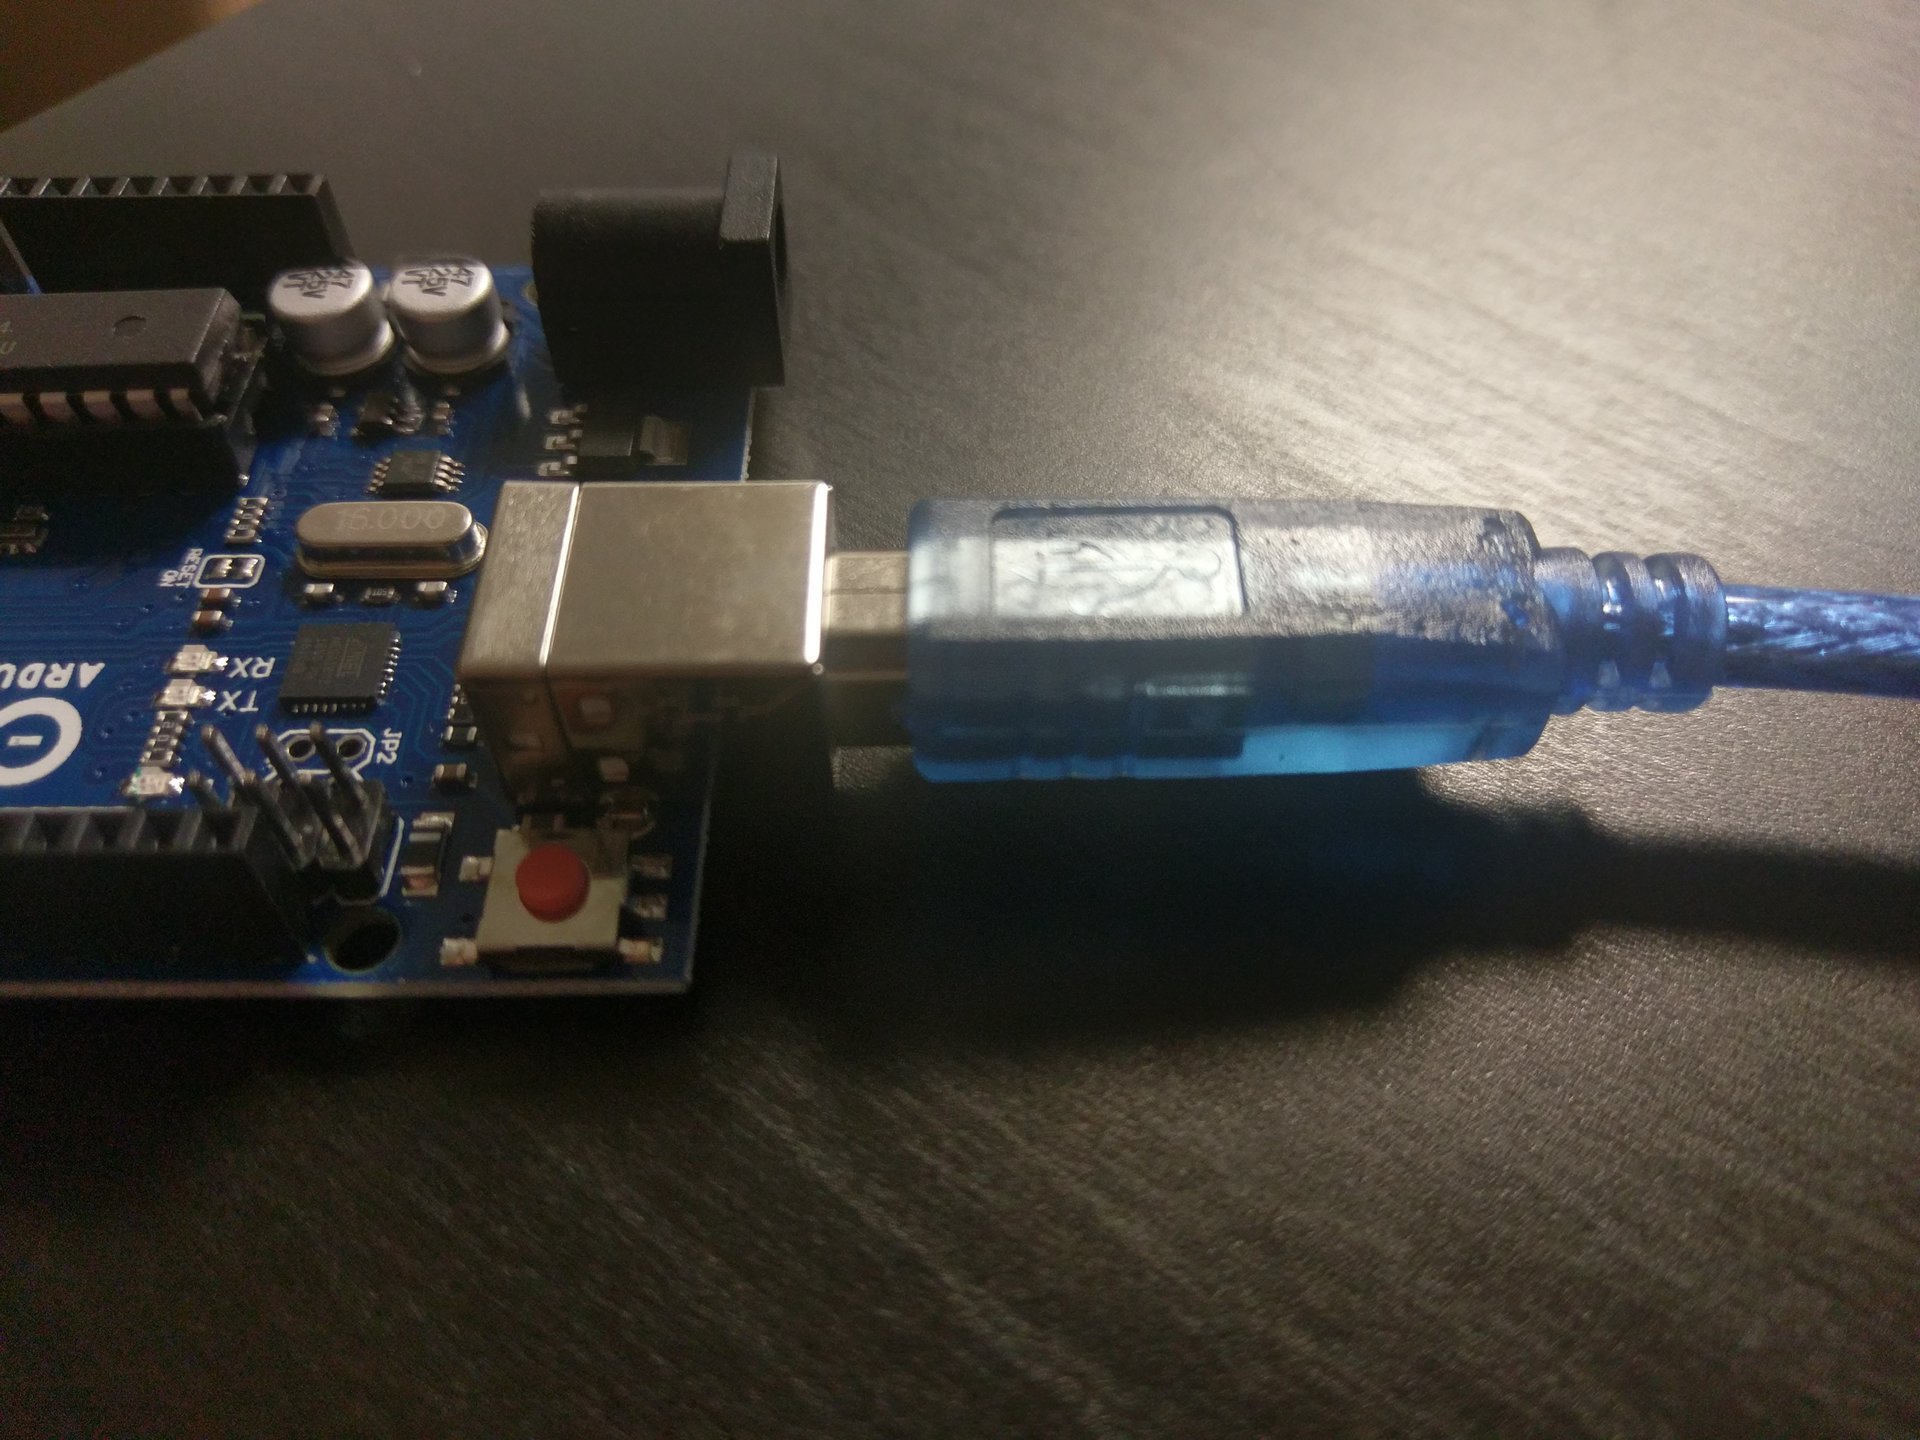
4) Plug your arduino into the computer.
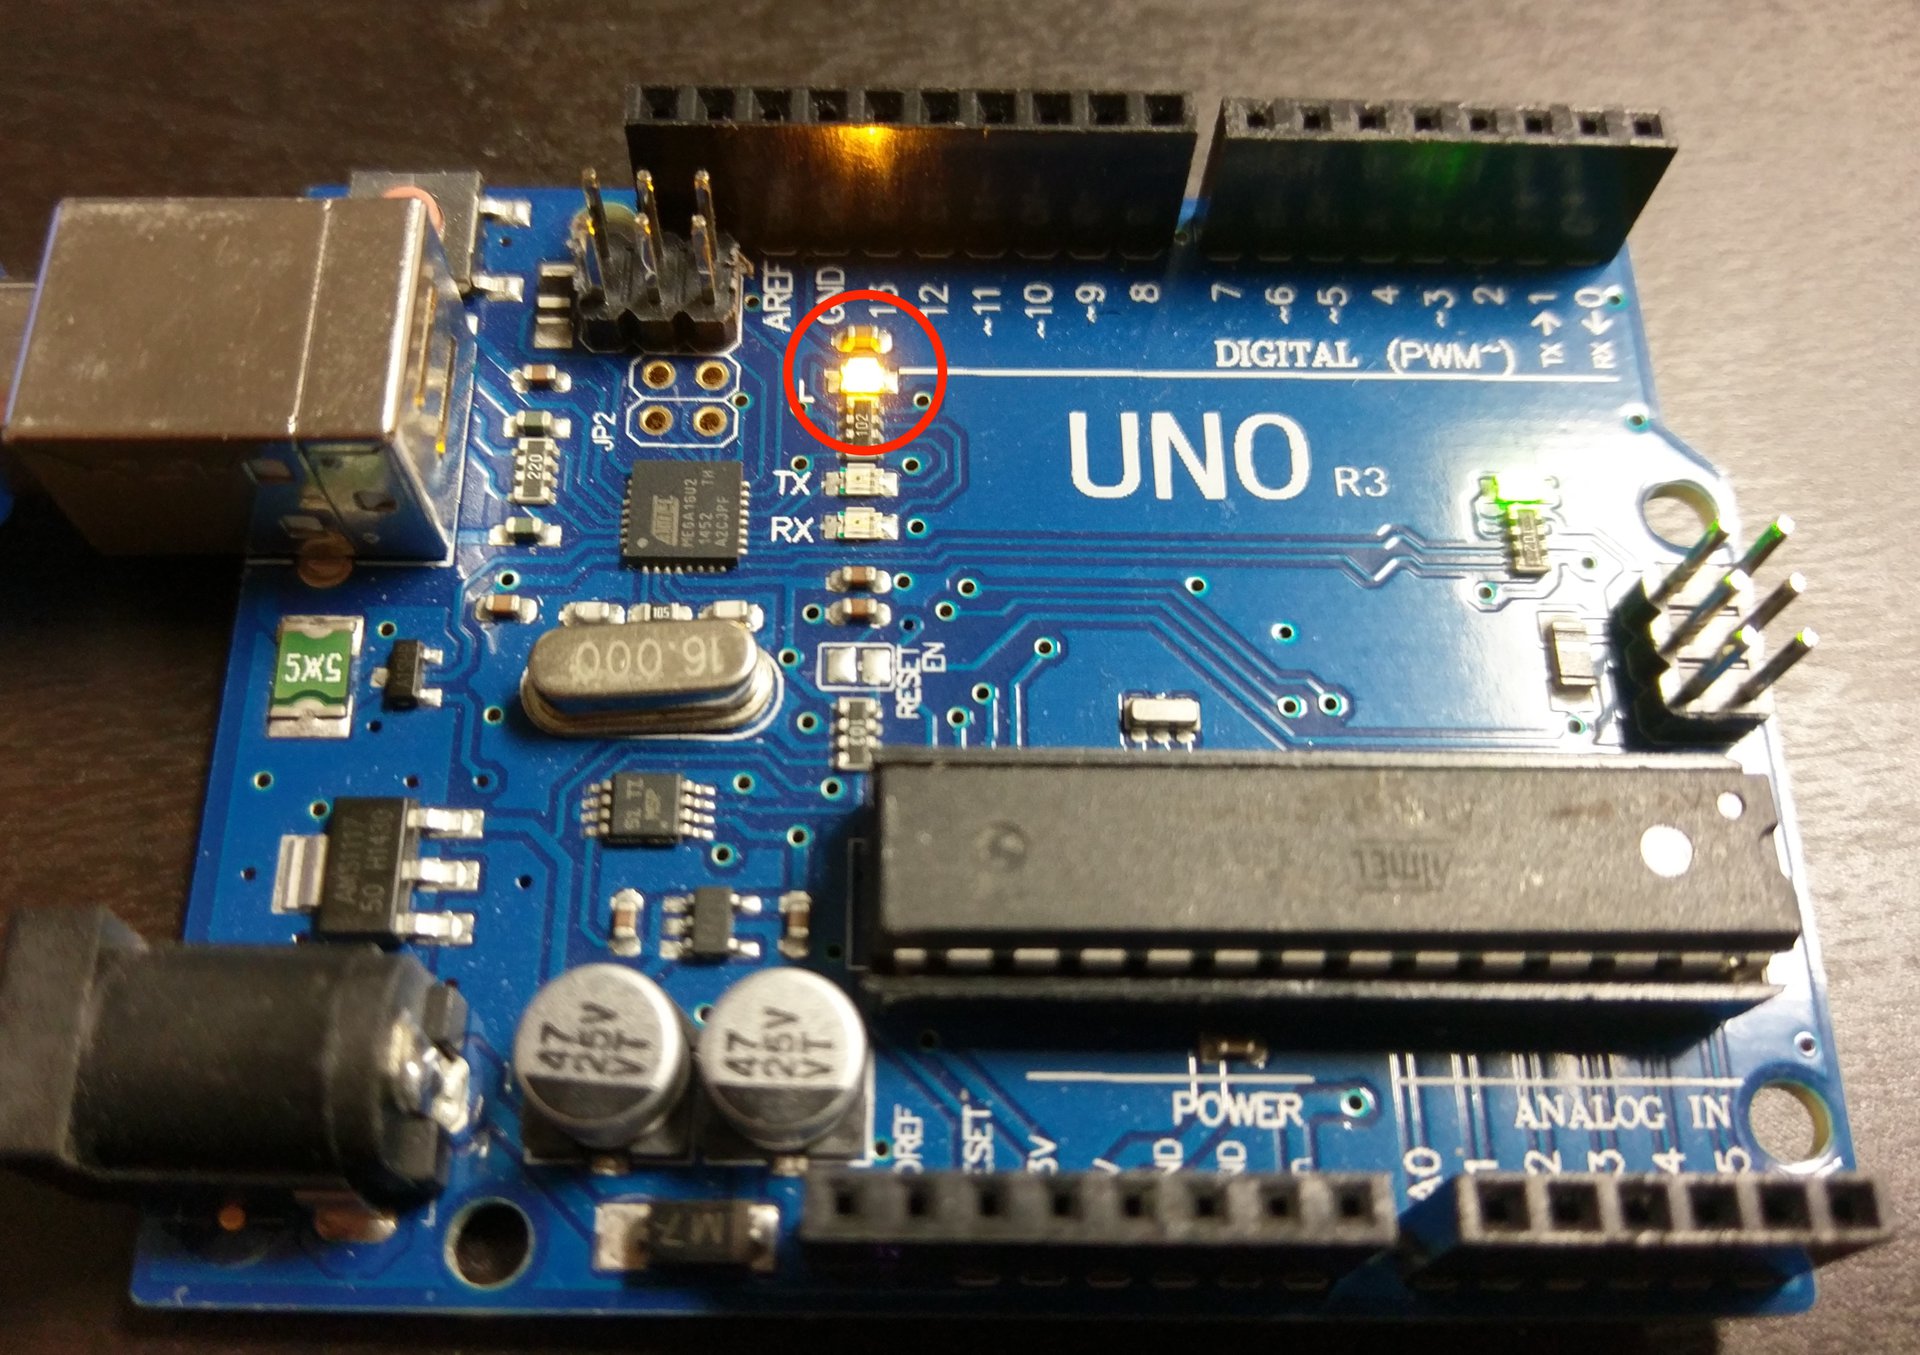
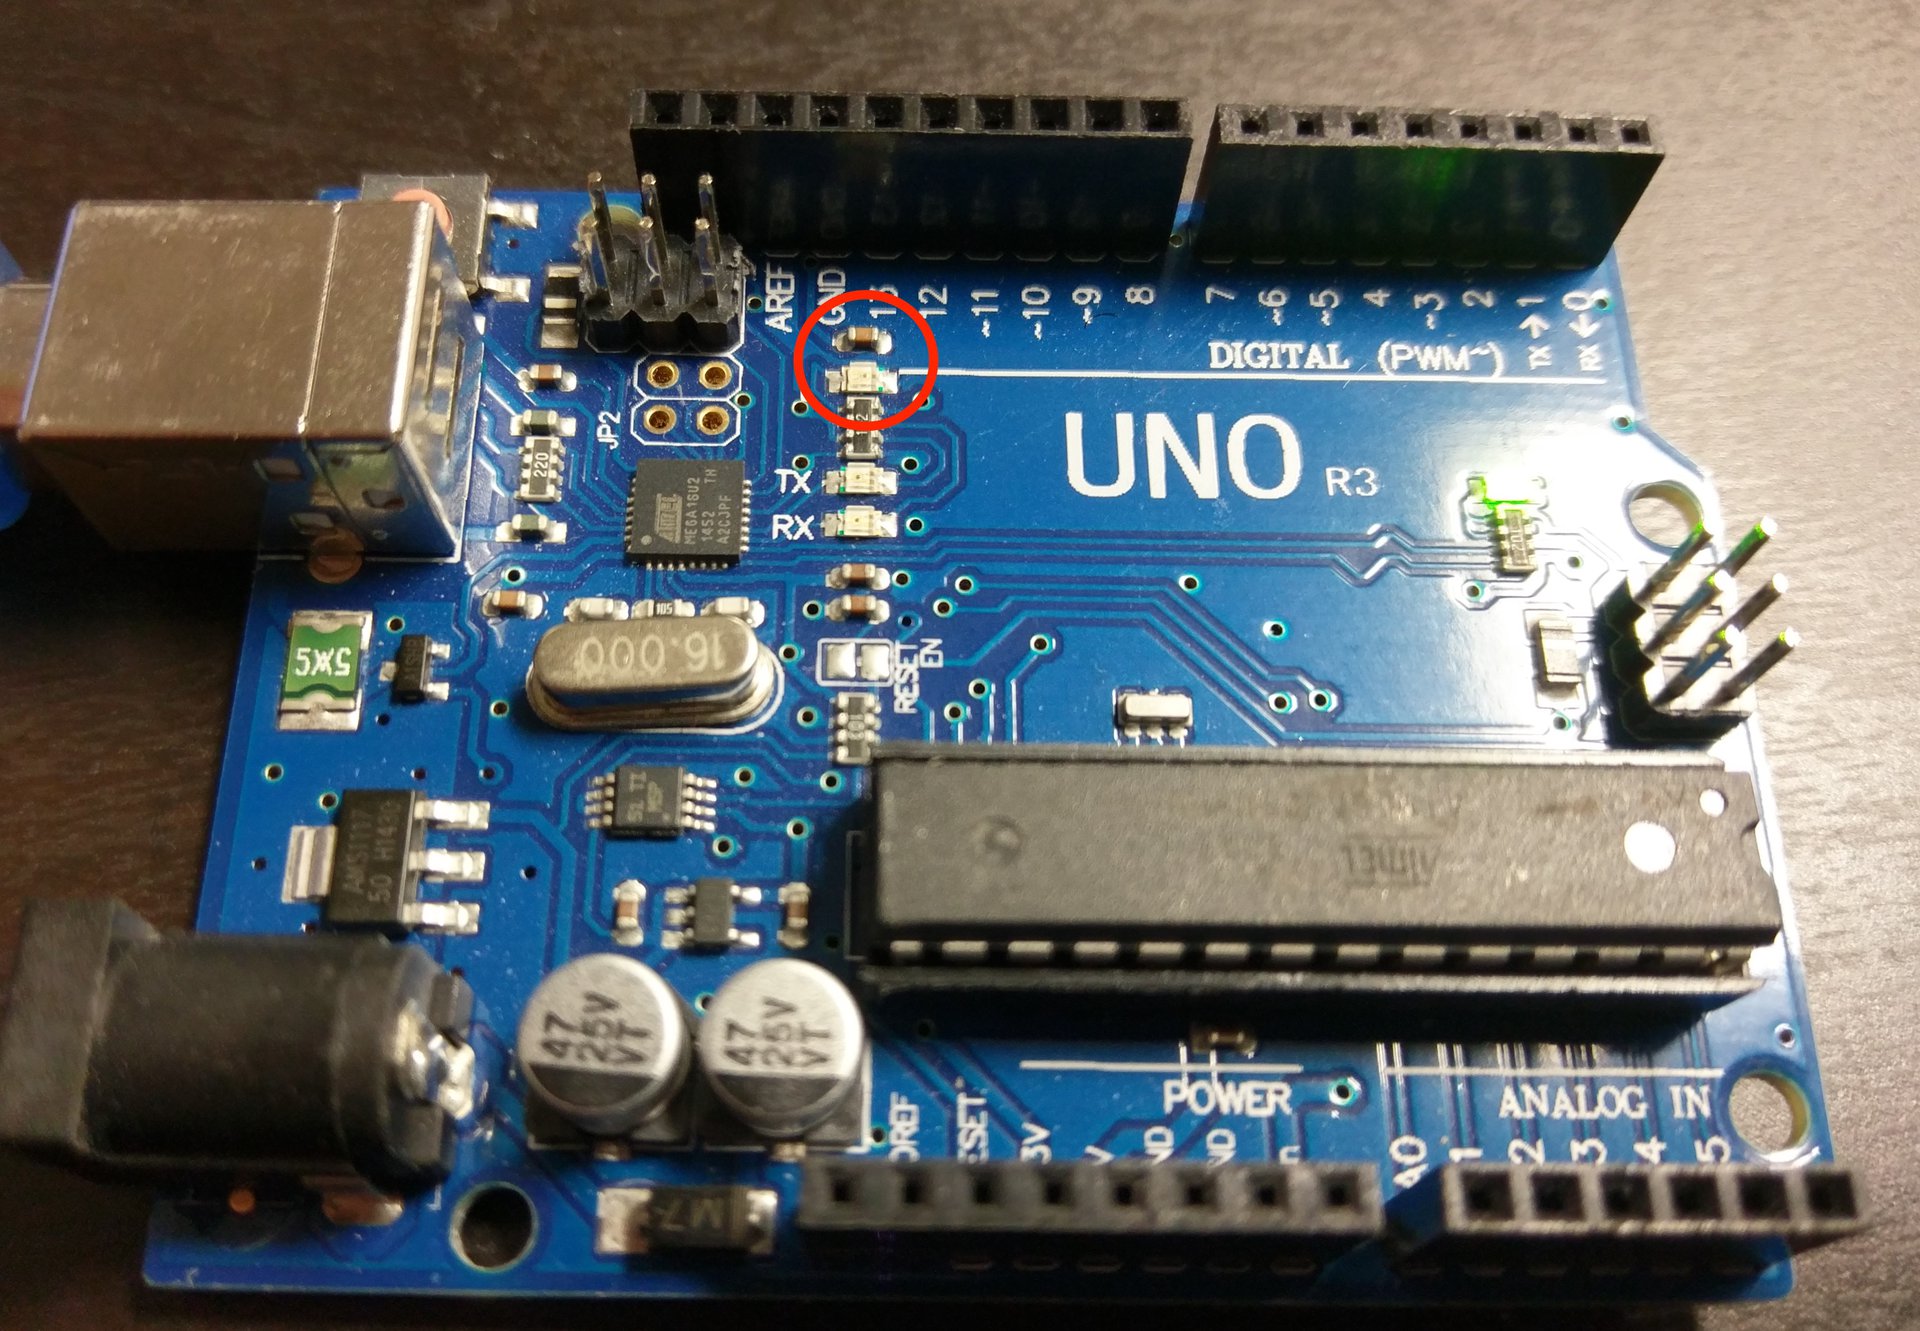
5) (Challenge) Can you make built in led (pin 13) blink every second like we did in the first class. Ask if you need help. This is a test step, meaning that we want to test something small before we build something big. It’a good habit to get into.
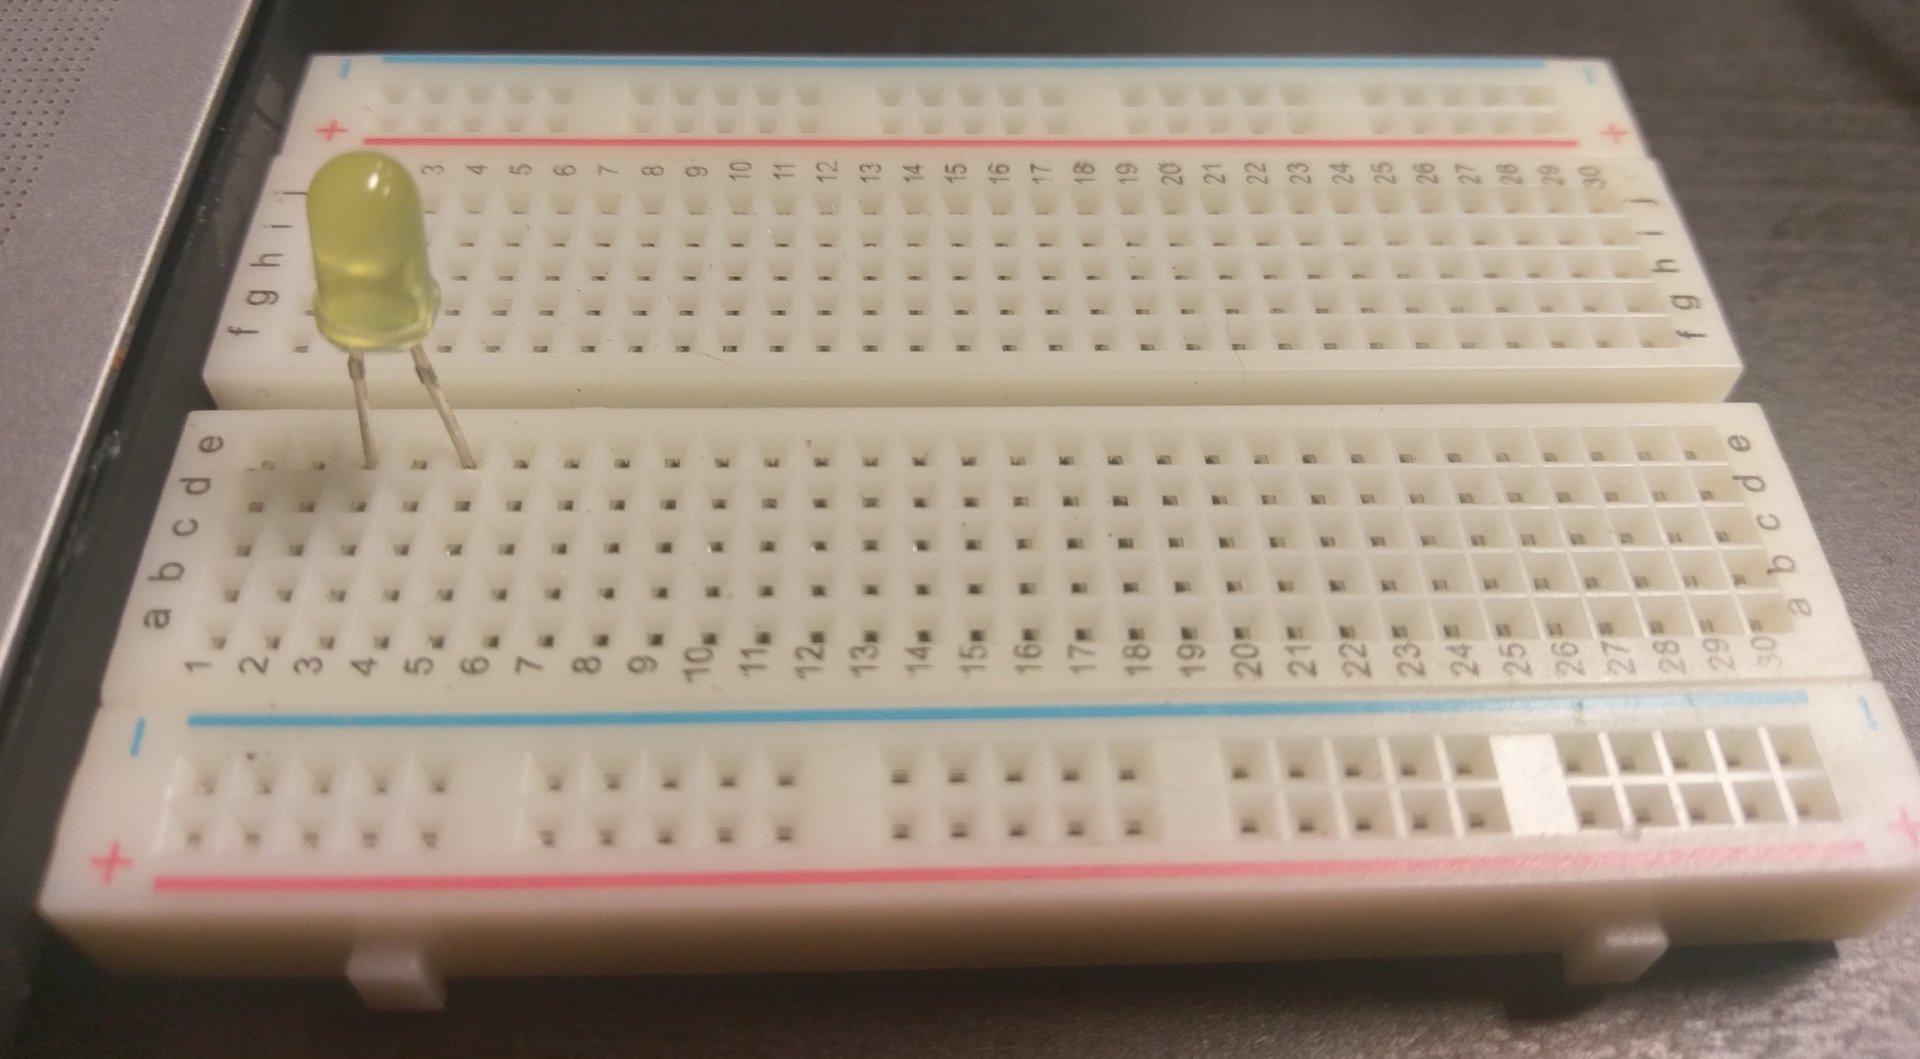
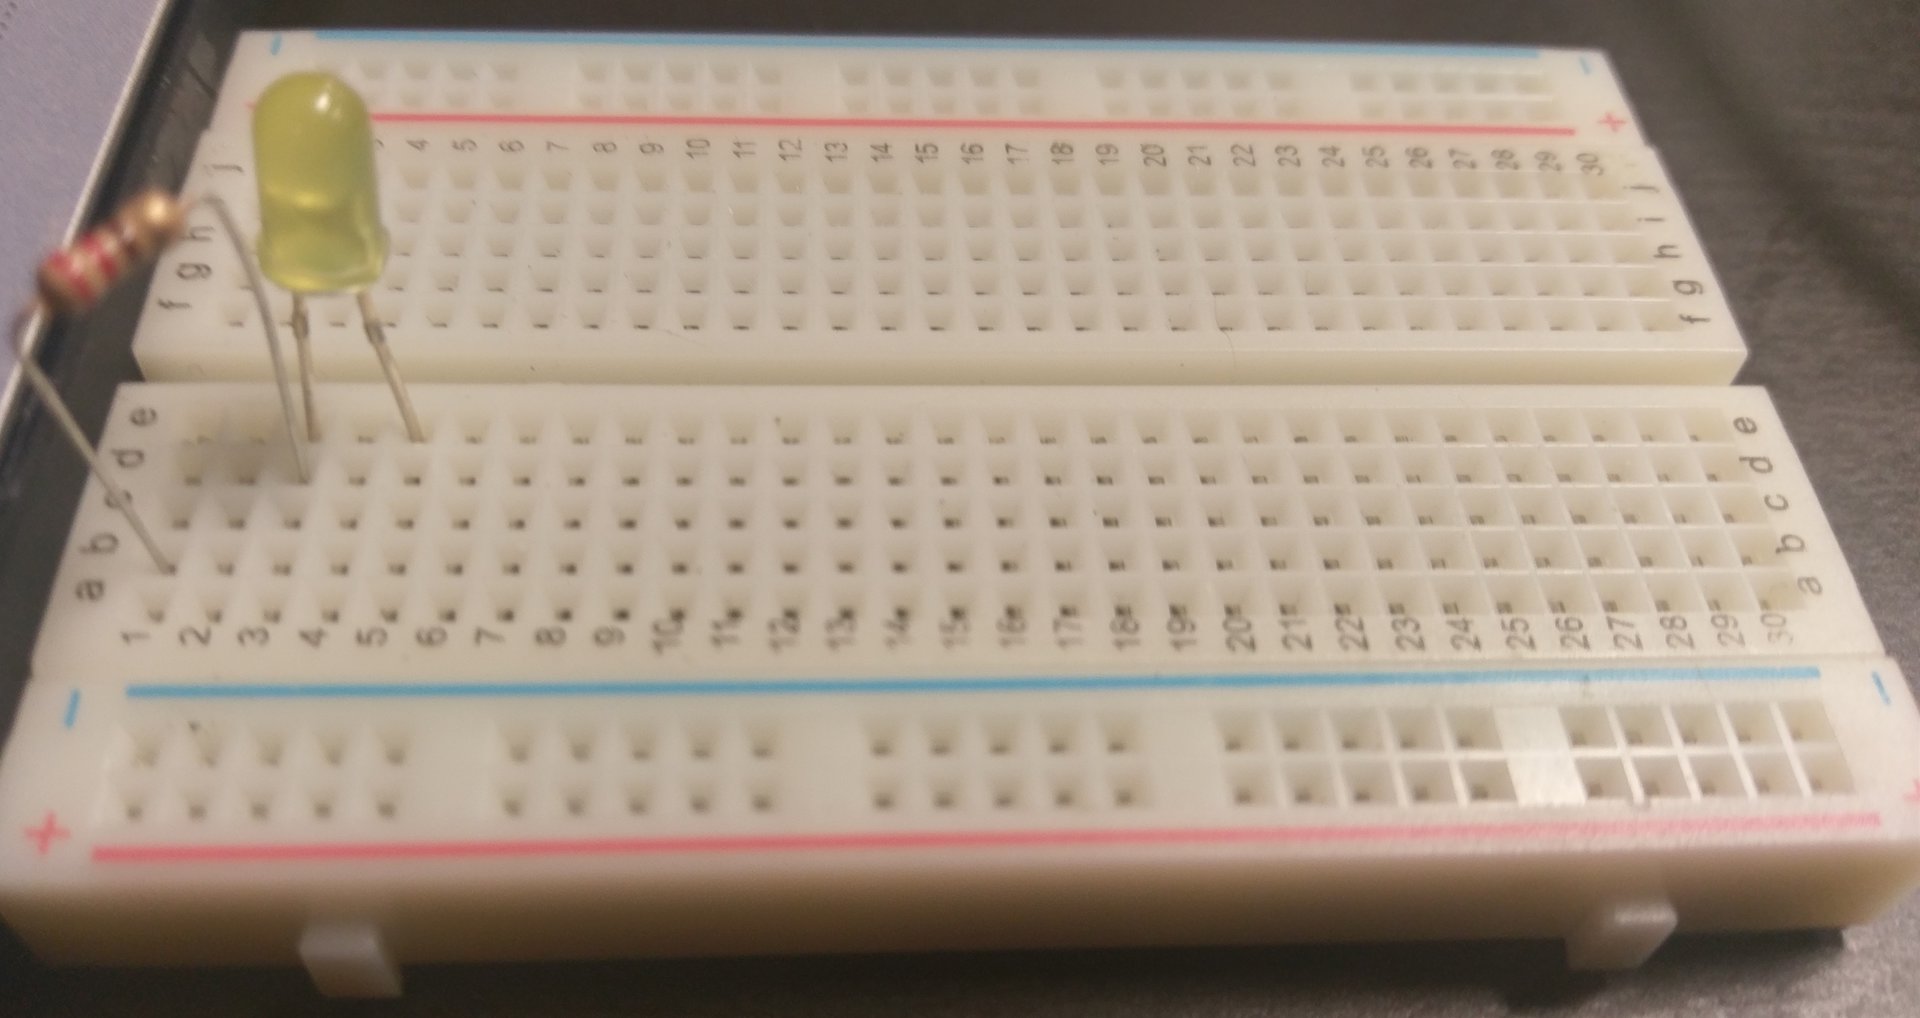
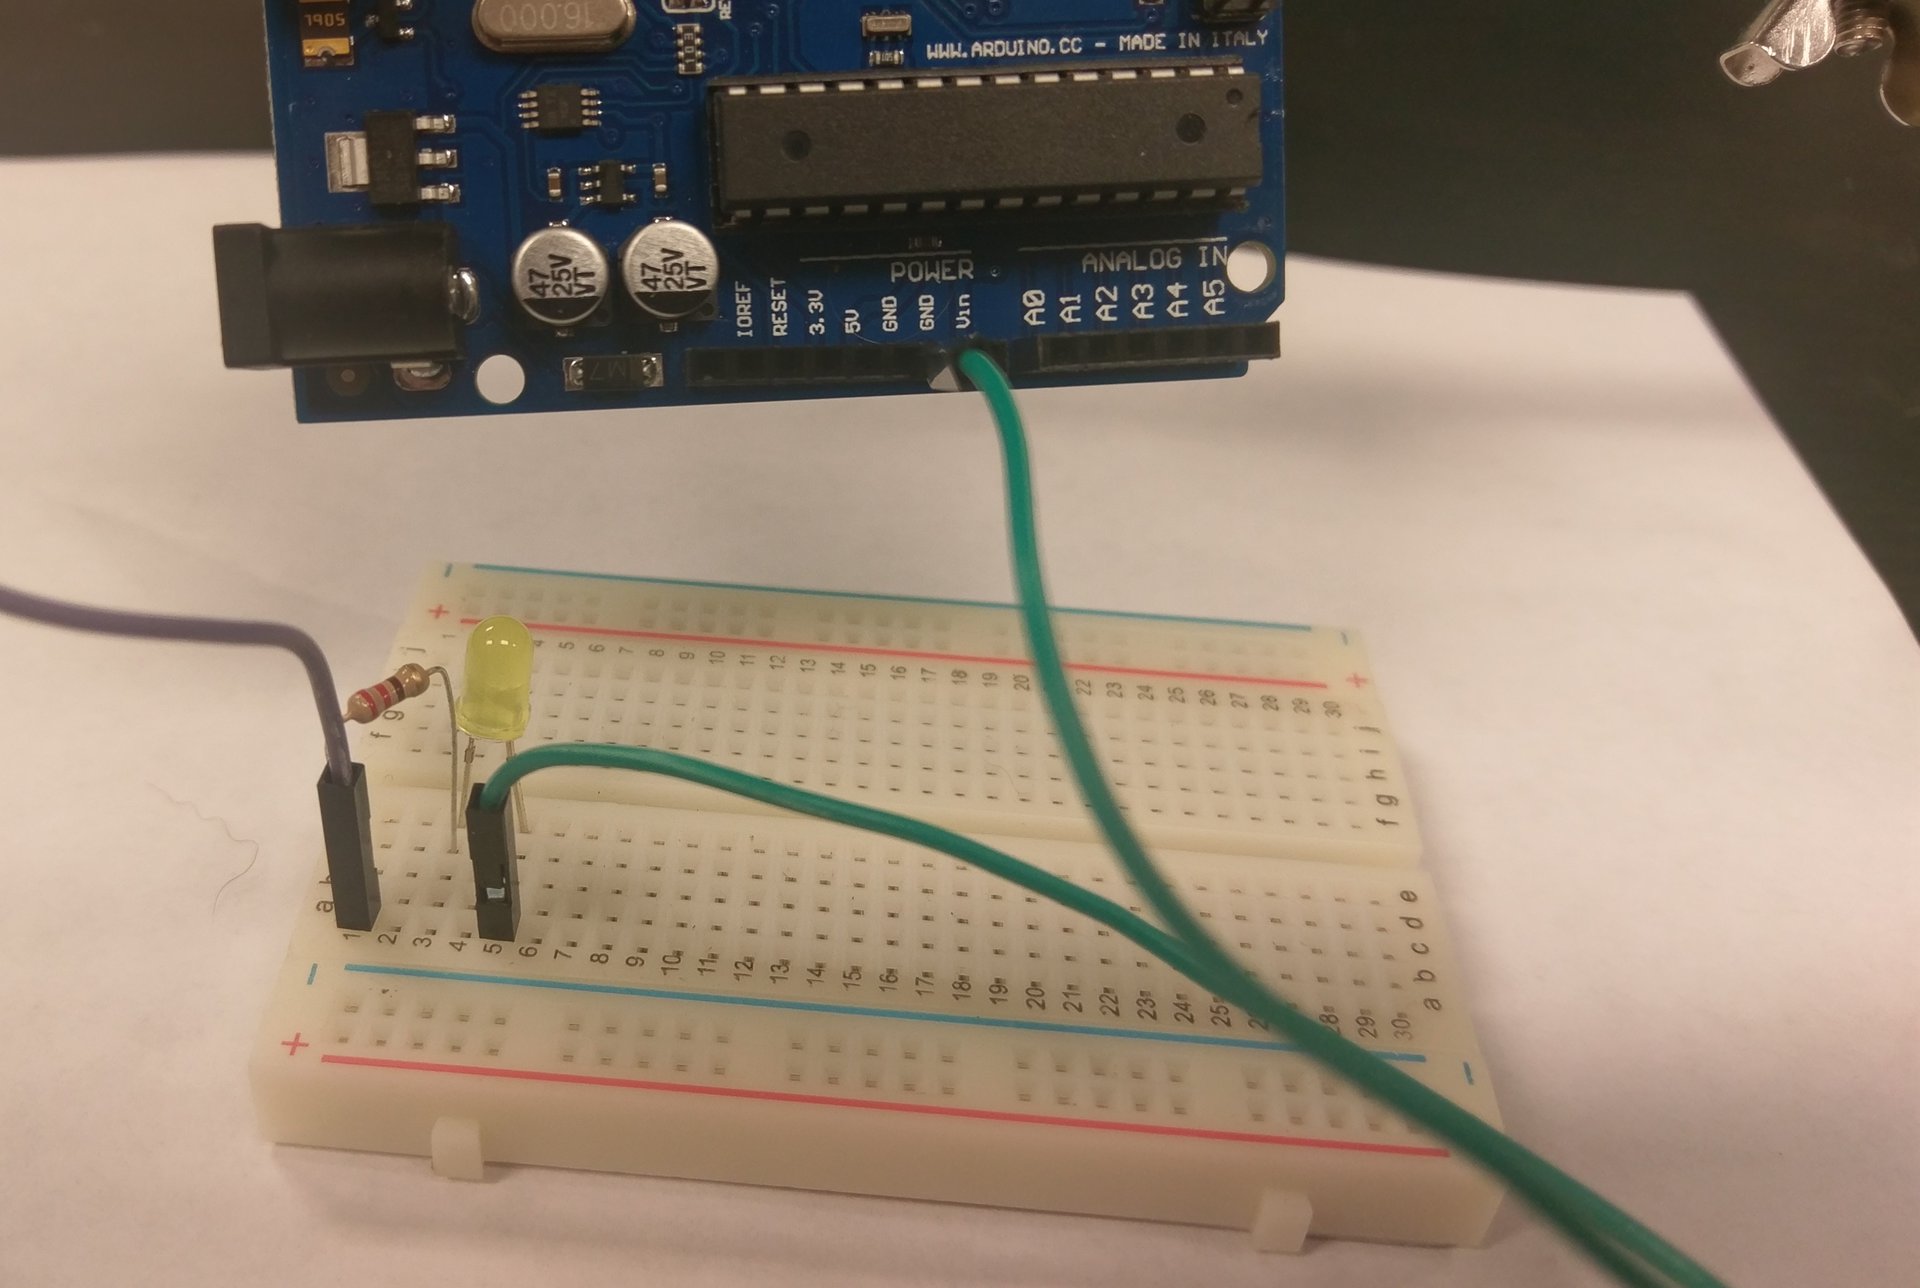
6) Take the long end of the led and plug it into (3,e) of the breadboard and plug the short end of the led into (5, e).
7) Take one end of the resistor and plug it into (3, d) and take the other end of the resistor and plug it into (1, b).
8) Take a male to male jumper wire and plug it into (1,a) of the breadboard. Take other end and plug it into pin 7 of the arduino.
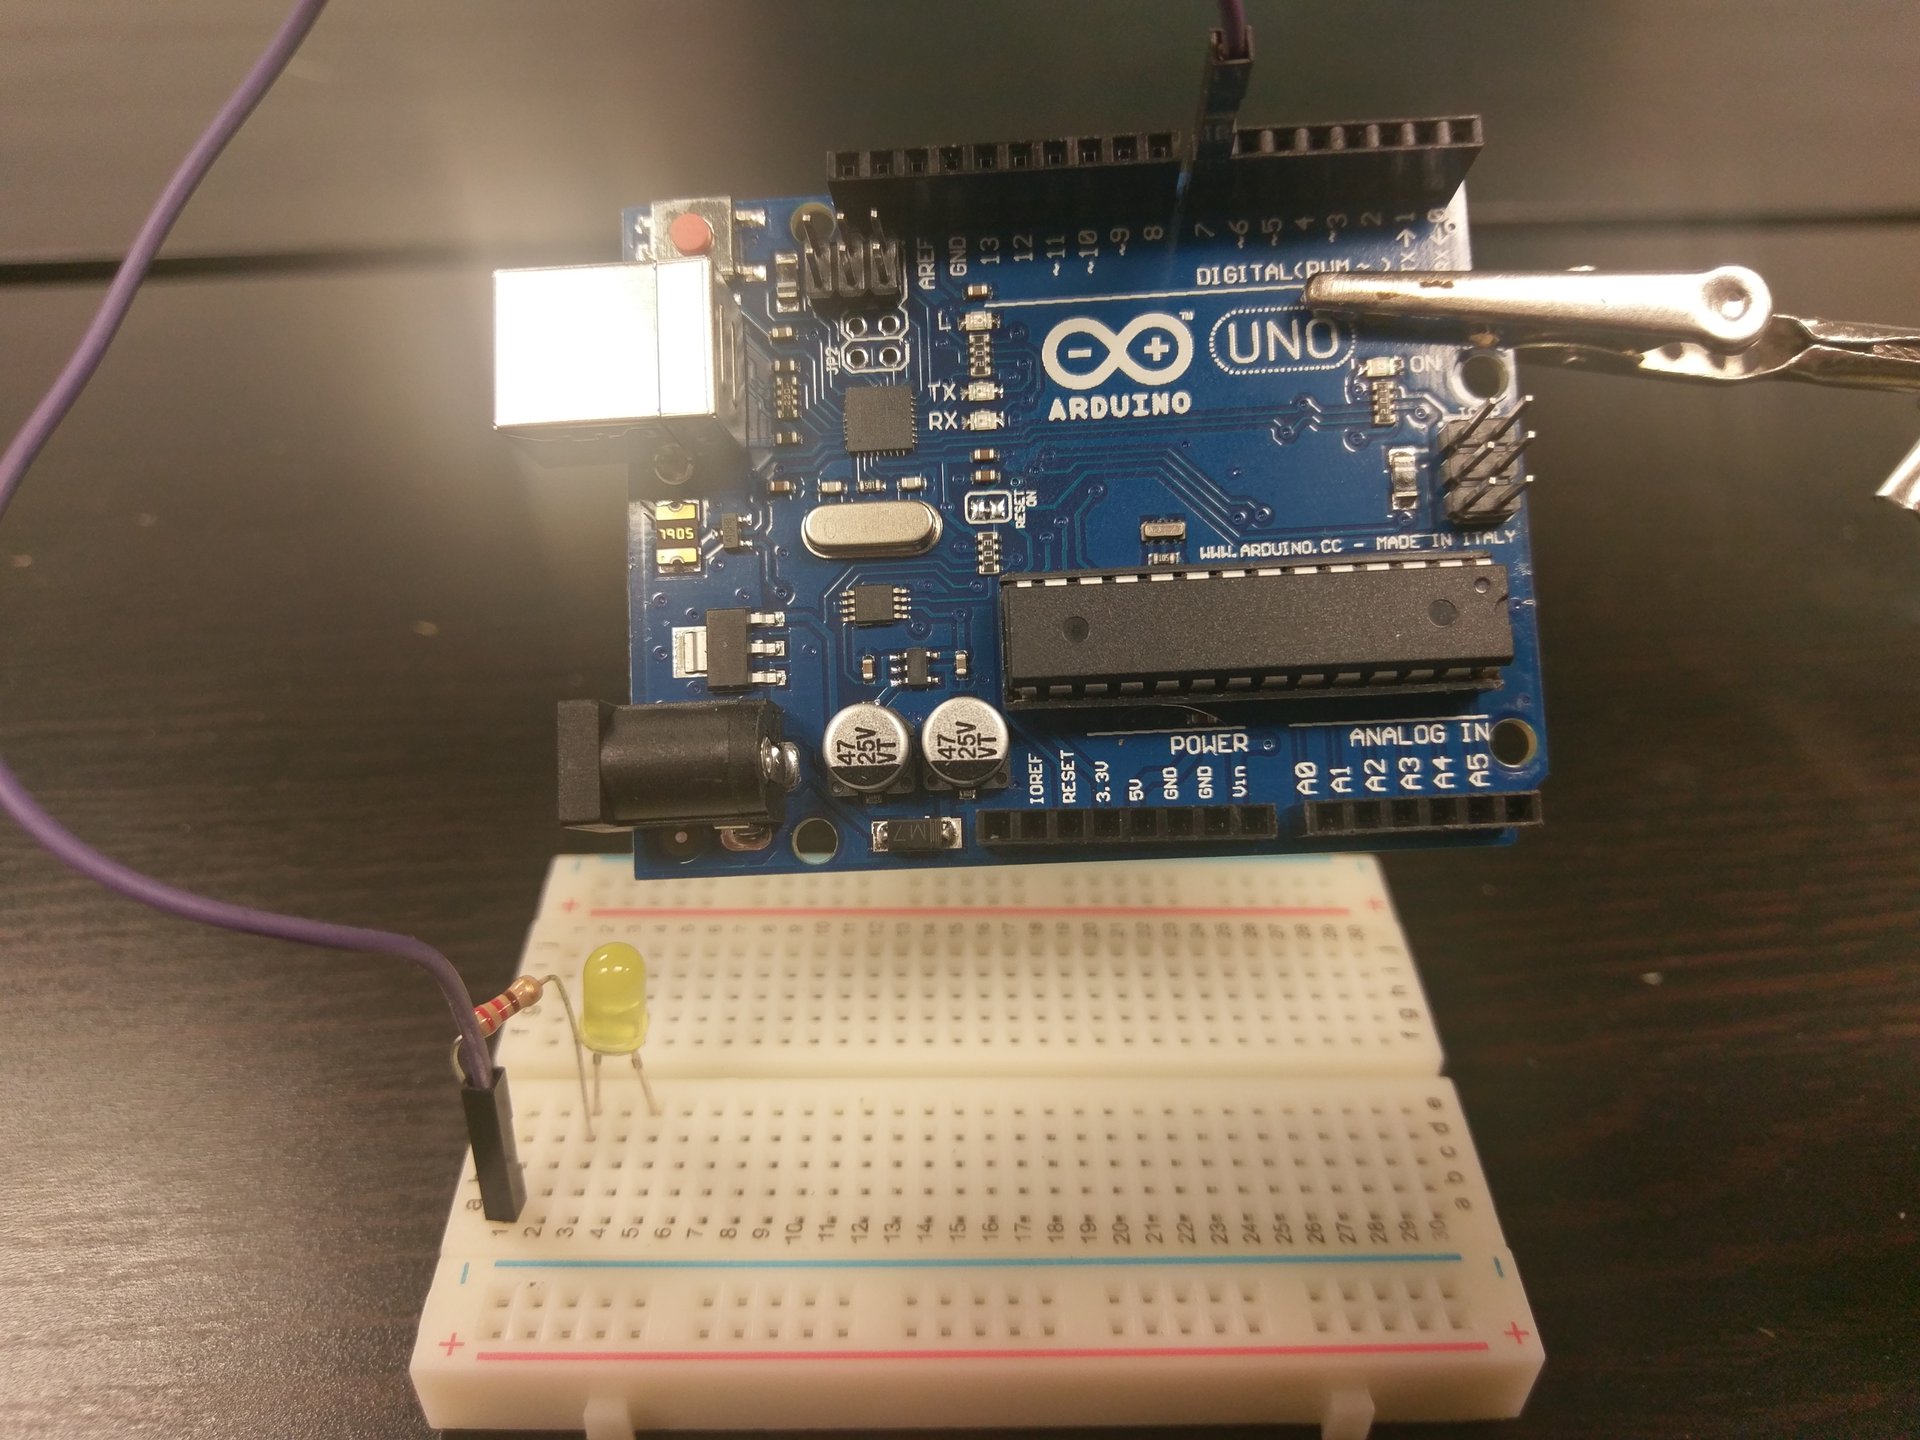
9) Take a male to male jumper wire and plug it into (5, a) of the breadboard. Take the other end and plug it into ground (gnd) of the arduino.
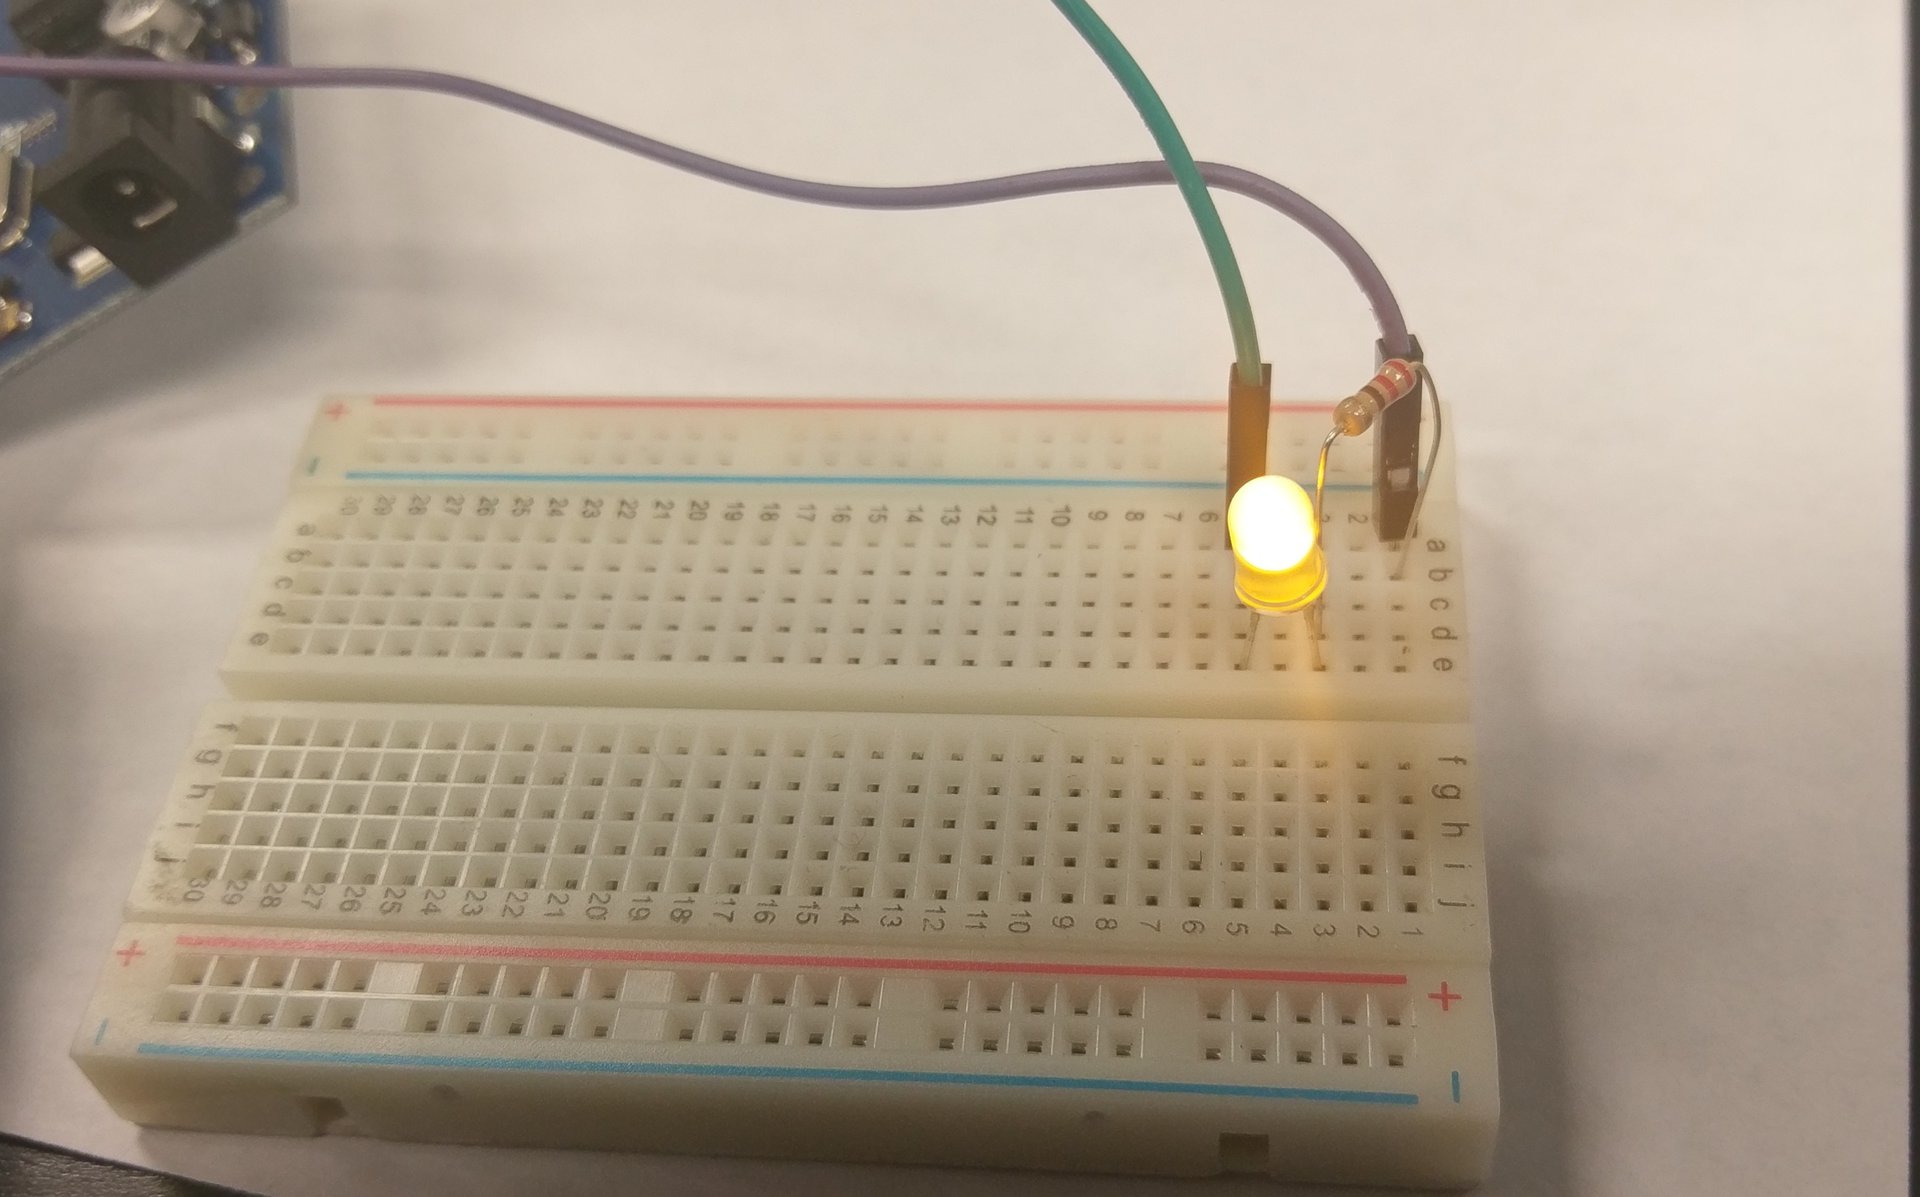
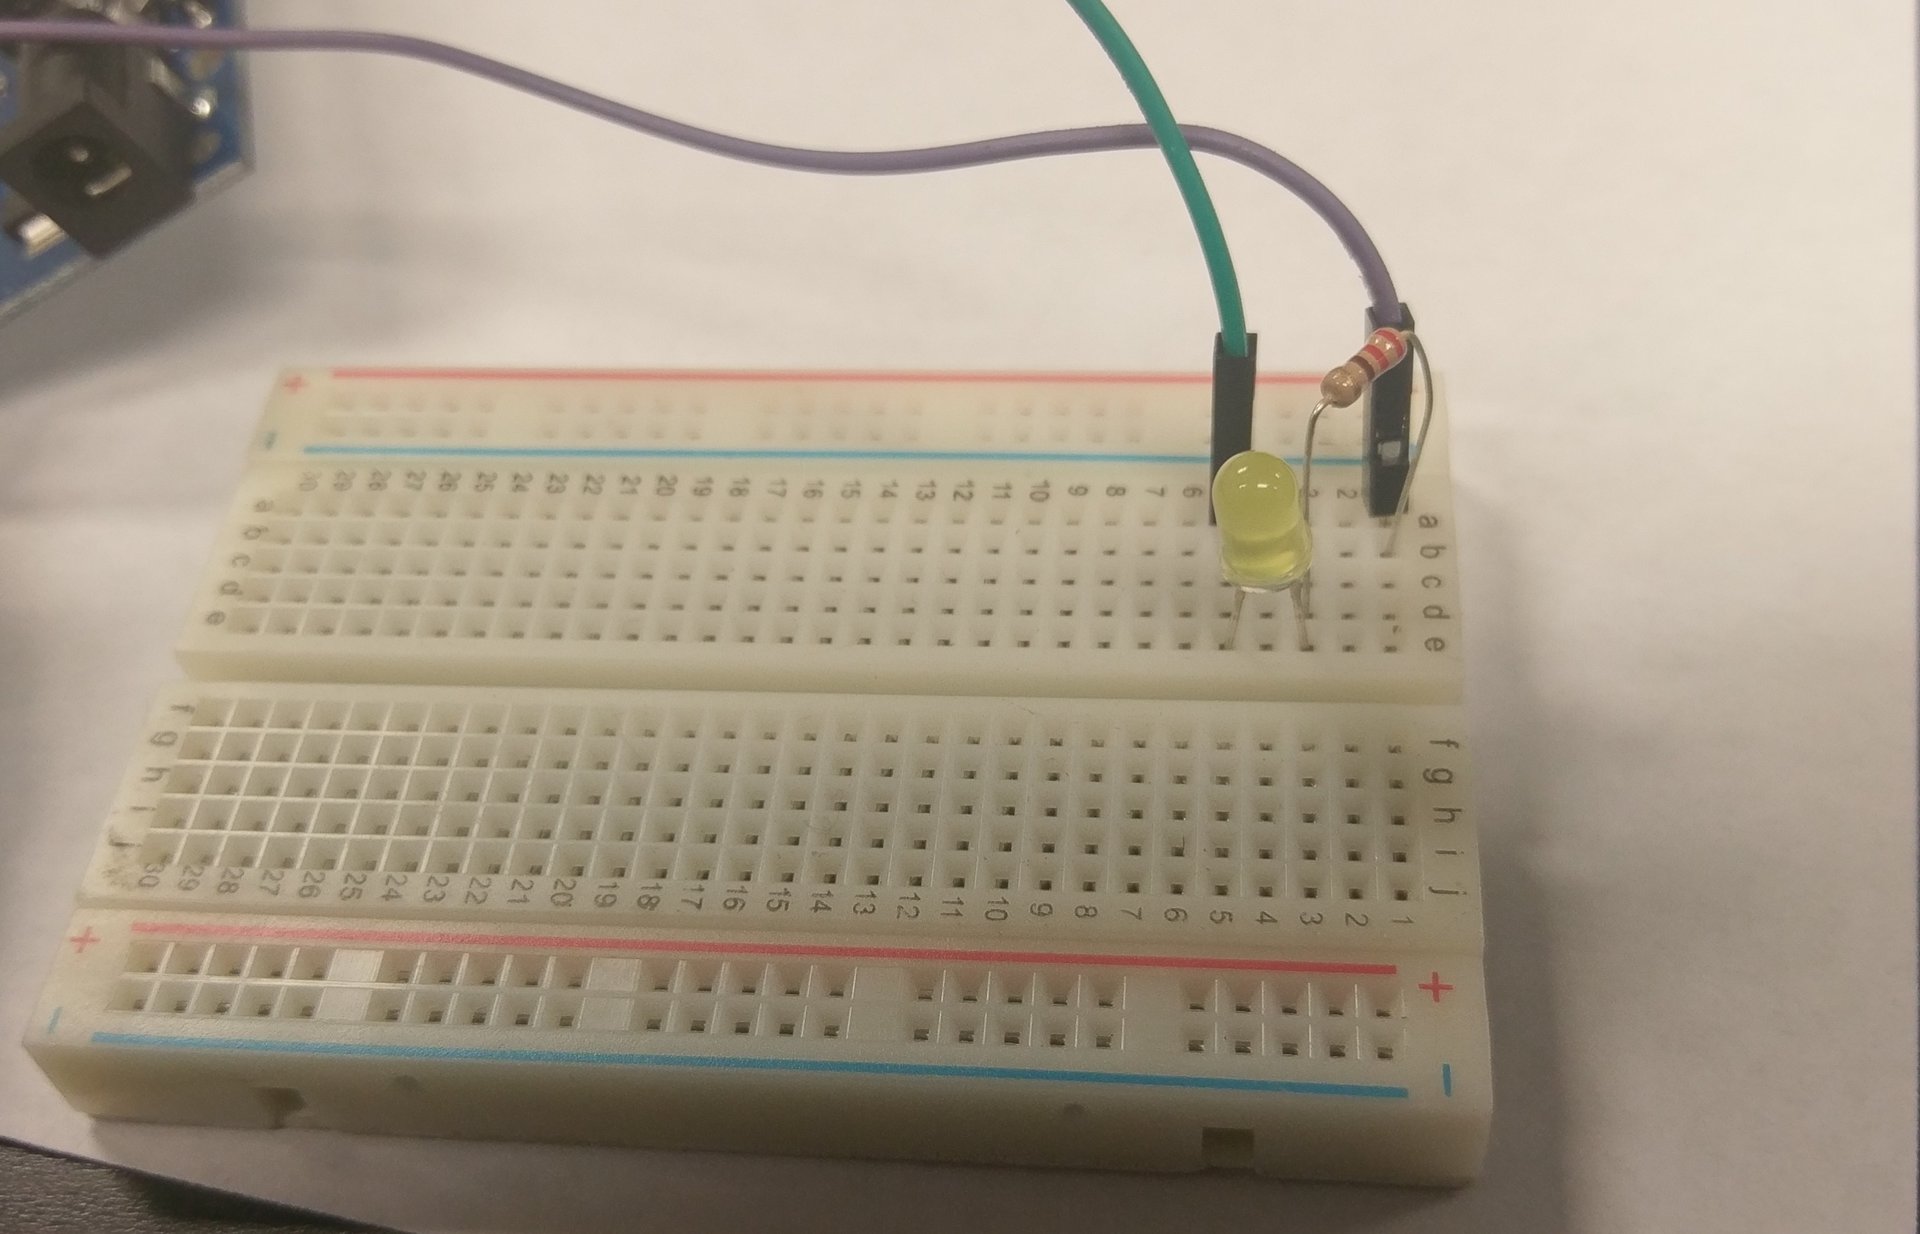
10) (Challenge) Can you take the current program and change it make the led on the breadboard blink.
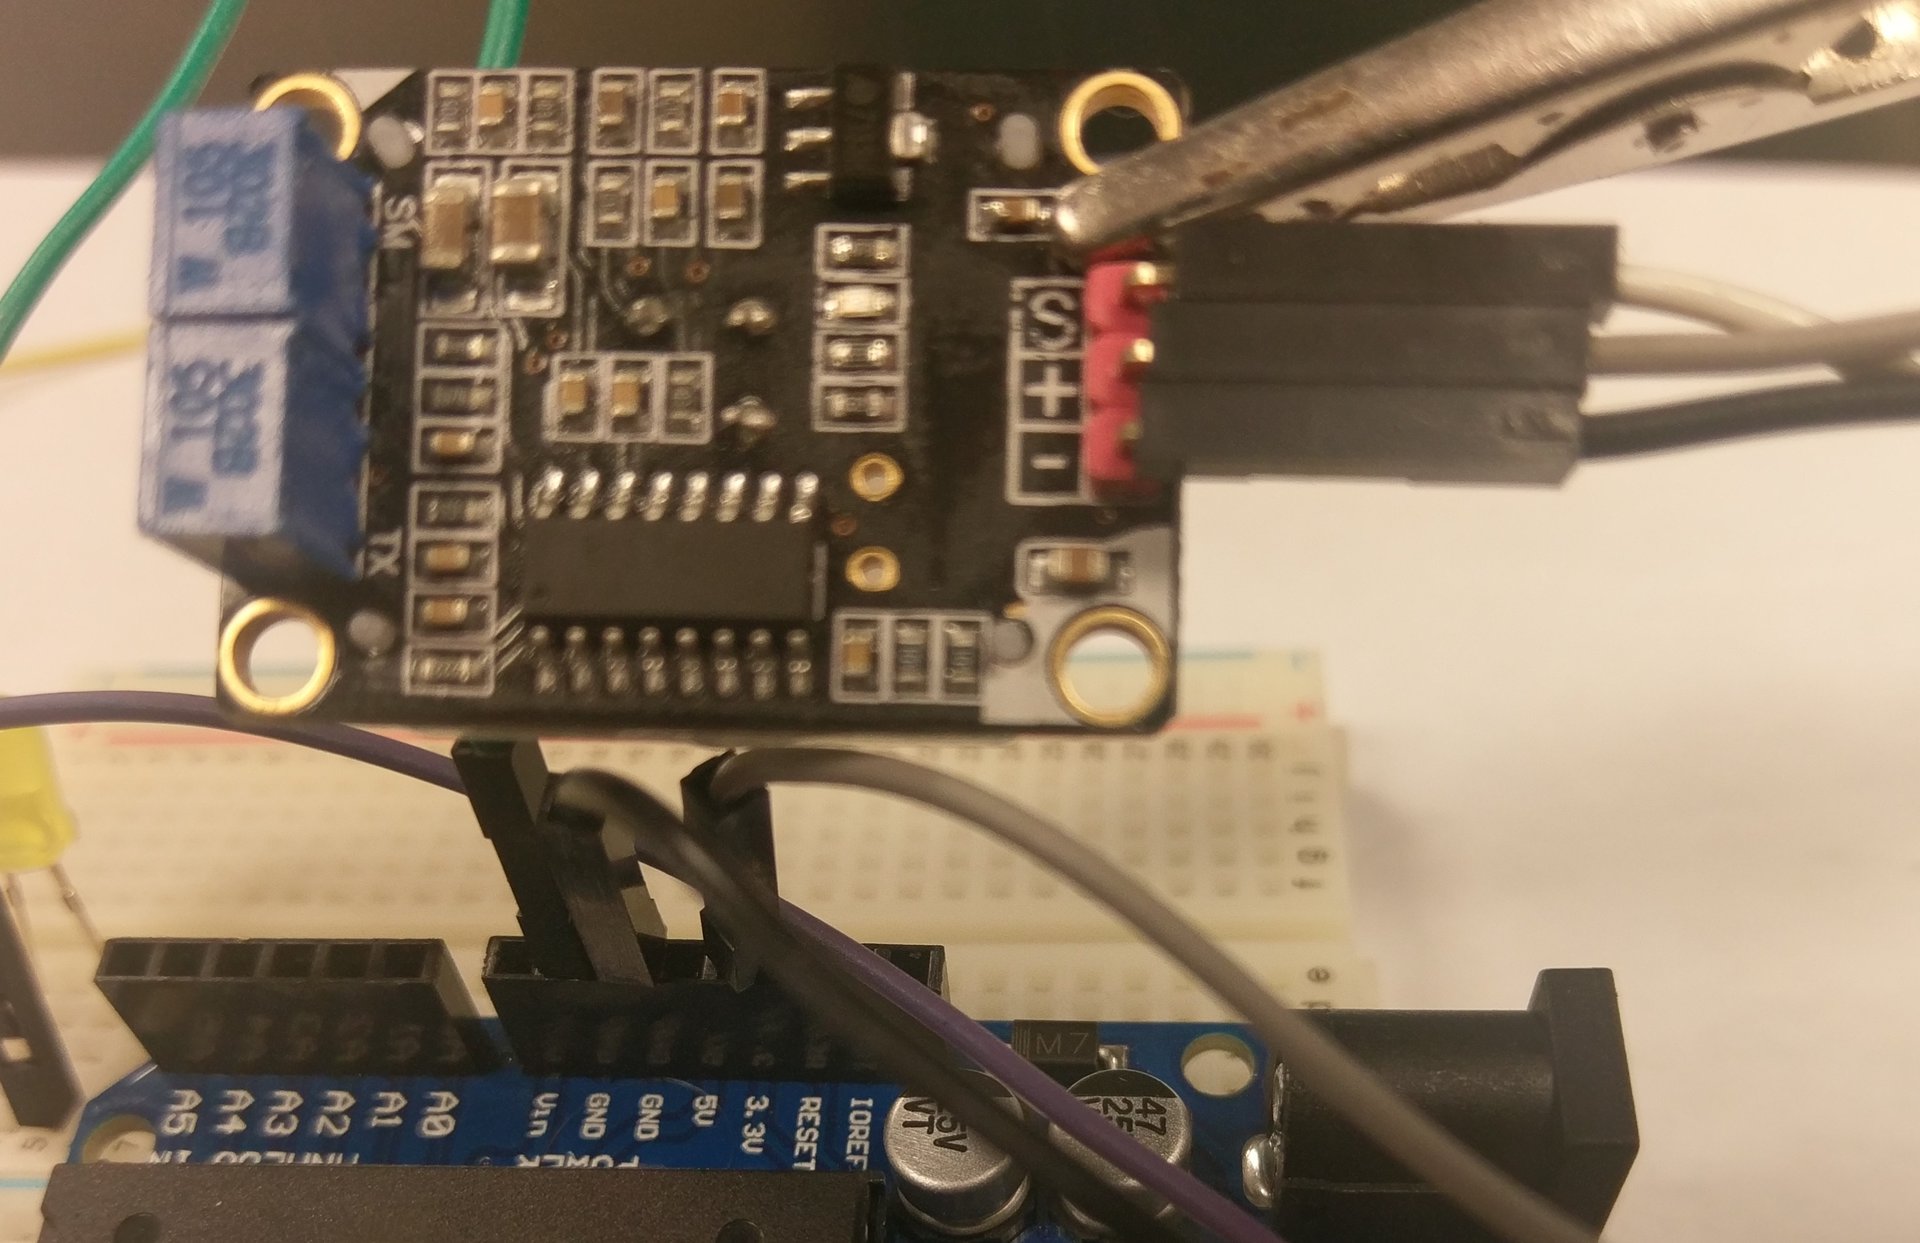
Now we are going to hook up the motion sensor. This motion sensor will send electricity from the S pin to the arduino if it senses
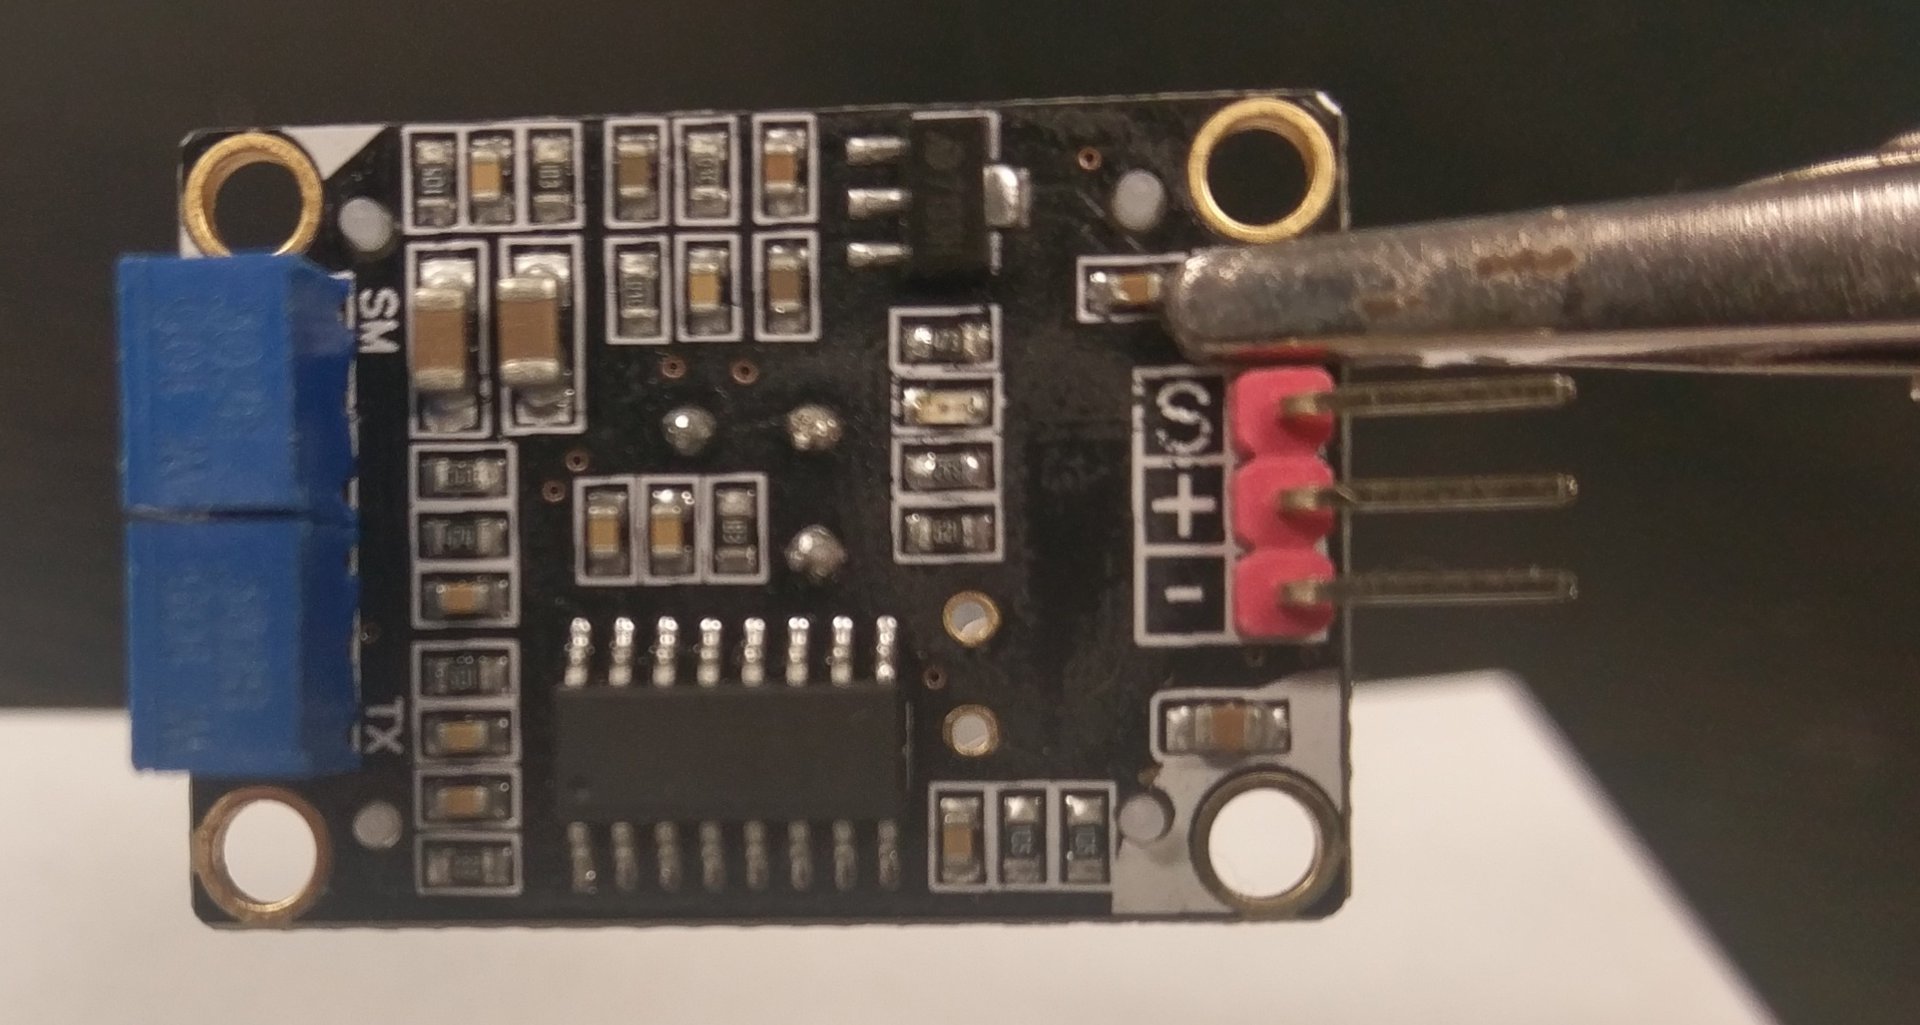
11) Take a male to female jumper wire and plug one side into the S pin and the other side into pin 2 of the arduino.
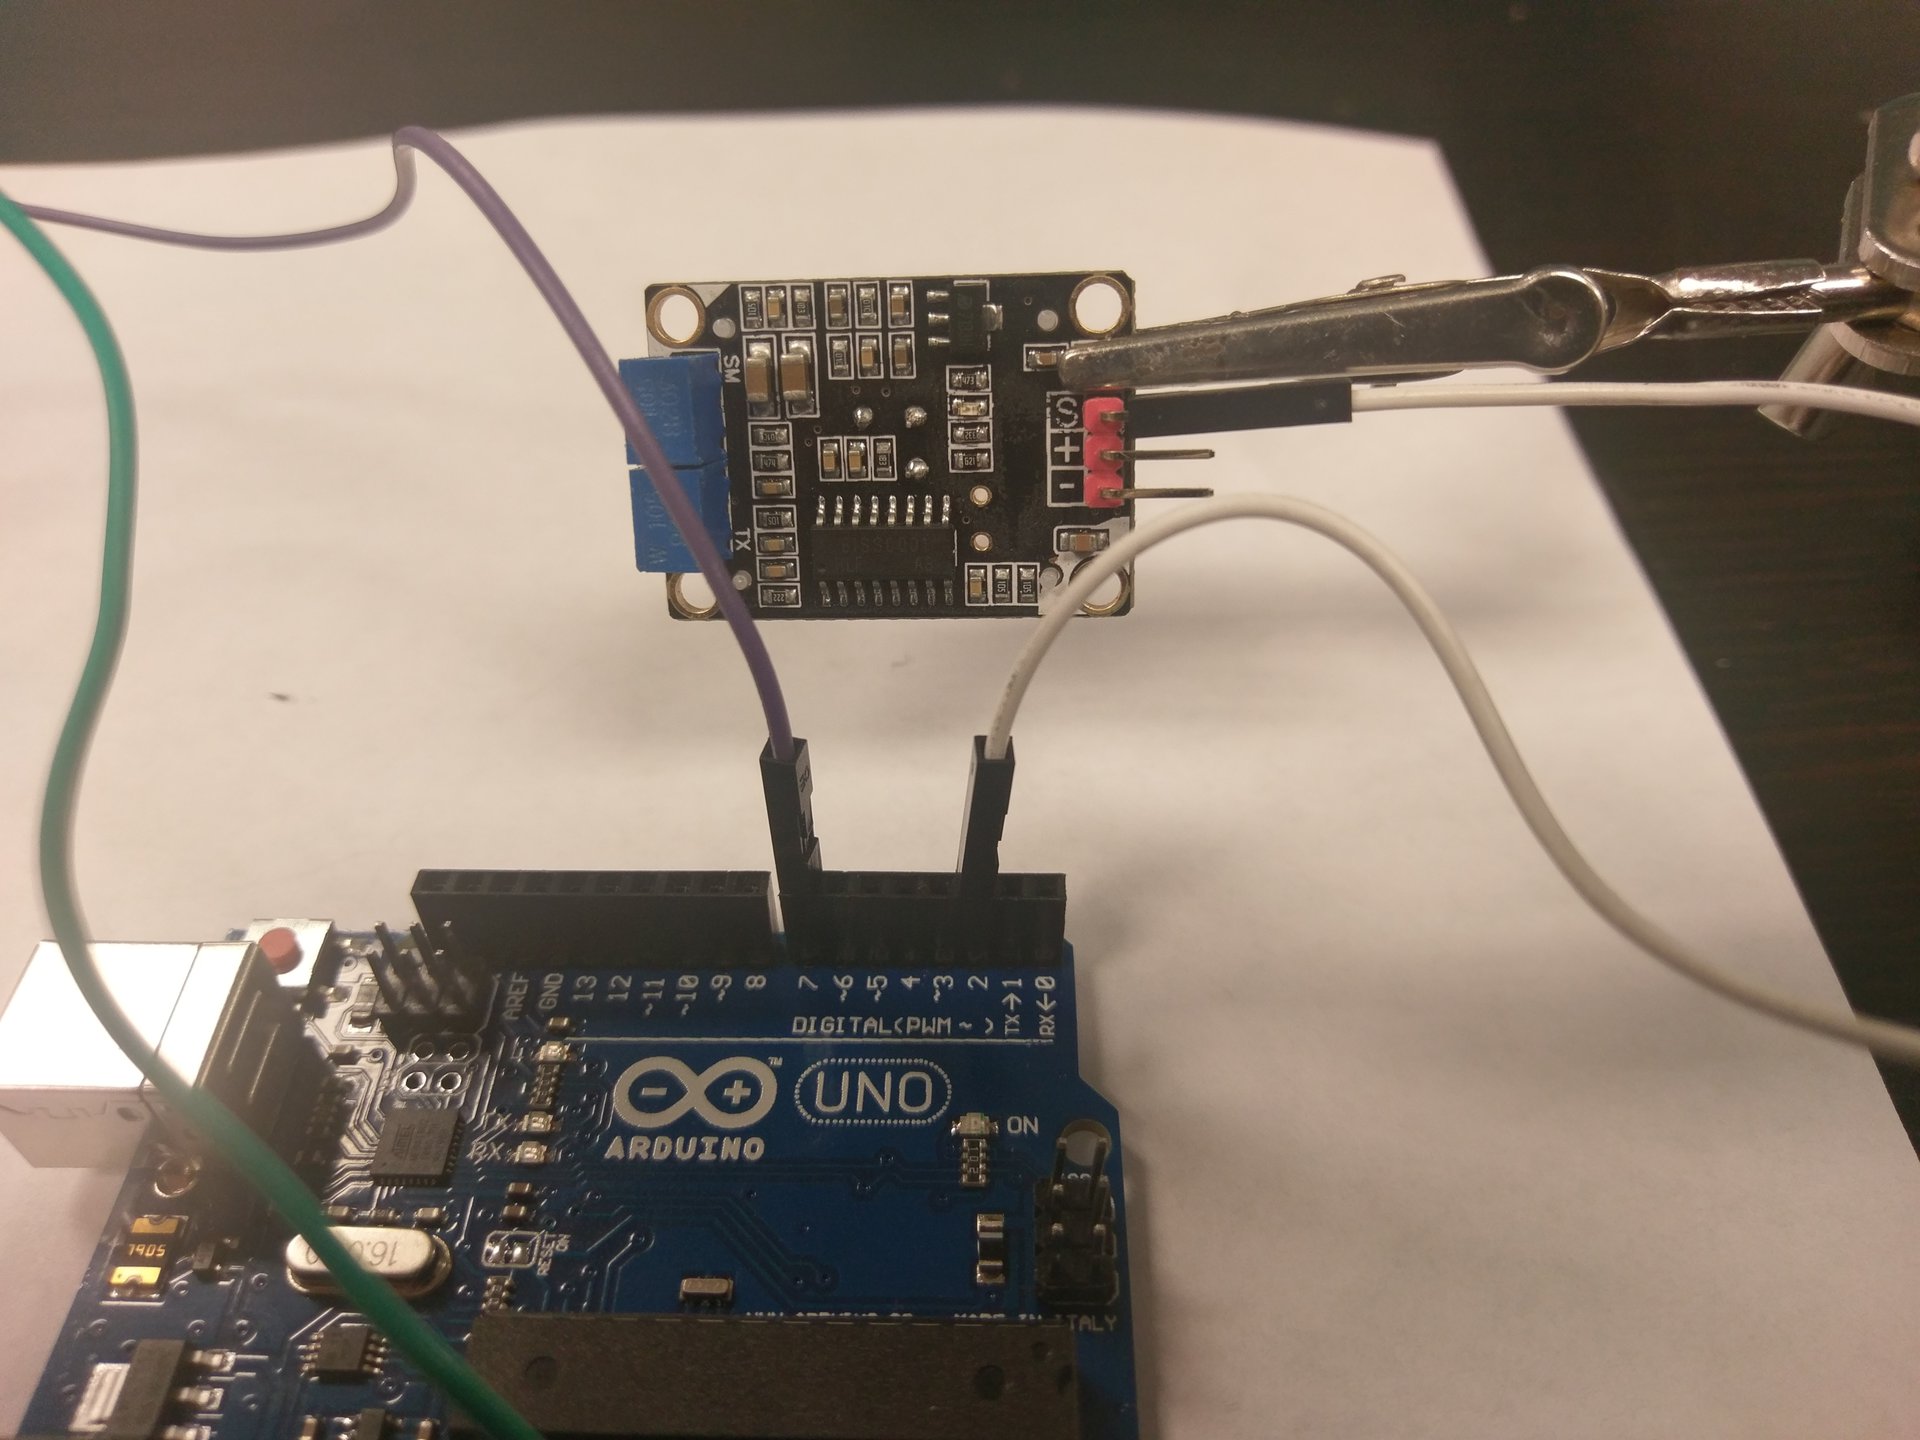
12) Take a male to female jumper wire and plug one side into the + side of the sensor. Take the other side of the wire and plug it into 3.3 volts of the arduino.
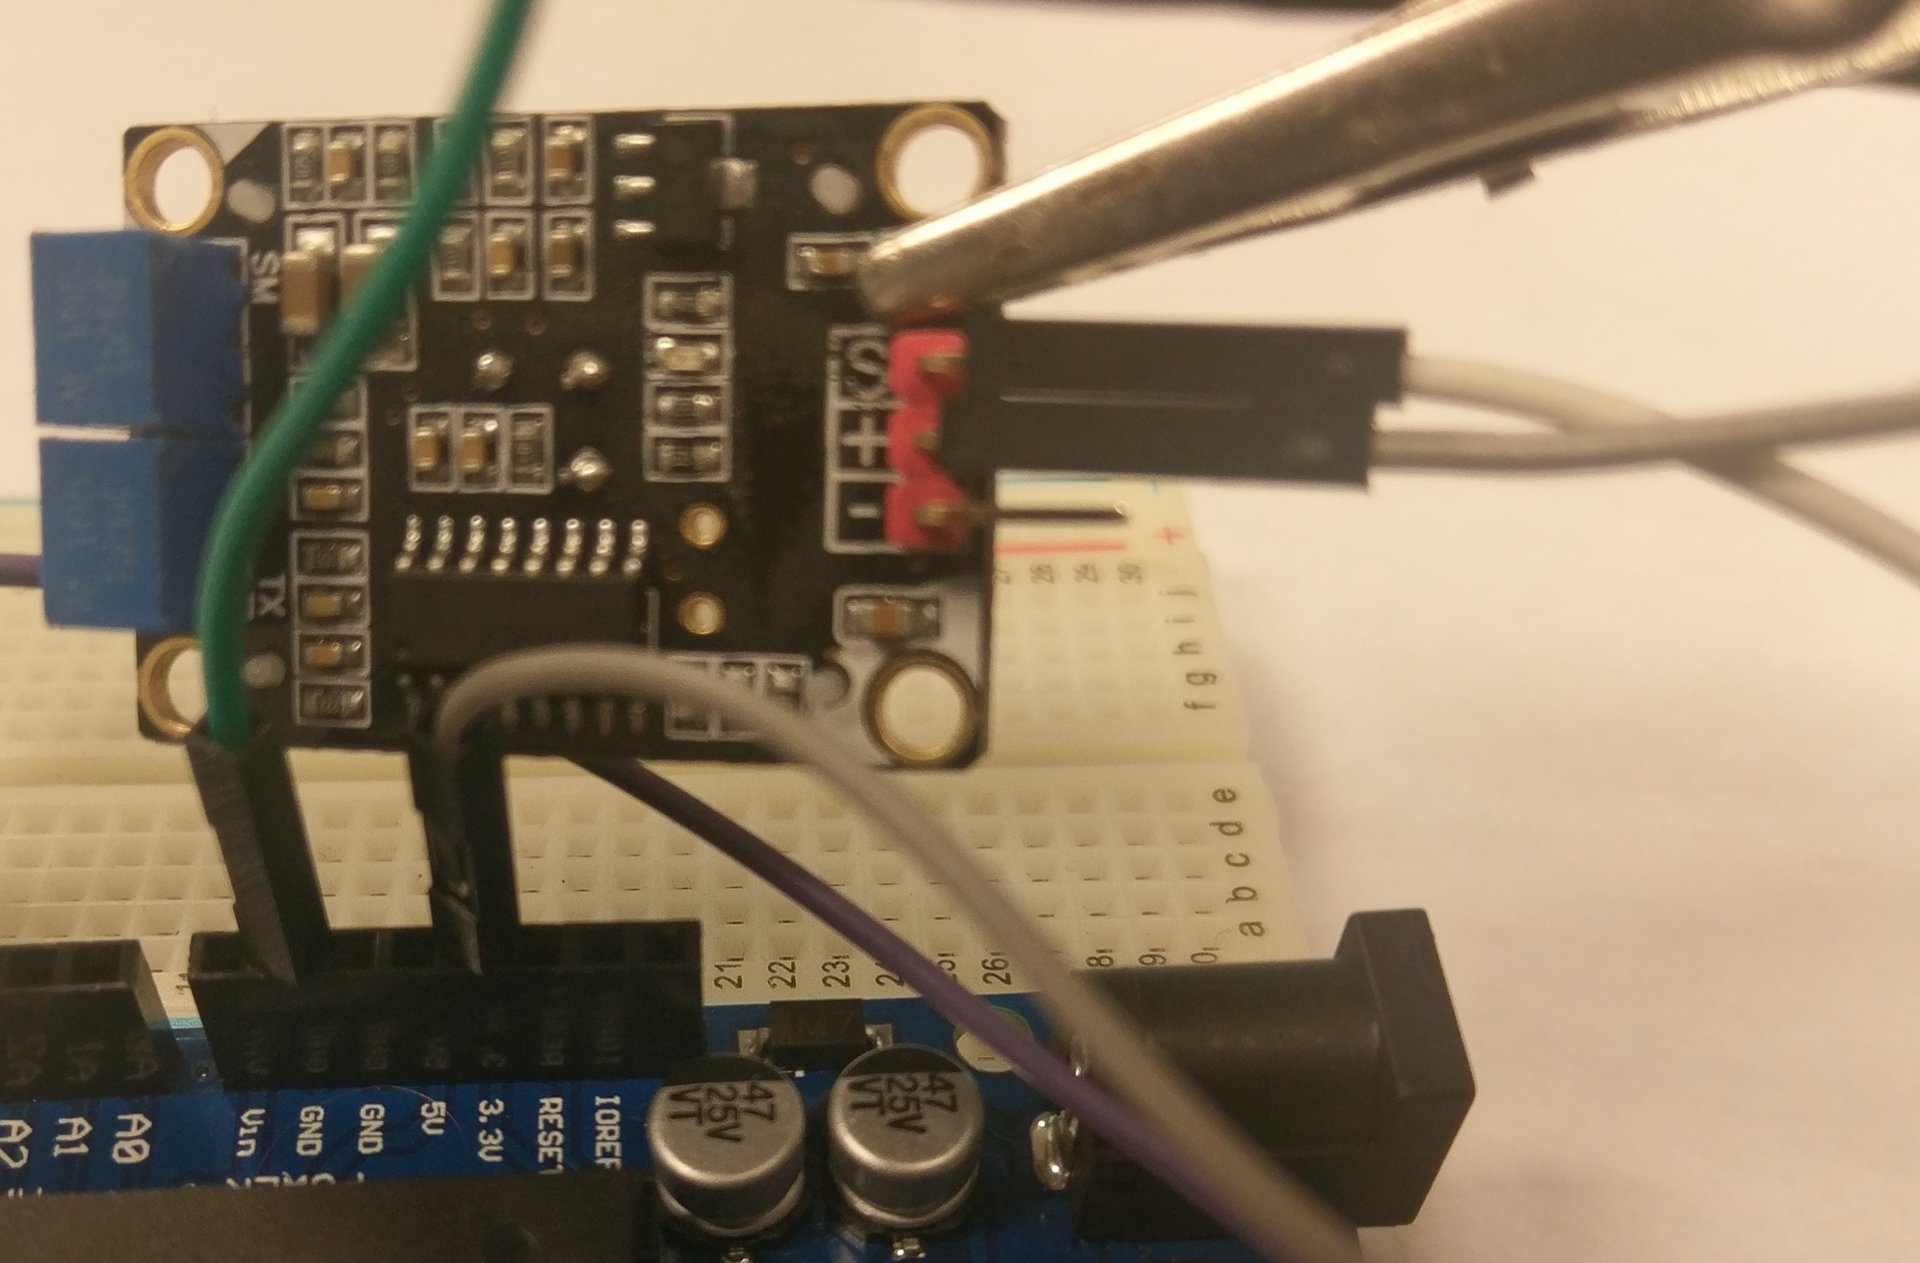
13) Take a male to female jumper wire and plug one side into the - and the other side into ground (gnd) of the arduino.
14) Go back to the block webpage and clear out all the blocks on the page.

We are going to logout the output of pin 2 to see what happens when something is sensed. But before we do stand up and take 5 deep breaths. You are doing great!!!
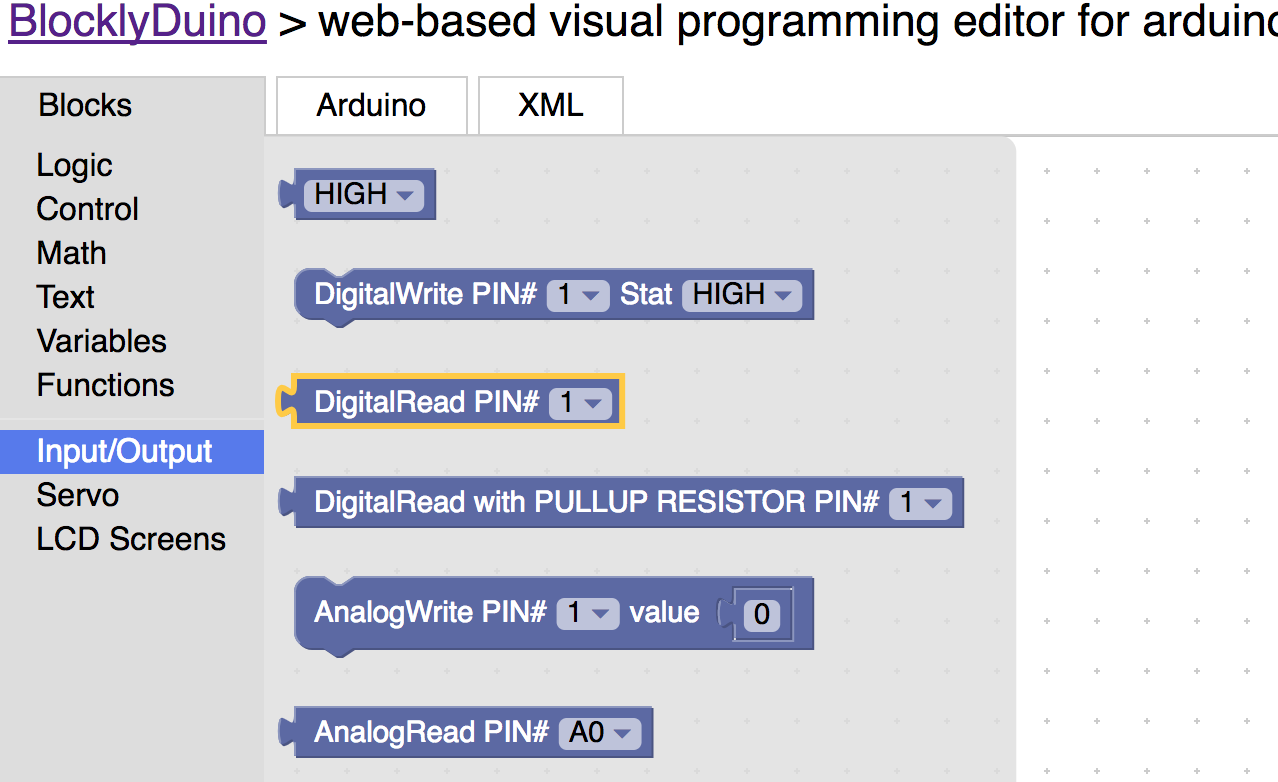
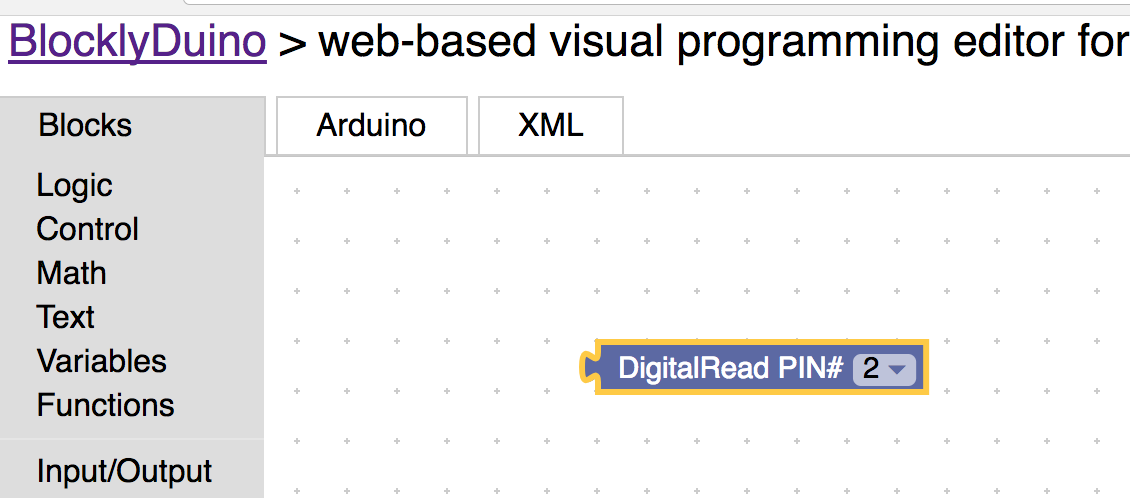
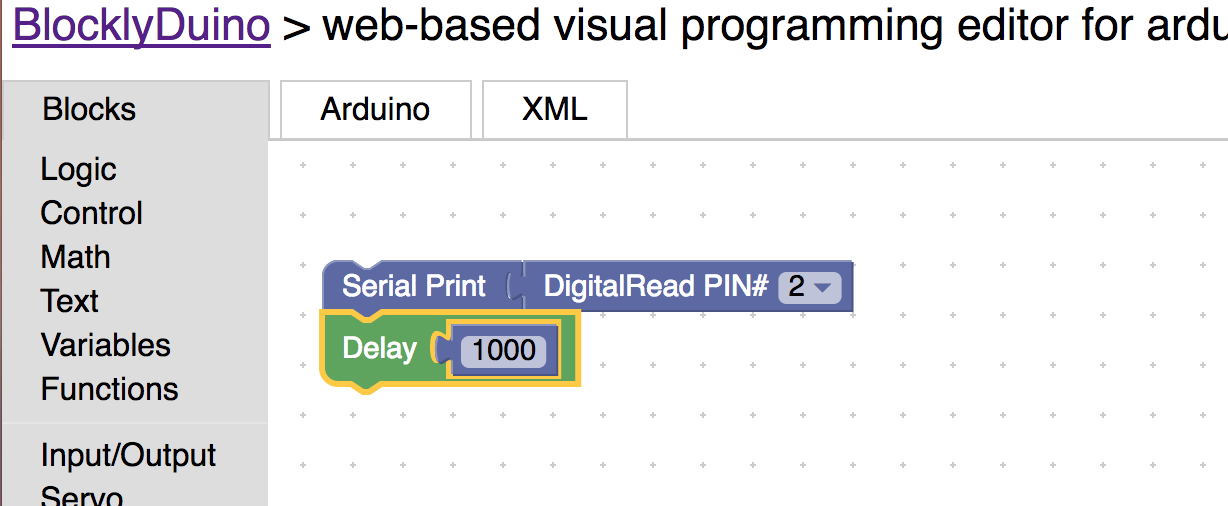
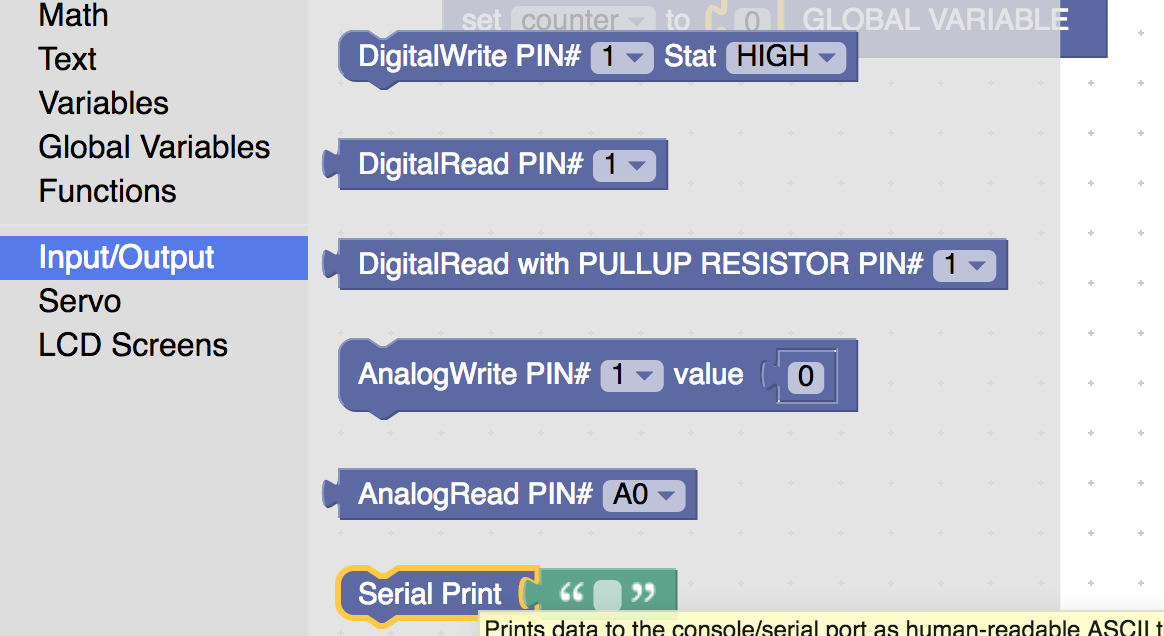
15) Drag the digital read block from the Input/Output toolbox on the screen. Set it to pin 2.
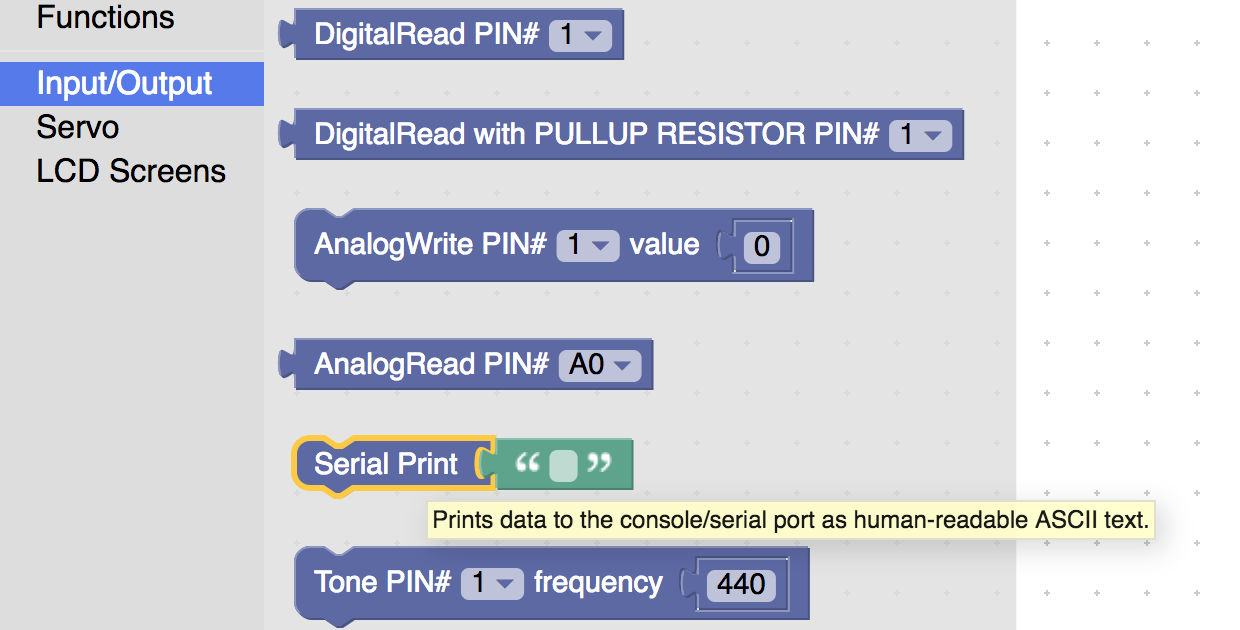
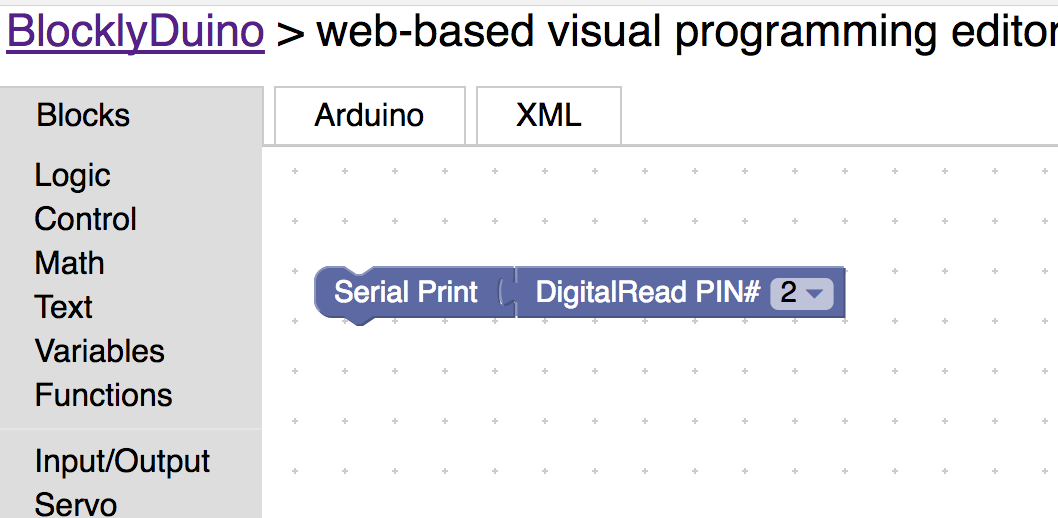
16) Drag the Serial Print Block onto the screen and hook it into the DigitalRead block. Besure and delete the green quotes block.
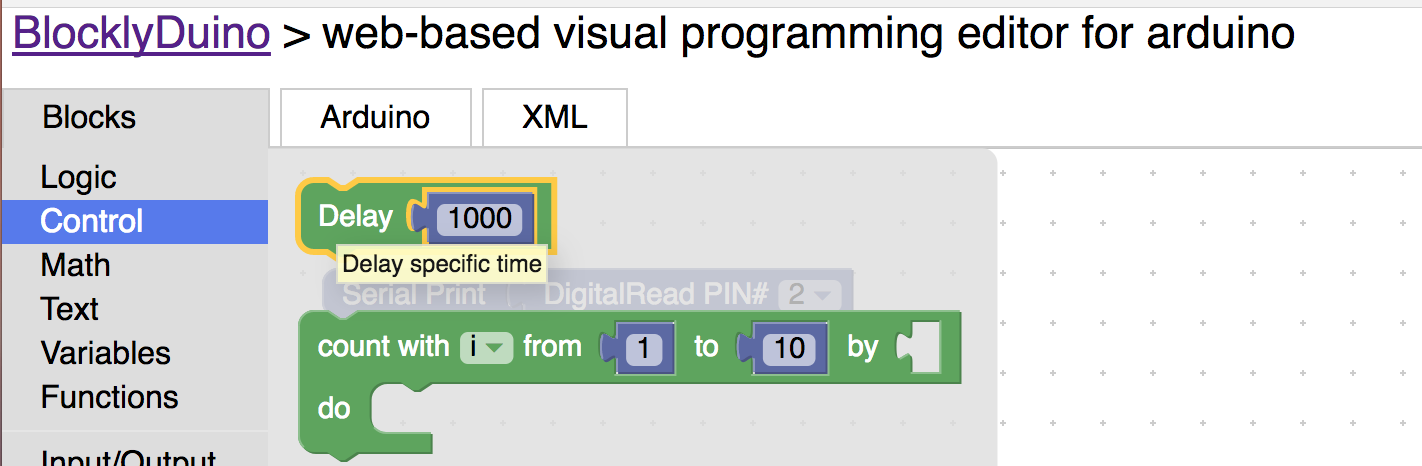
17) Drag the delay block and set the number to 100 milli seconds.
18) Click the upload button to upload the code the arduino.

19) Click on logging / debgging to make the serial monitor appear.

20) Notice that serial monitor is prints 0. Put your hand over the arduino. Notice that the serial monitor says 1. Based on this we know that if it senses something it will equal 1. Otherwise it will equal 0.

21) (Challenge) Try to build a program from scratch that will turn on the led when it senses something and turn it off when it does not sense anything. This is very similar to the code your wrote in first lesson. Ask questions if you need help.
22) (Challenge) See how far way an object needs to be fore the led goes off.
23) (Challenge) Use the if block to serial print “I see you” if the sensor outputs 1.
24) Go ahead and stand up and walk around for a minute. Observe what the other students are doing. Ask questions and see if you can help anyone out. :)
Next we are going to learn about loops. Loops are used make stuff run on repeat. They are often used to go through a list of things. We are going to use a loop to make the led blink the number of times the sensor has sensed something.
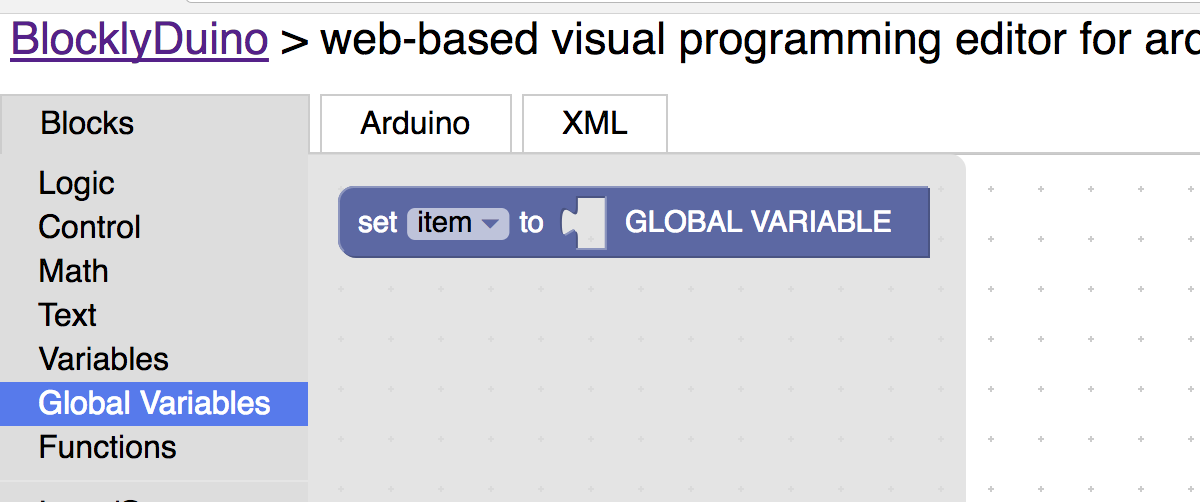
We are going to create a global variable. Global variables are created out of the normal program loop. But can we used and changed inside regular code.
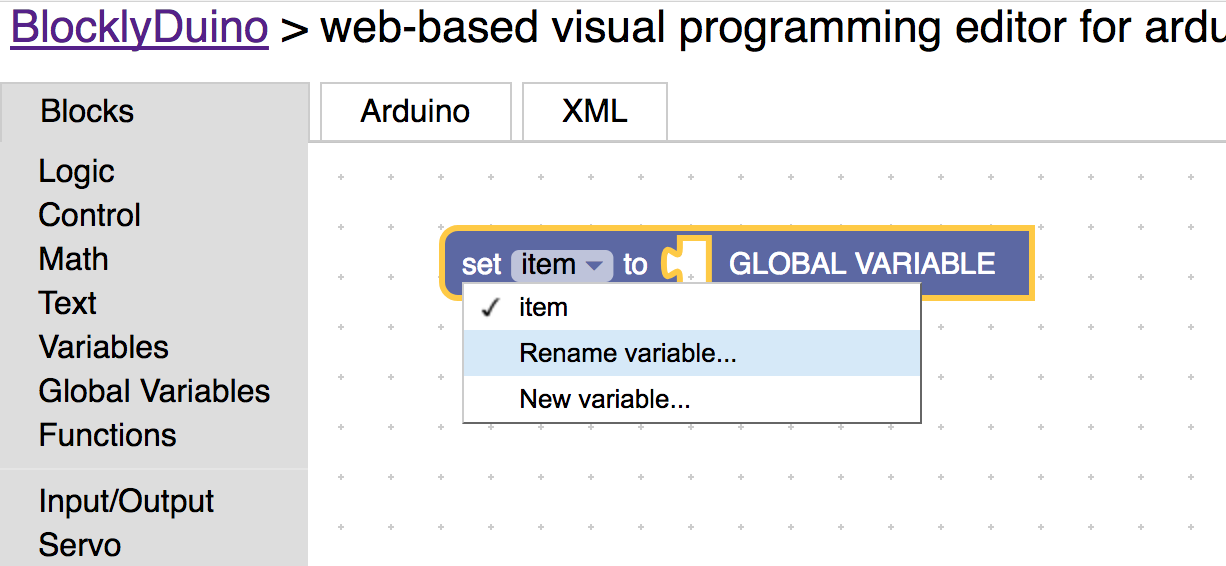
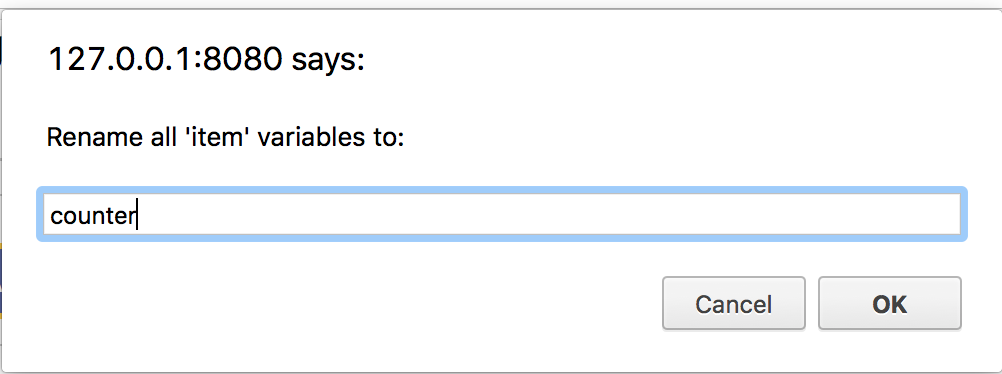
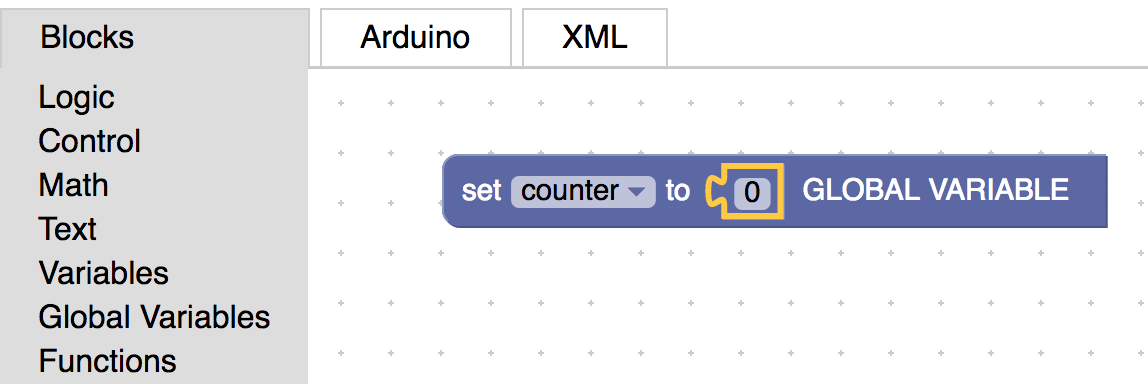
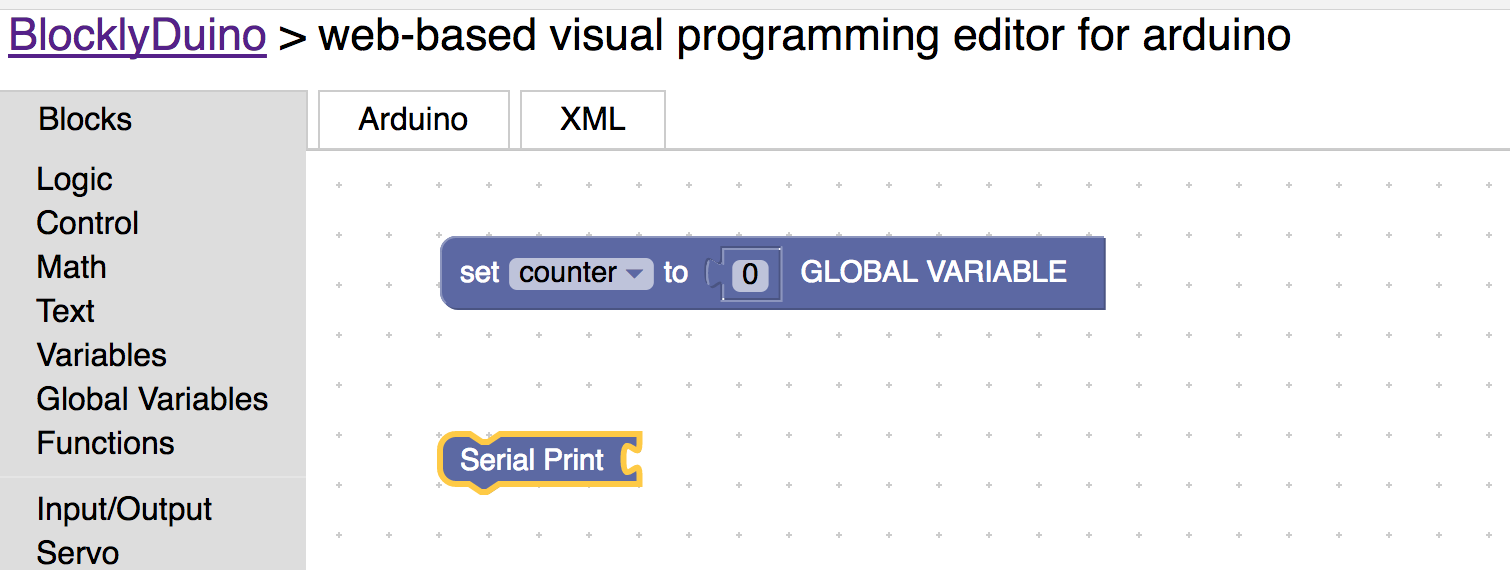
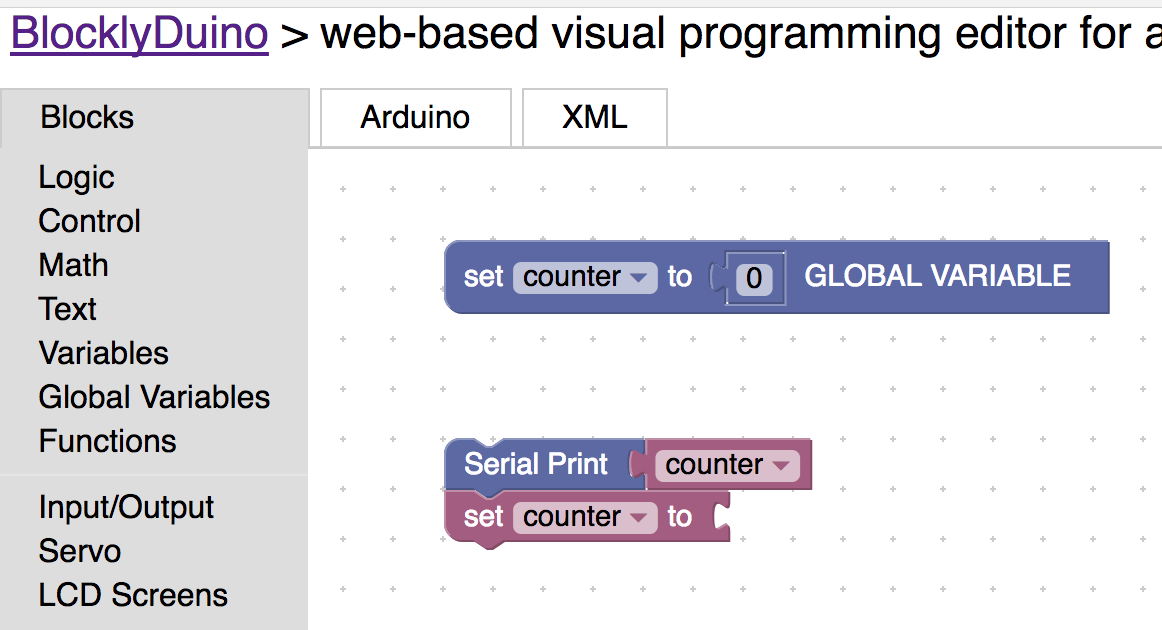
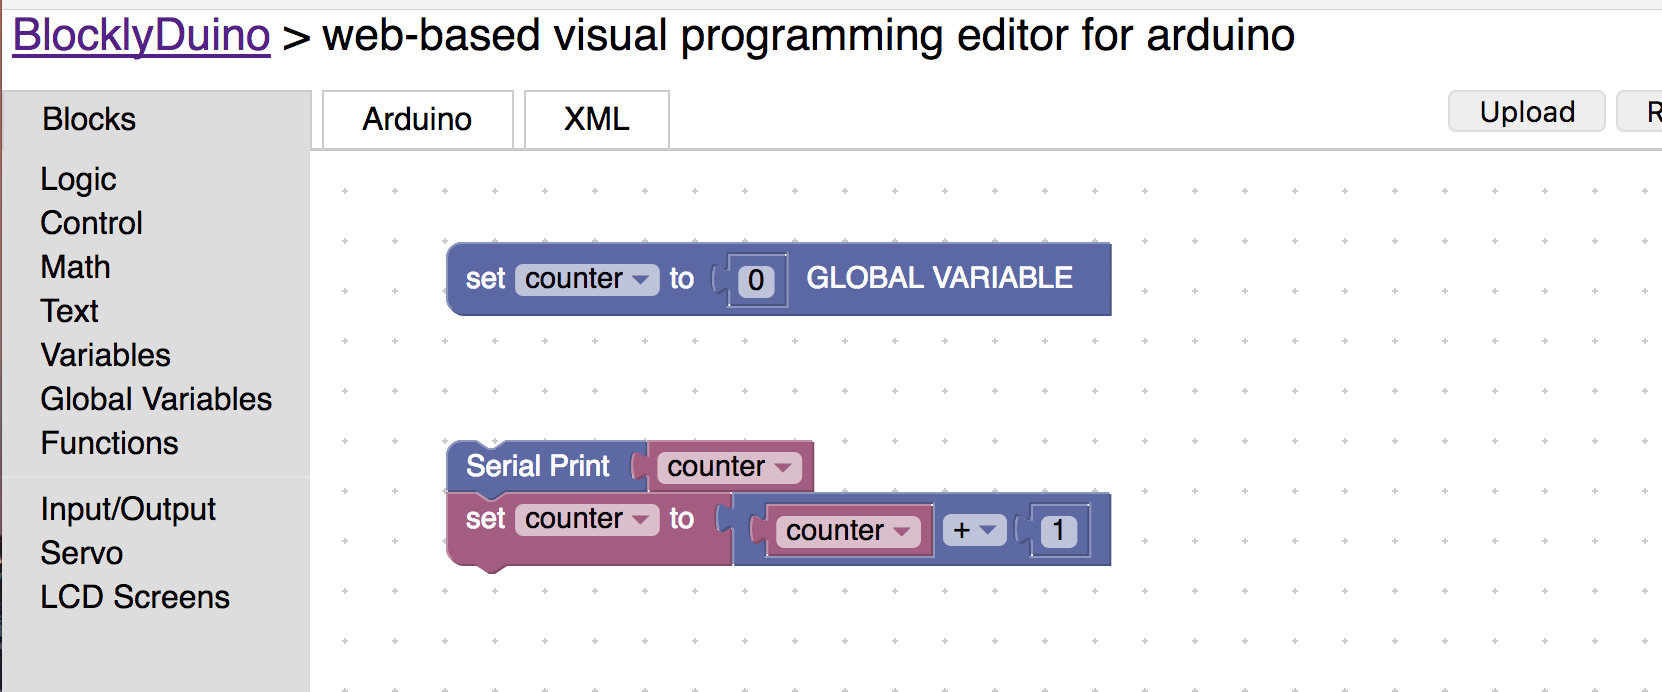
25) Create a global variable called counter and set it’s value to 0.
26) Drag out the serial print block onto the screen and throw away the quotes block attached to it.
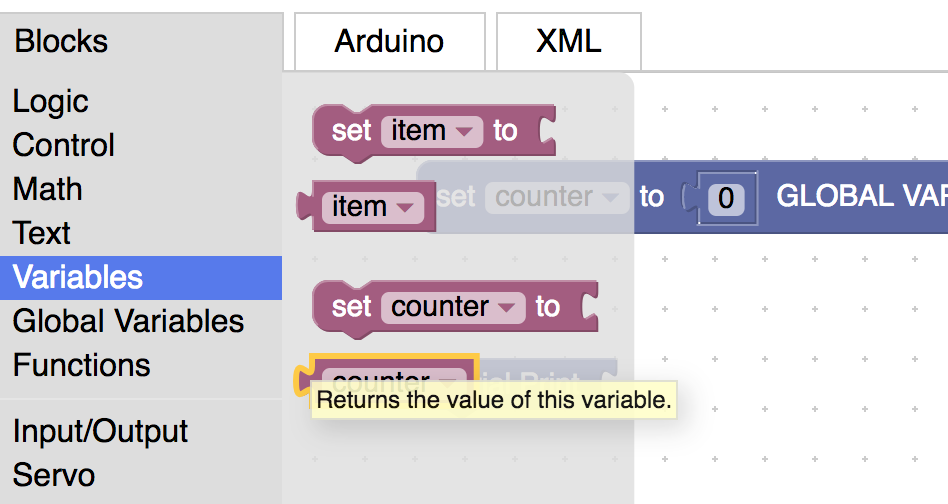
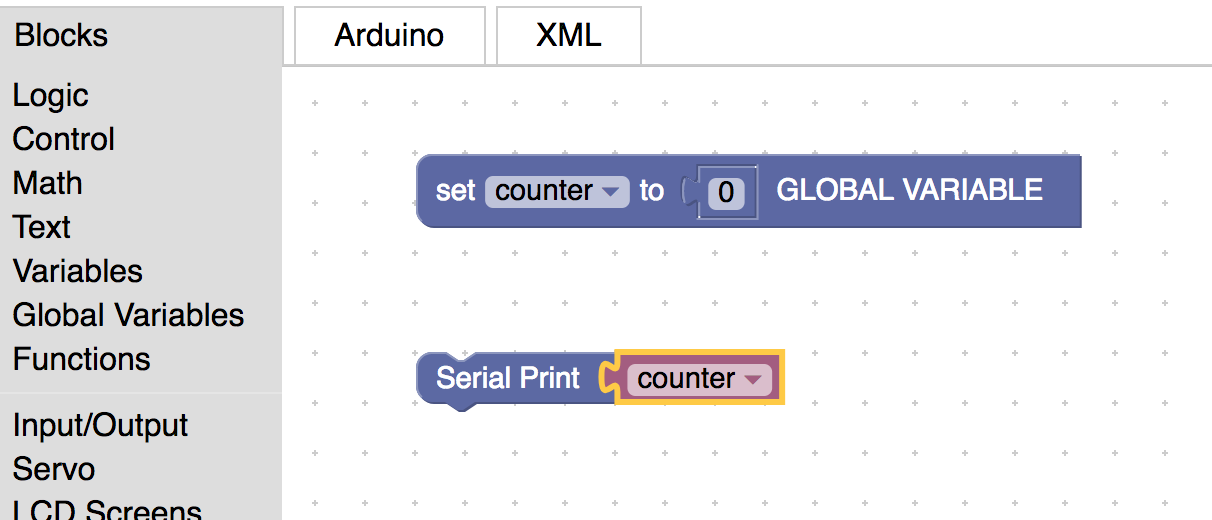
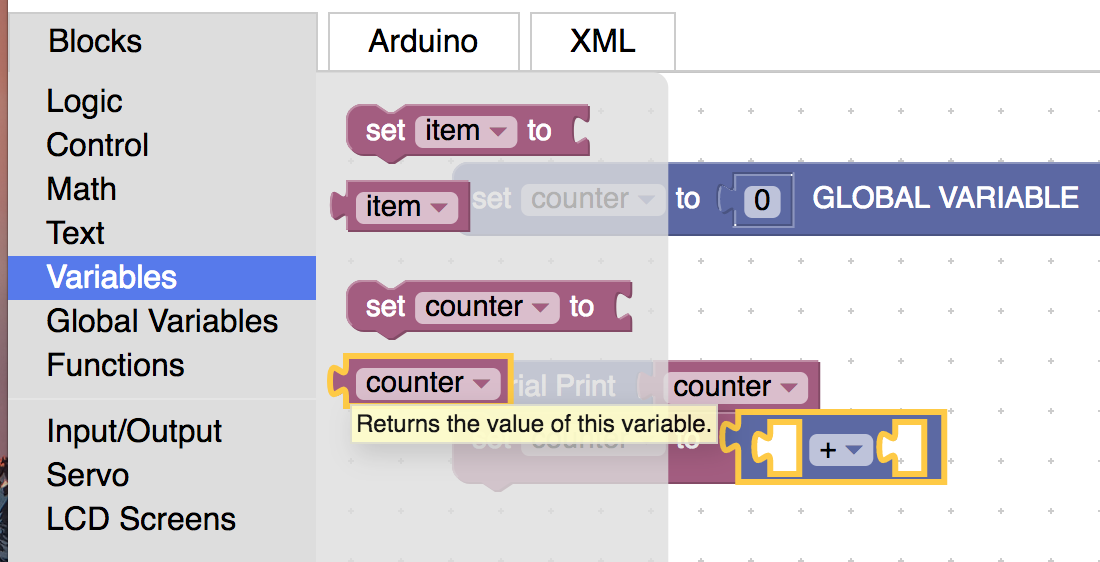
27) Drag the counter variable block and connect it to the serial print block.
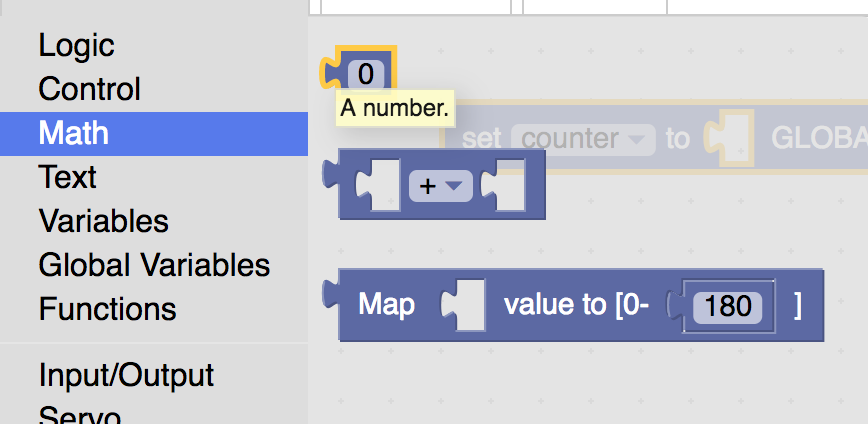
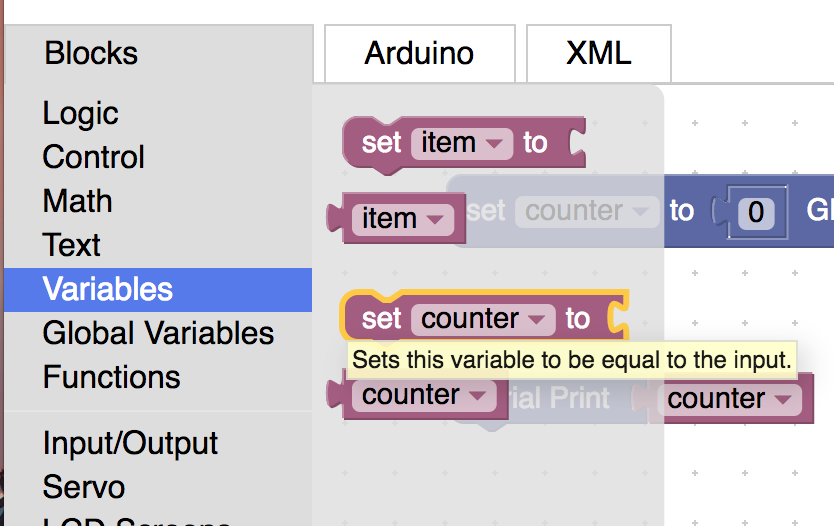
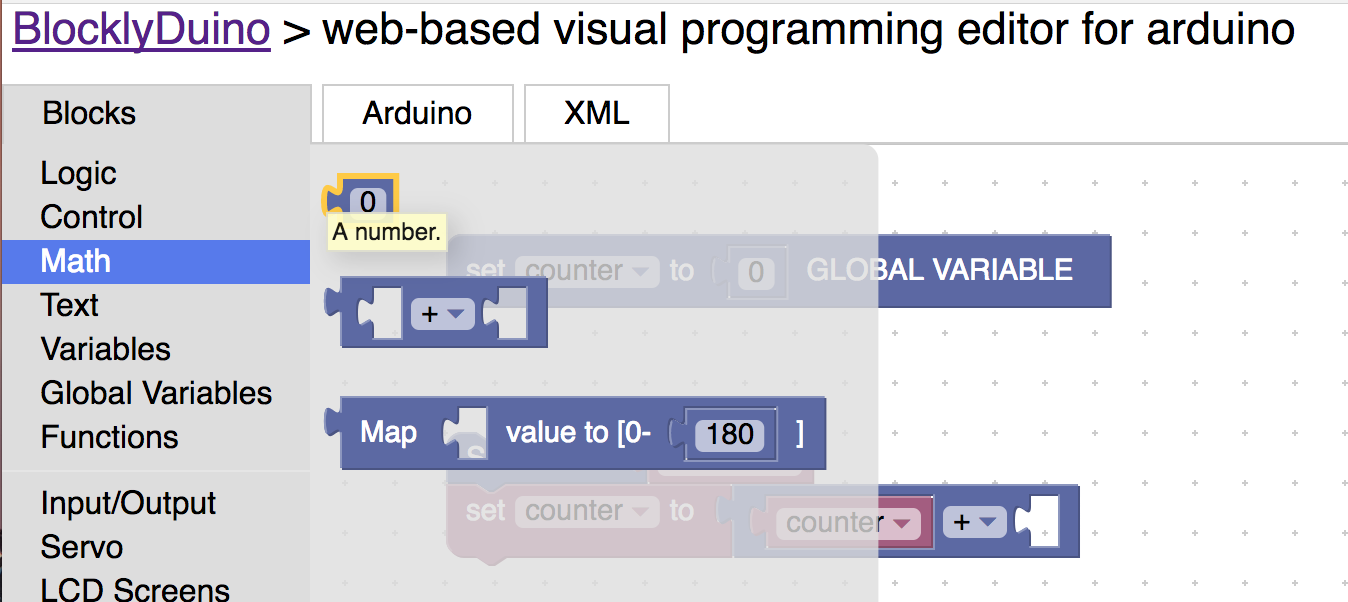
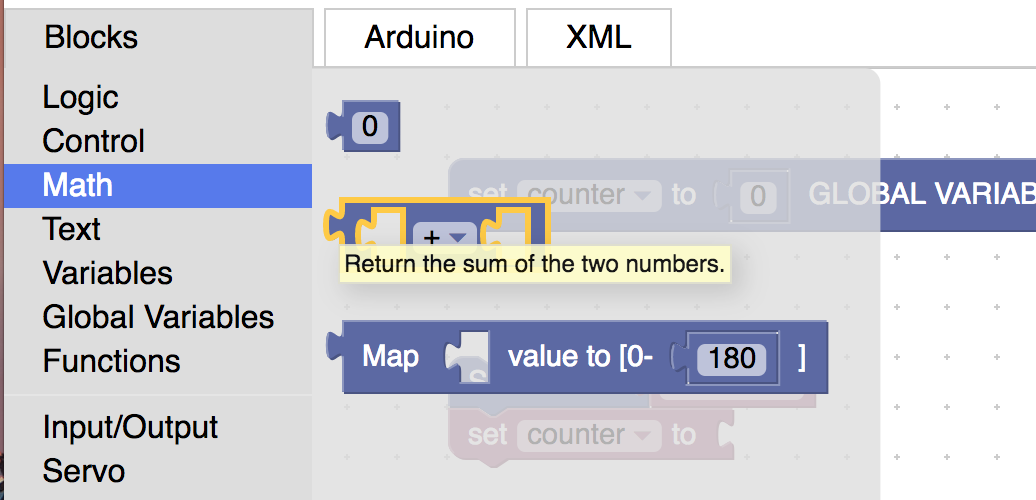
28) Set the counter variable block to itself + 1.
29) Now add a delay block to the end of the block chain.

30) Click upload and upload the program to the arduino.

31) Click on logging / debgging to make the serial monitor appear.

32) Notice that the serial monitor is adding one to the next number. Go ahead and explain to an instructor happening. Do this before you move onto the next step.

33) Delete every block except for the global variable counter block.
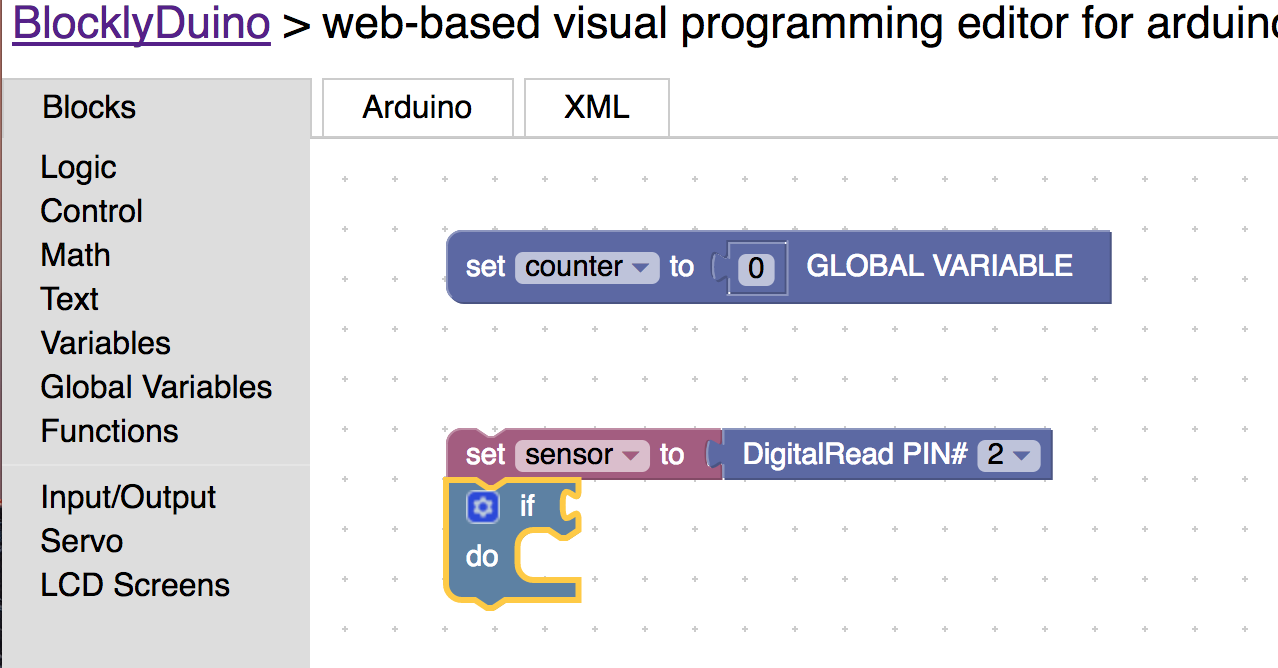
34) Create a variable named sensor that will store the value of the sensor pin.

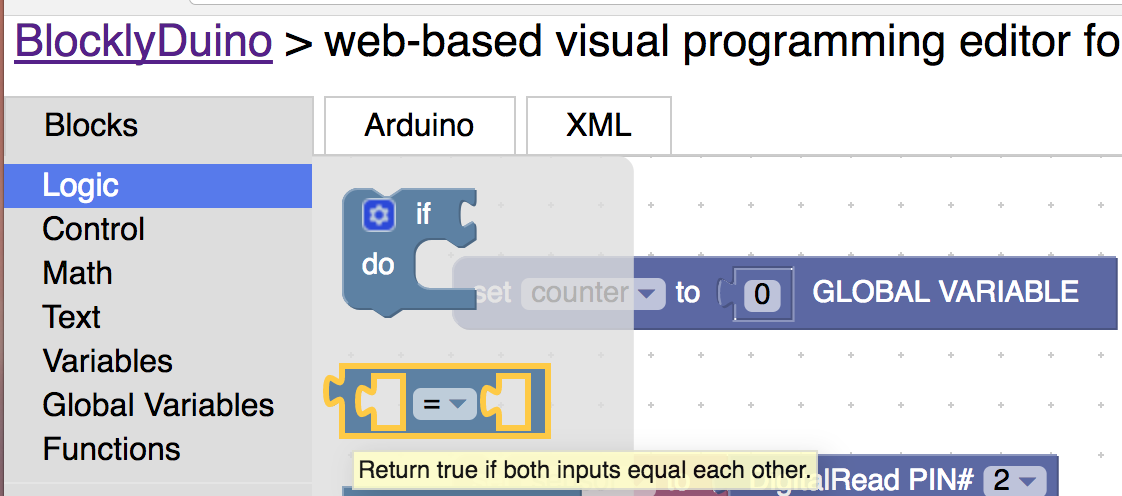
35) Drag the IF block and attach it to the sensor block.
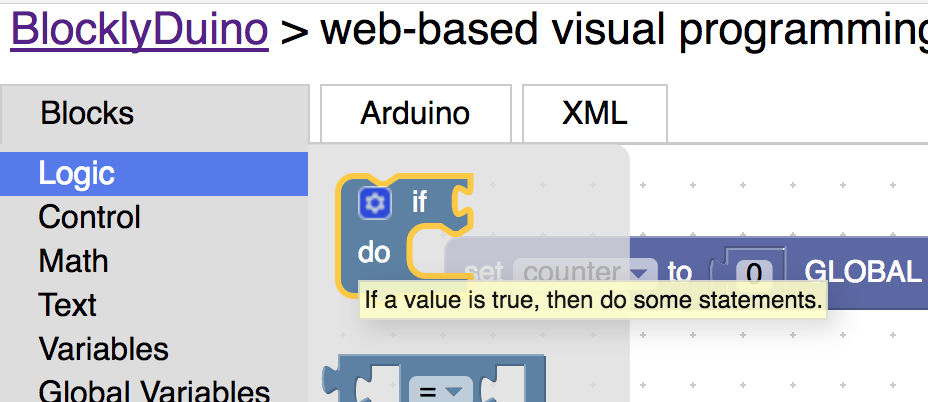
36) Drag the compare block onto the screen and attach it to the if block.
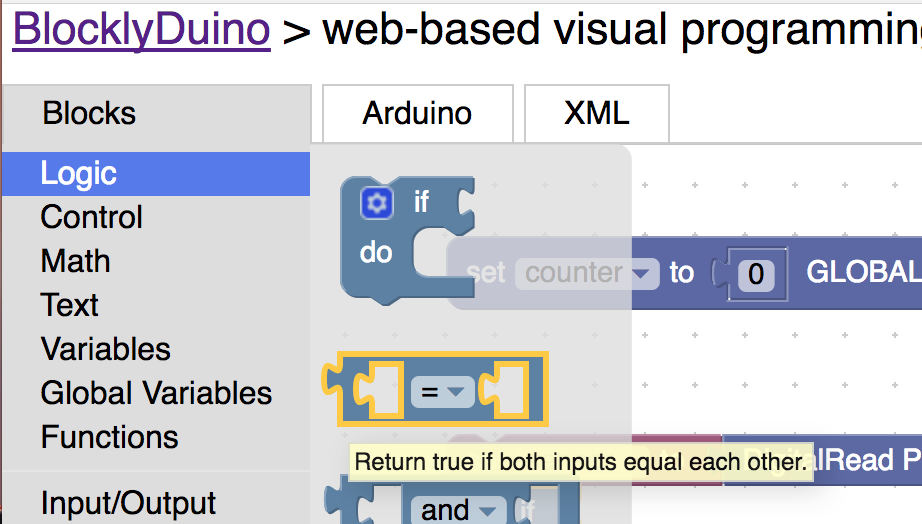
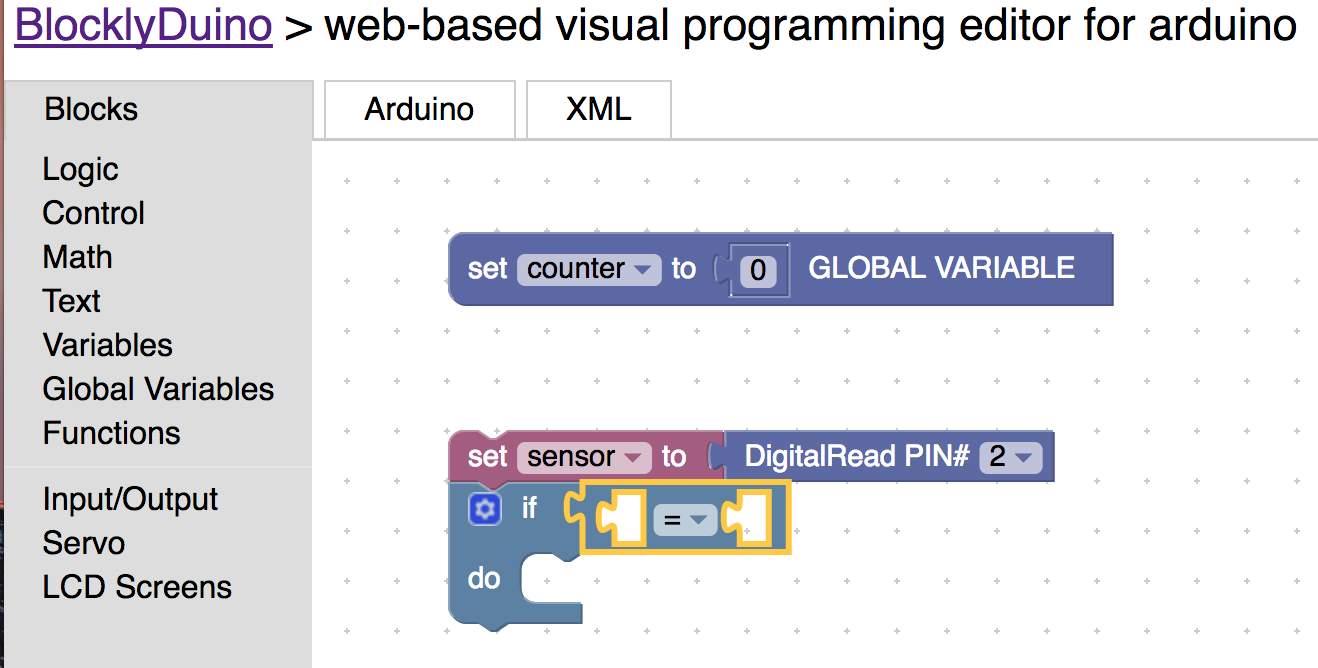
Remember how if the sensor is on the it will send electricity to the pin in the arduino. The arduino represents this as a 1. So we now need to say that if the sensor pin = 1 we want to do something.
37) Drag a number block and the sensor variable into the compare block. Set the number block equal to 1.
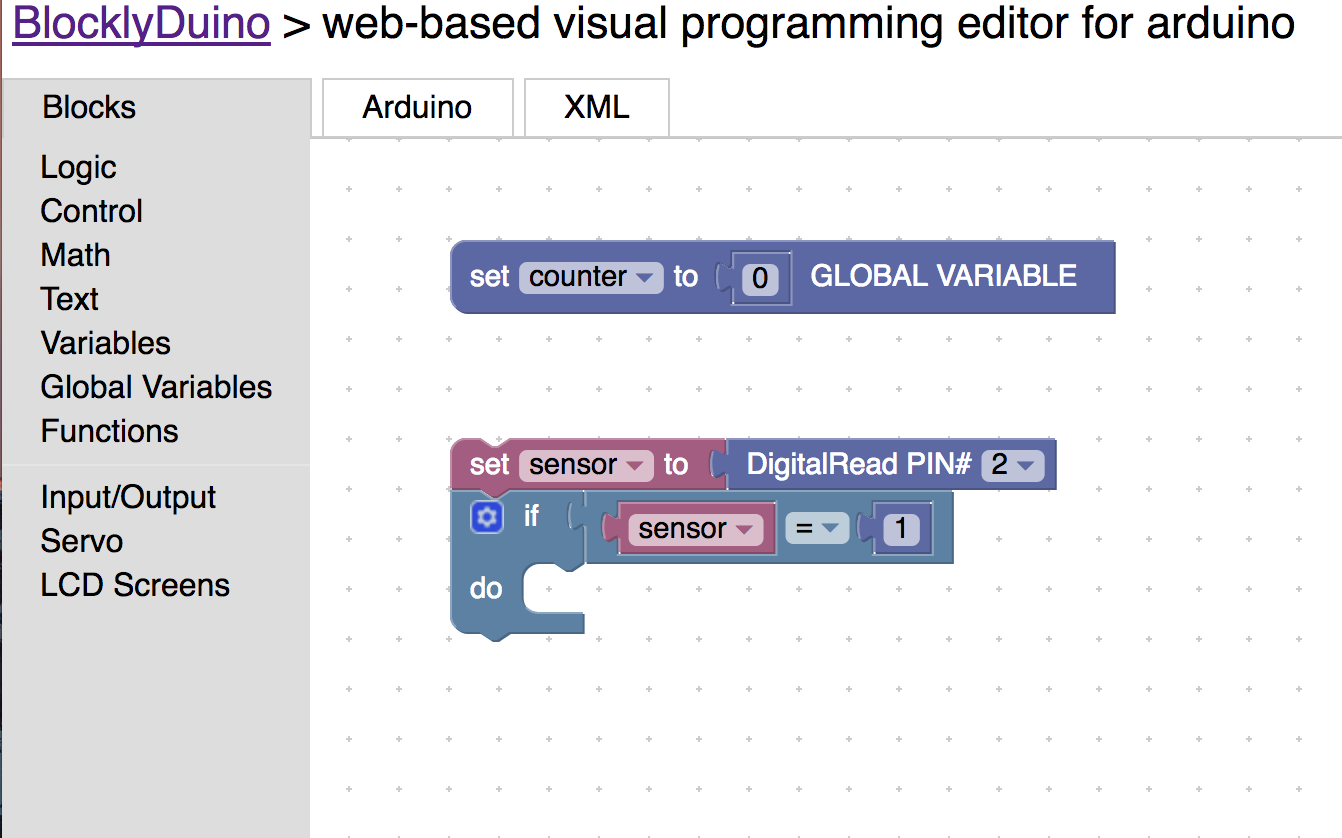
38) (Challenge) Inside the if the block add one to counter. Try to do this without looking at the pictures below this step.
39) (Challenge) Create a variable inside the IF block that equals 0. Call it “blink times”.
The repeat block is a lot like the IF block. Except for one key difference. It repeats the blocks inside the do until the condition is no longer true. The repeat block is also known as a while loop. It will run while something is true.
40) Drag the repeat block onto the screen and put it inside the if block.
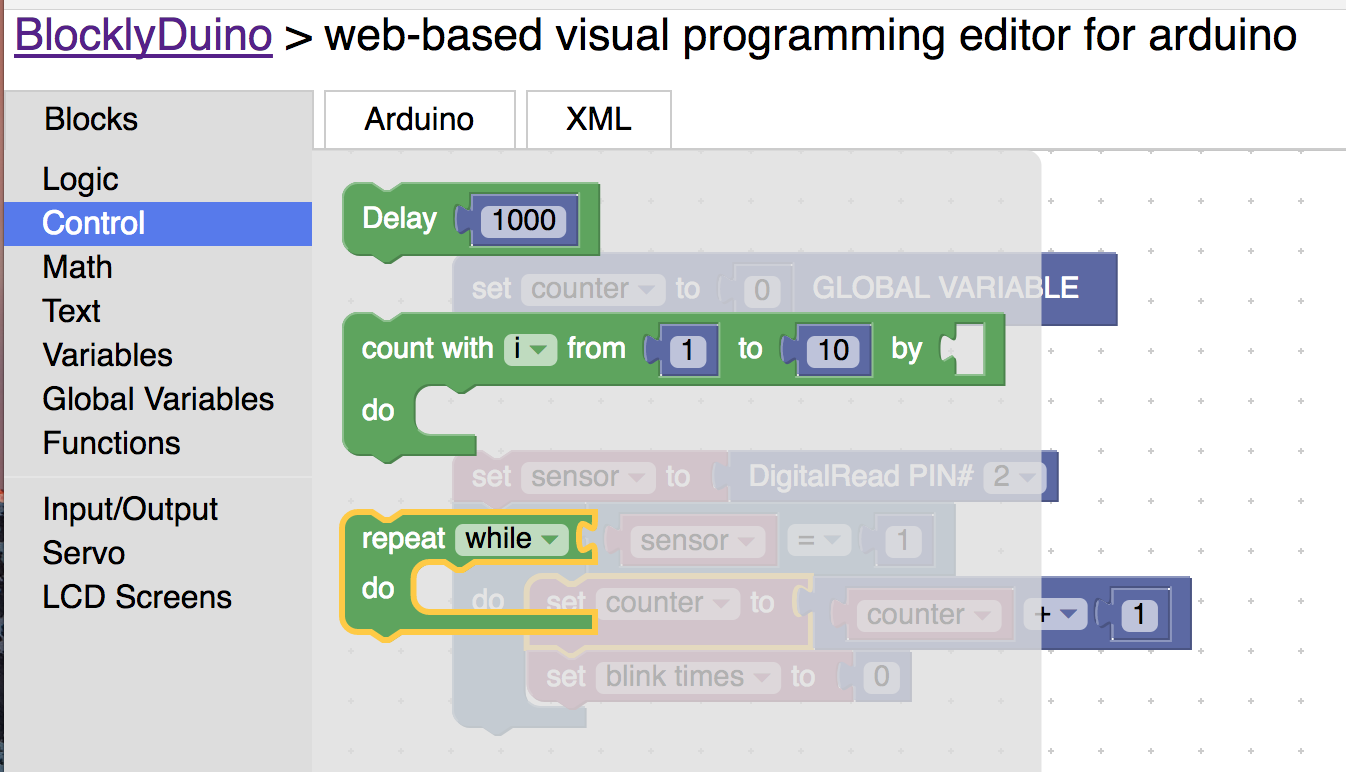

41) Drag the compare block that was used for the if statement and attach it to the while loop. Change the equals sign to the less than sign (“<”).
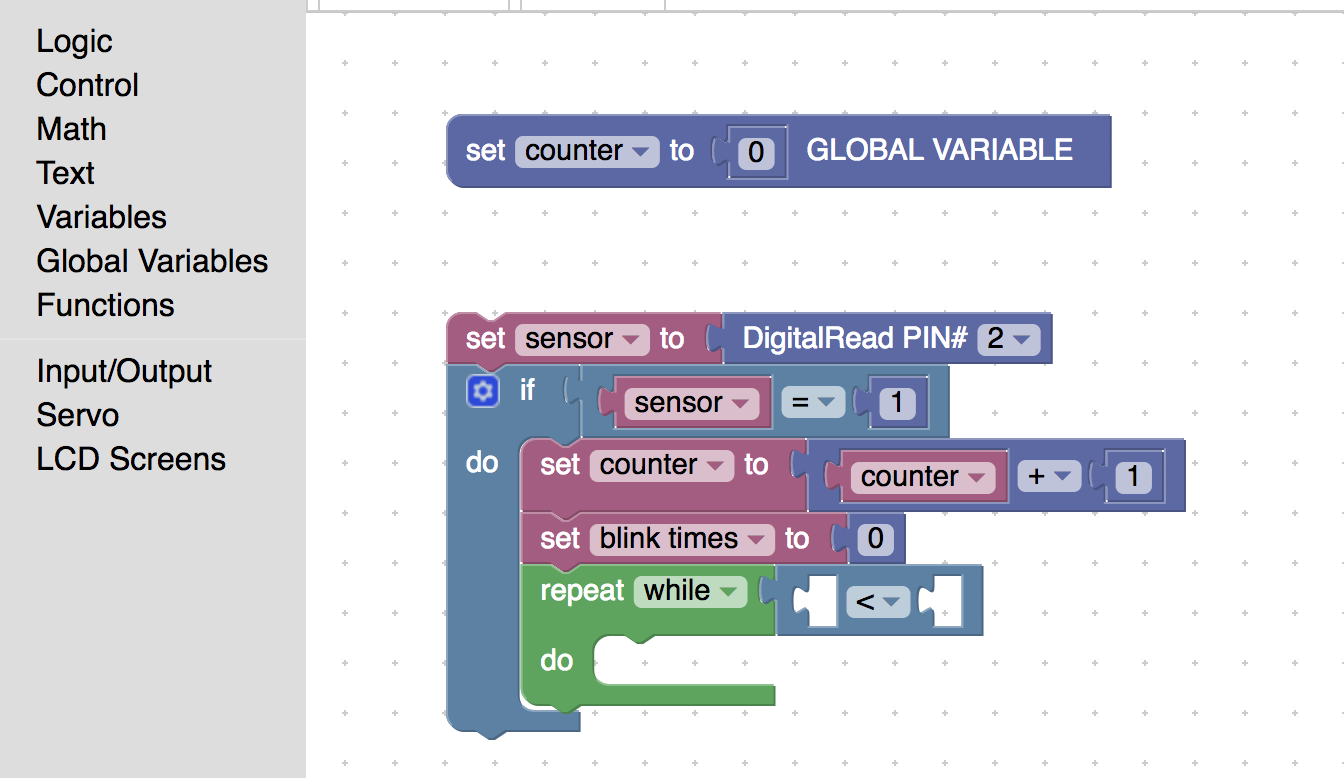
42) Put in the variable “blink times” for left side of the compare block and put in the counter block for the right side. What this means is that the blocks in the do space will run as long as “blank times” is less than counter.
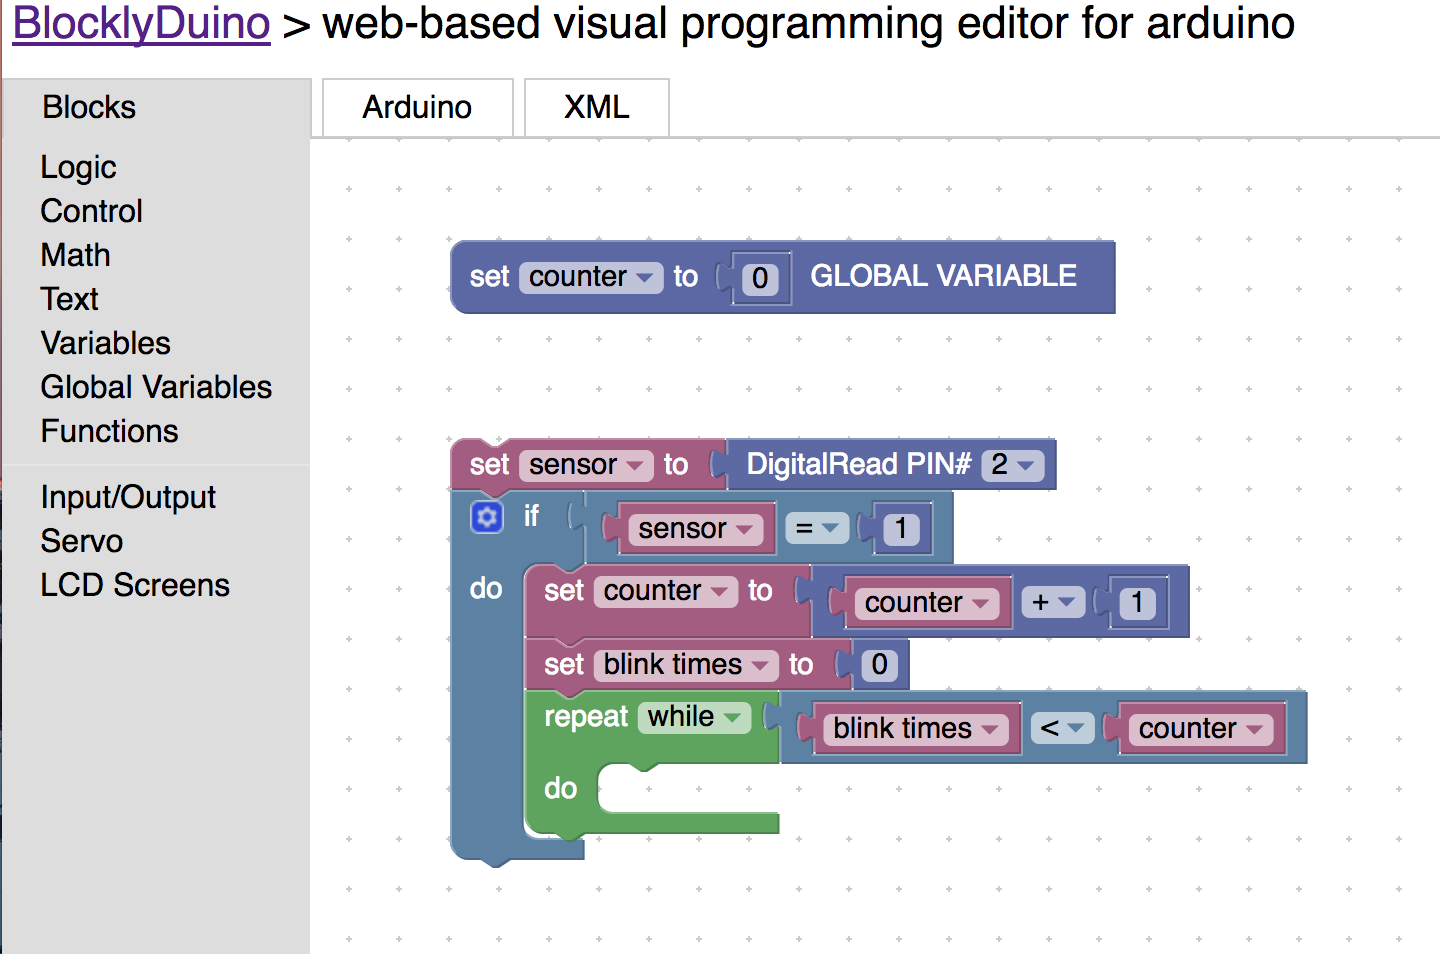
43) Add one to the “blink times” variable block inside the do space. This way it will not run the forever. Loops that do not stop are called infinite loops.
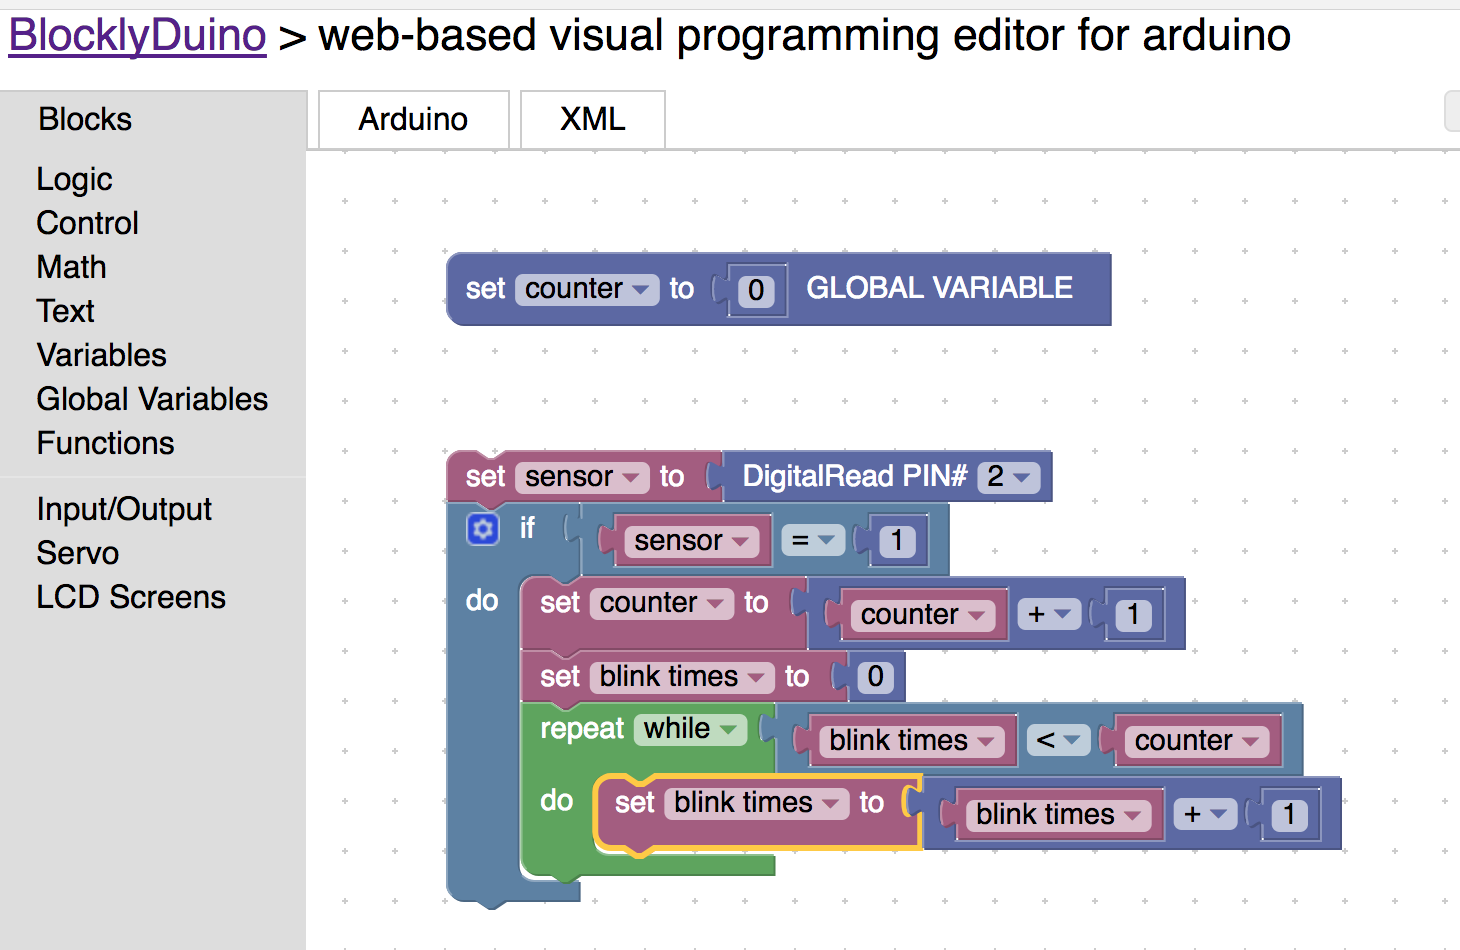
43) (Challenge) Inside the repeat block make the led blink for a second using the delay block and digitalWrite block. Once you are done upload that to the arduino.
Congrats you have done a lot. You learned about sensor’s, global variables, and loops.
Challenge Projects
-
Add another led that turns on and does not blink while the one that is already setup does.
-
Serial Print the number of times the sensor has sensed something.
-
Have fun you earned it!!!