Project Kit For the Workbook
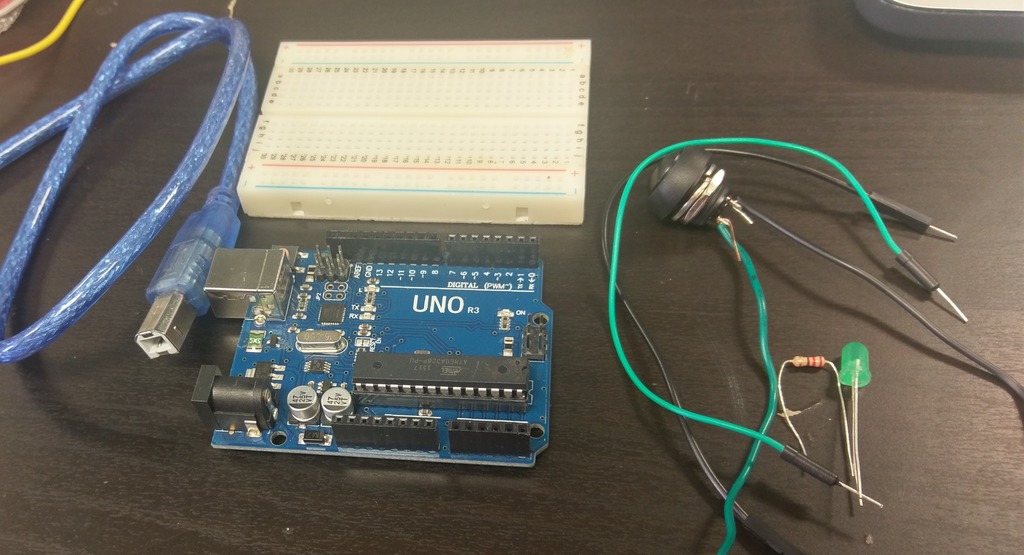
Bill of Materials
- 1 x Arduino Uno
- 1 x led
- 1 x 220 Ohm Resistor
- 2 x jumper wires
- 2 x regular wires
- 1 x push button
- 1 x breadboard
- 1 x usb type b cable
Steps
Before you begin be sure you have the arduino ide installed. You might want to review the class presentation if you found this on the internet.
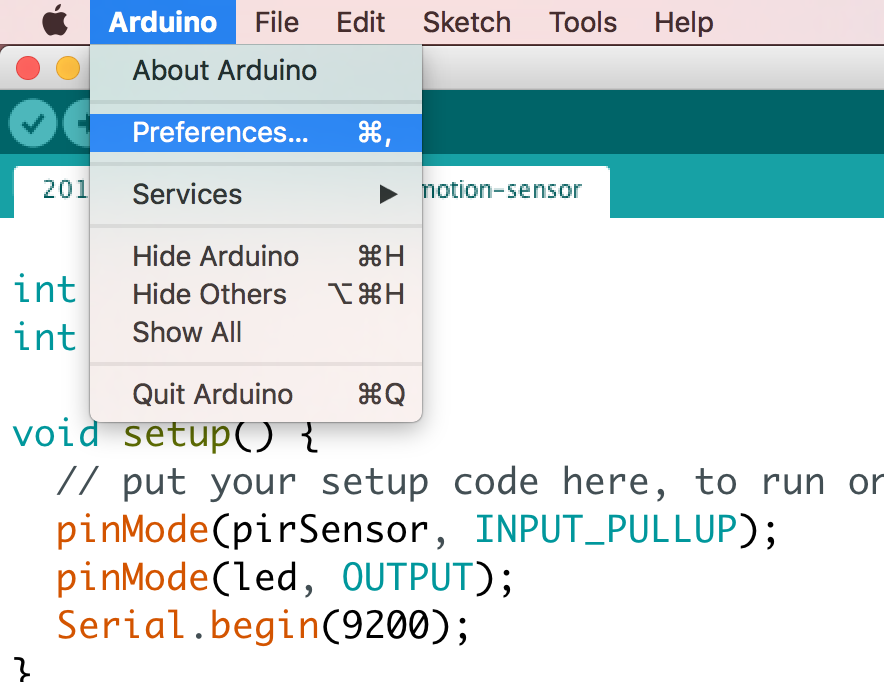
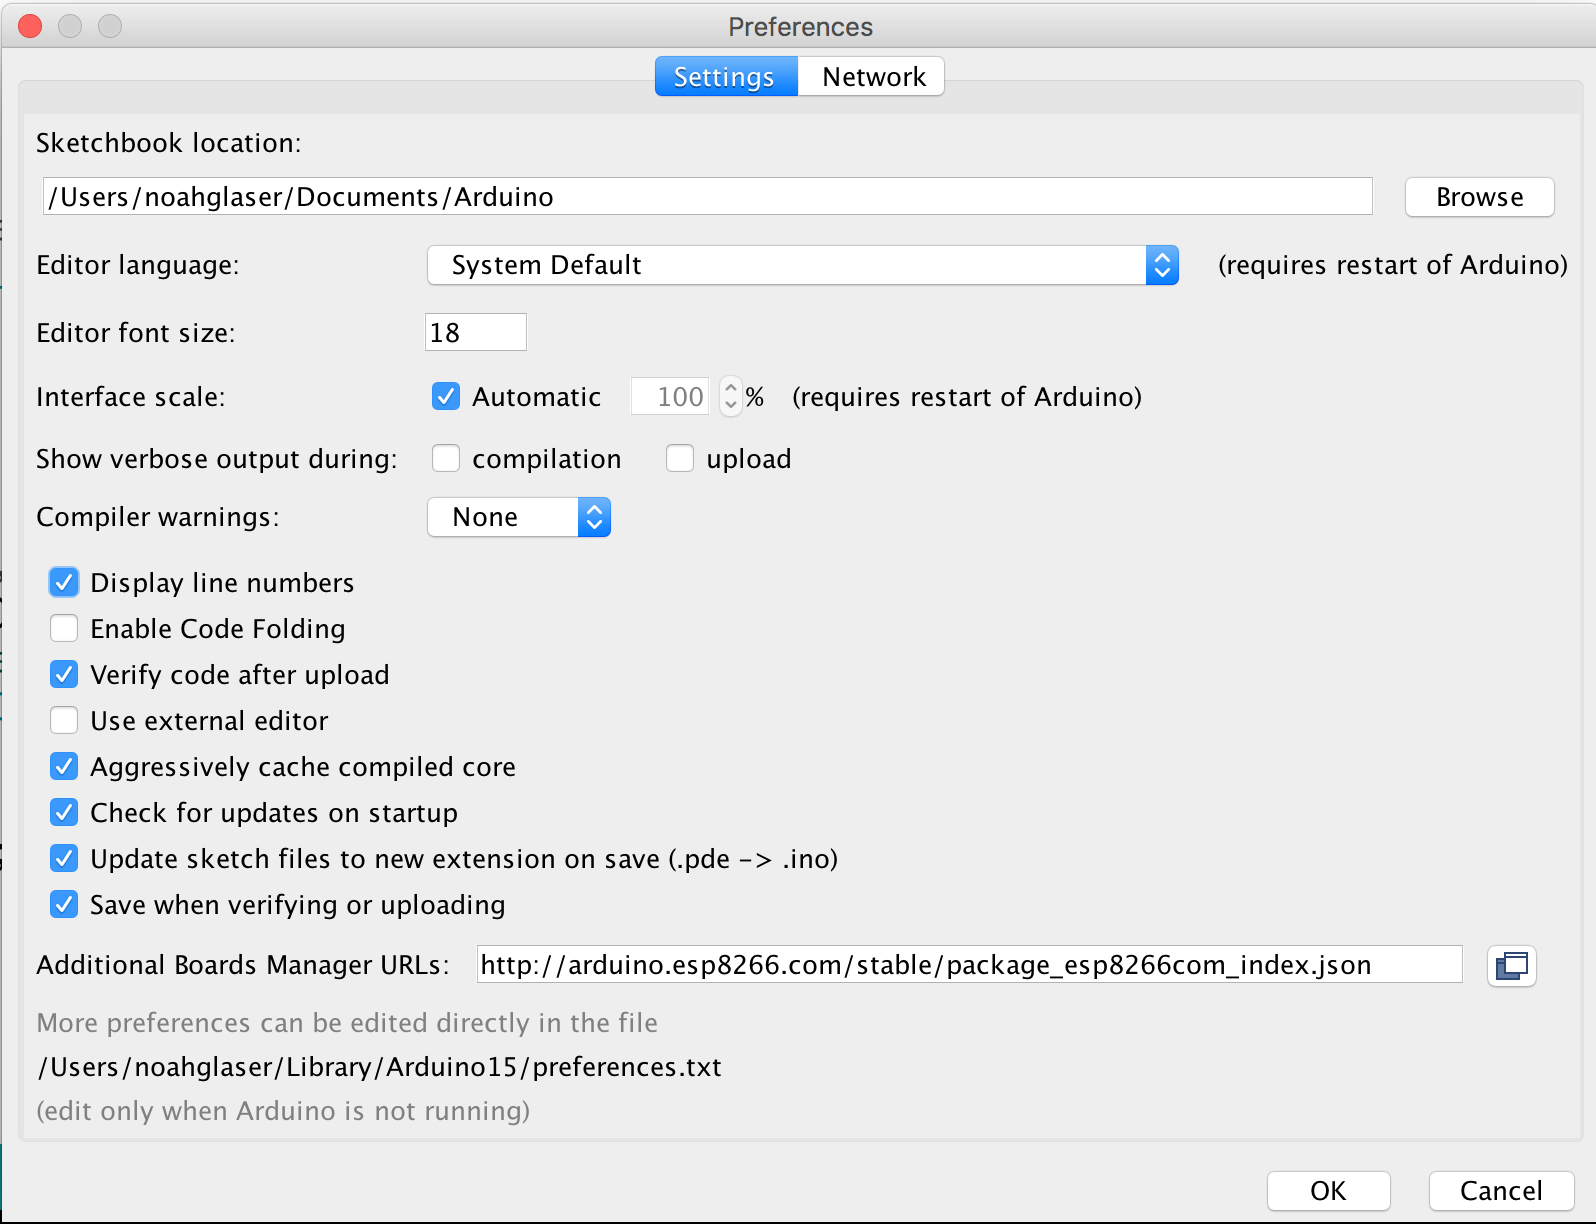
1) Go to Arduino -> (Preferences / Settings) and click “Display line numbers” checkbox.
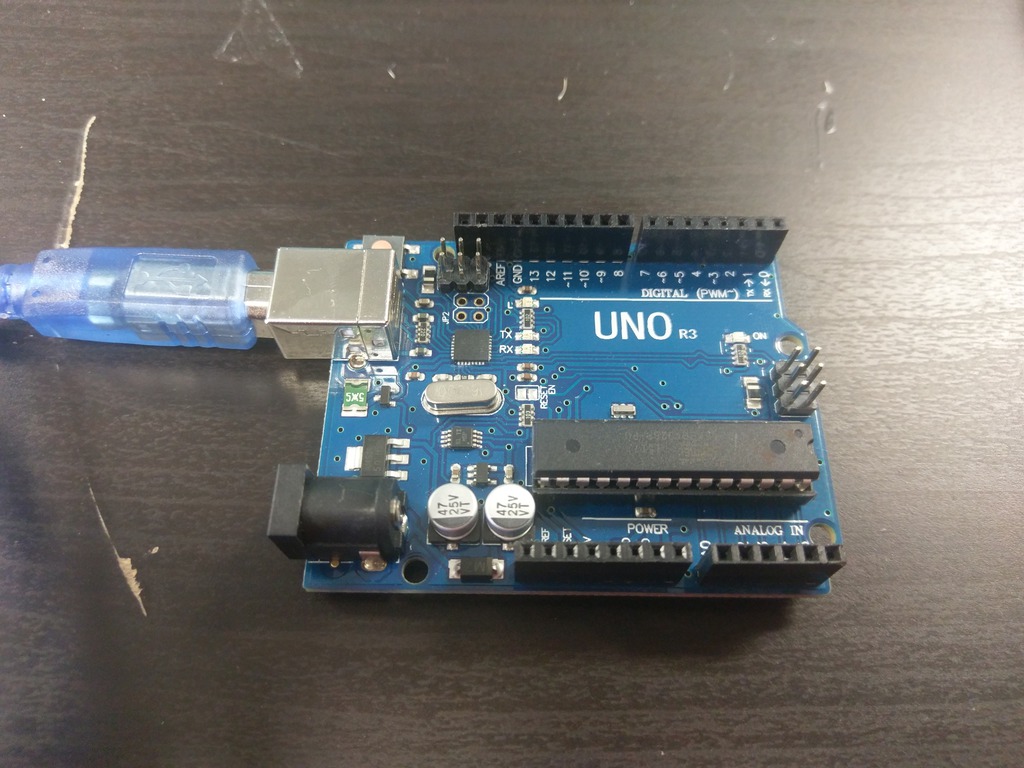
2) Plug the arduino into the computer.

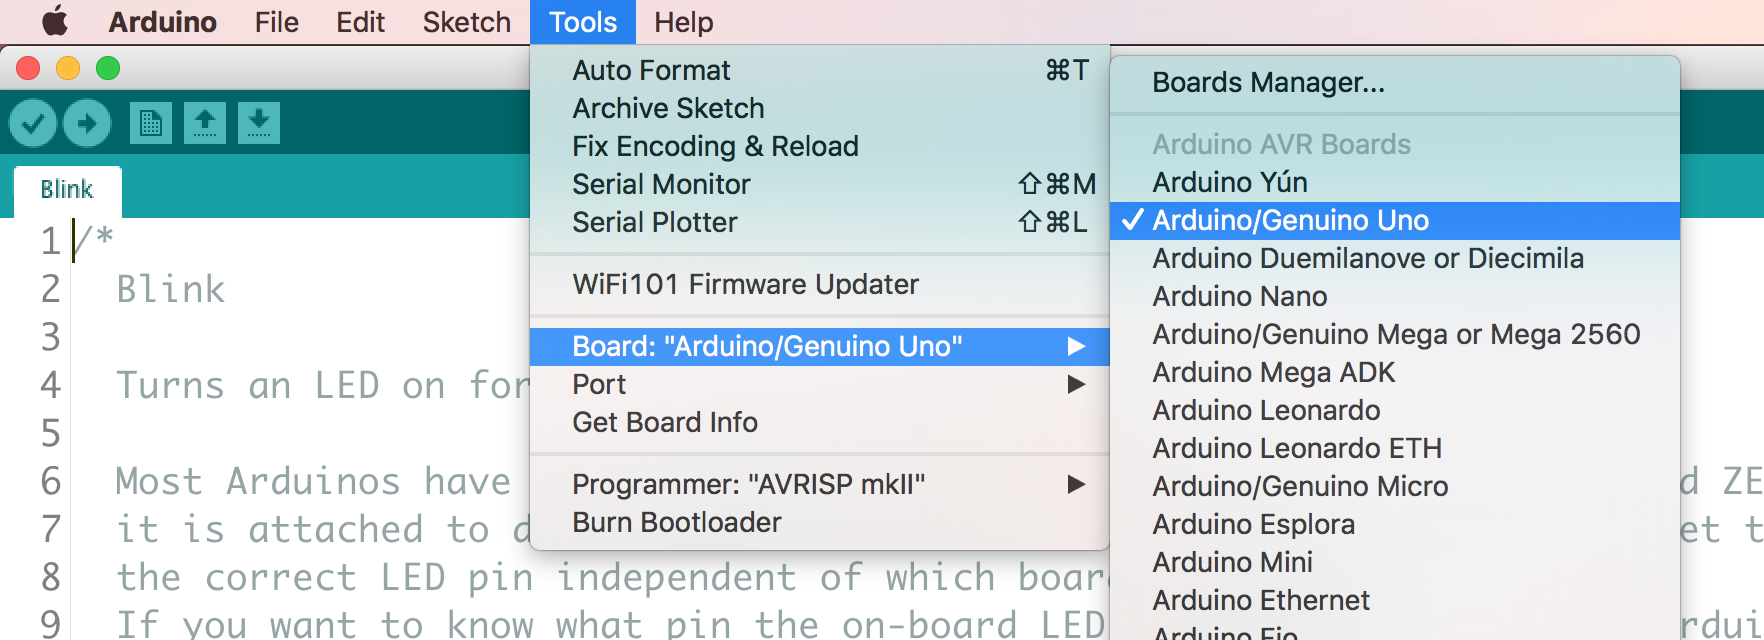
3) Go to tools -> boards -> and select the (Arduino/Genuino Uno)
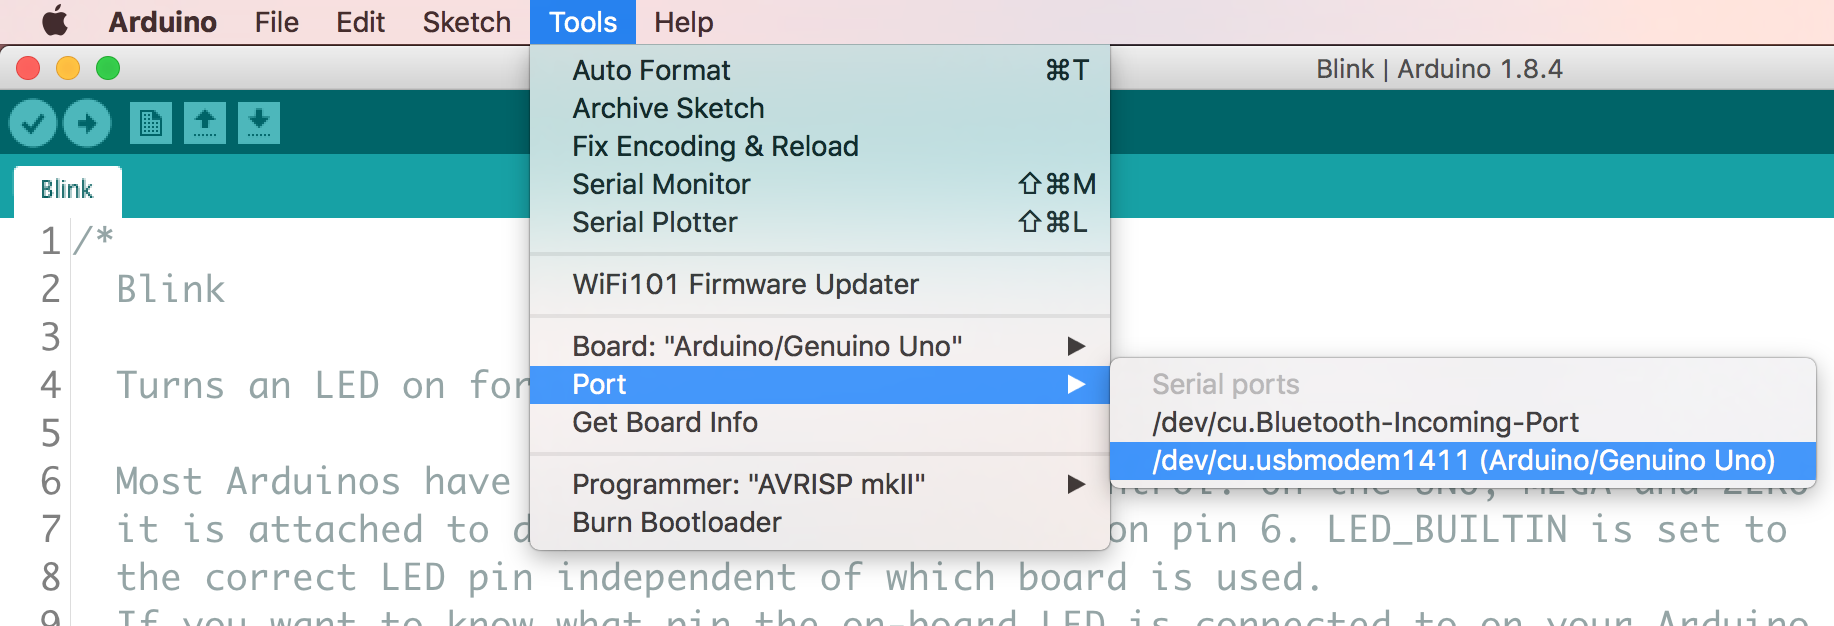
4) Go to tools -> ports -> and select the usb port the arduino is plugged into.
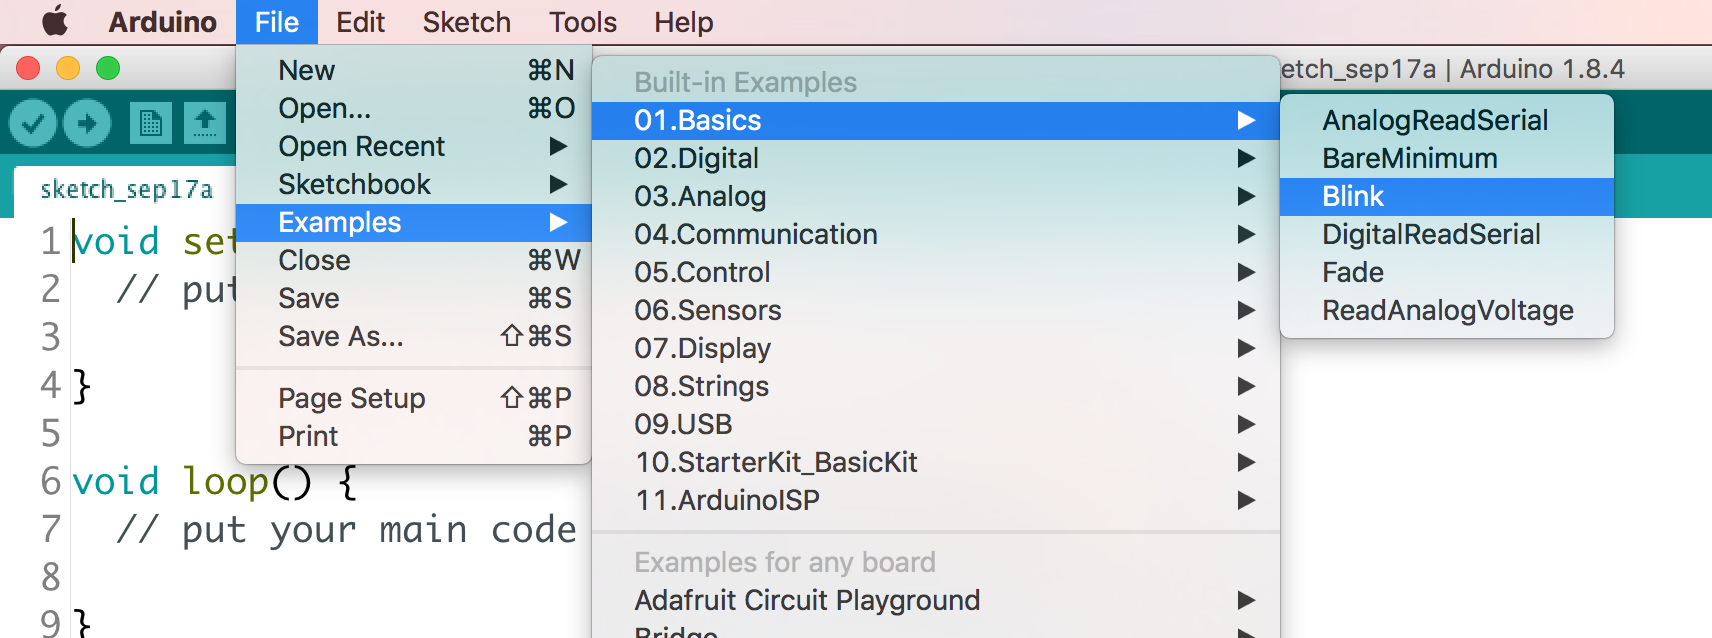
5) Go to files -> examples -> and select blink program.
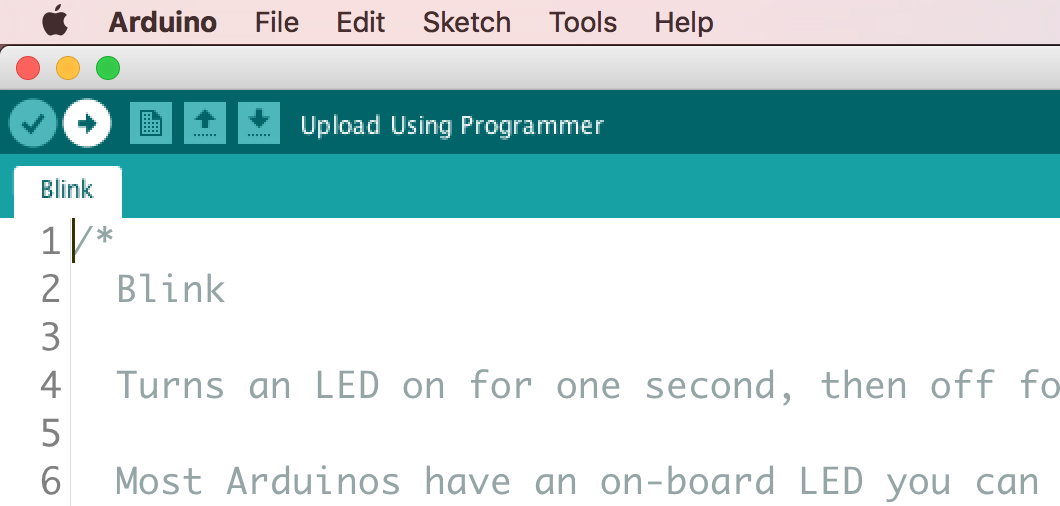
6) Now click the upload button on the arduino ide. It looks like a play button.
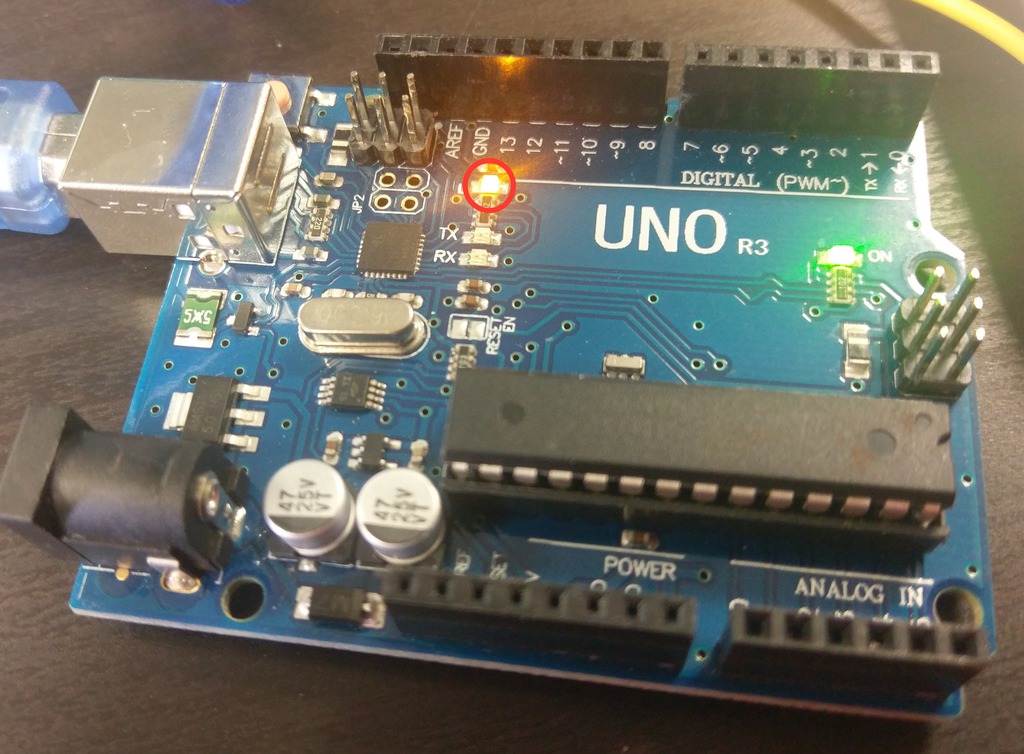
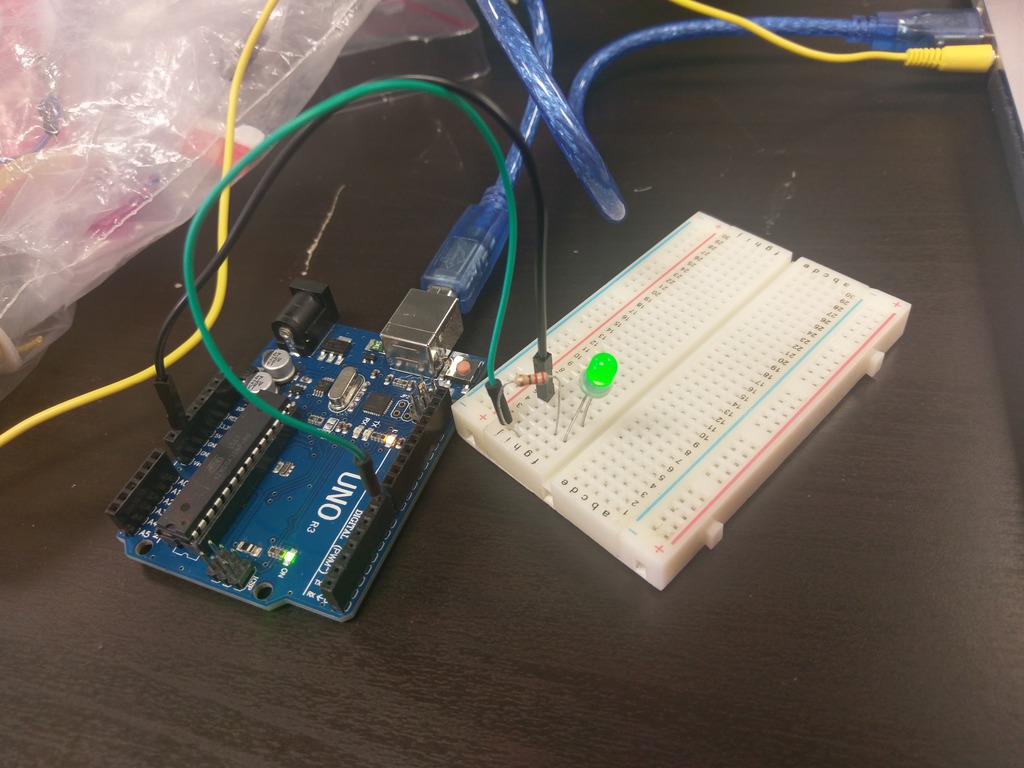
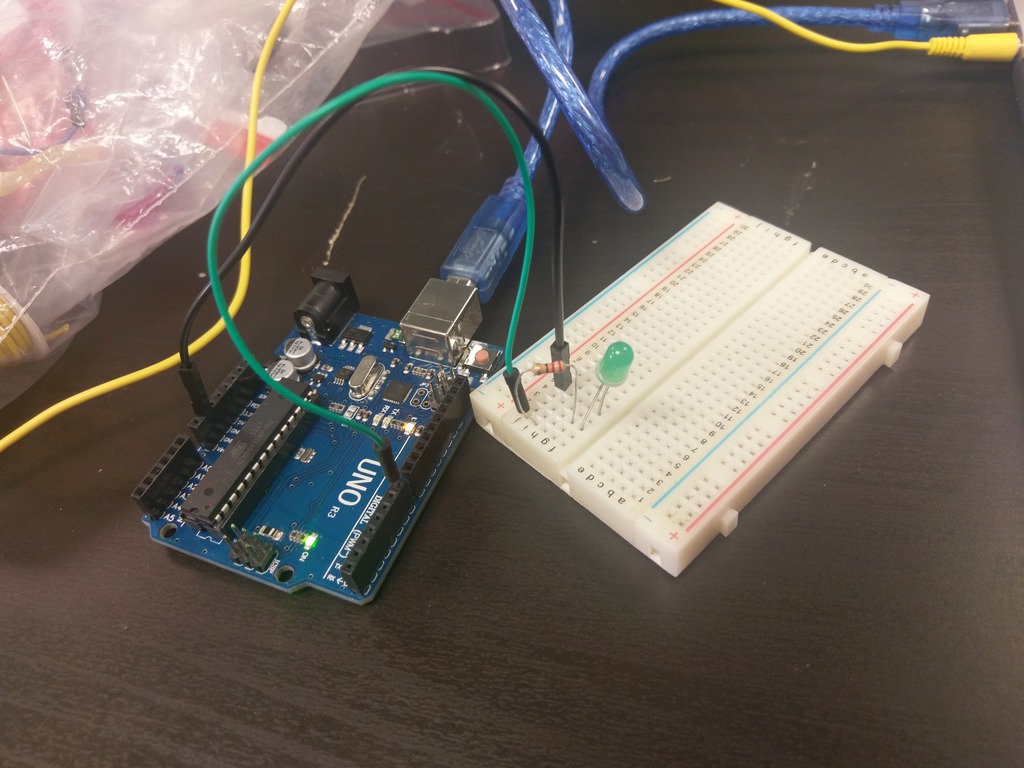
7) The arduino should now blink every second. Congrats!! You uploaded your first arduino program. Remember that pin 13, is the built in led. The red circle is the led attached to pin 13.

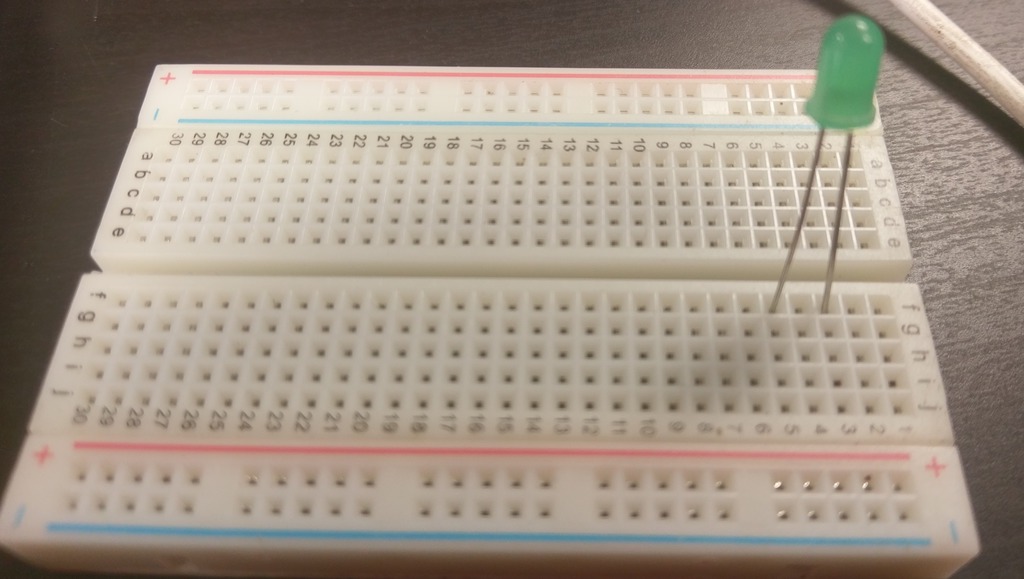
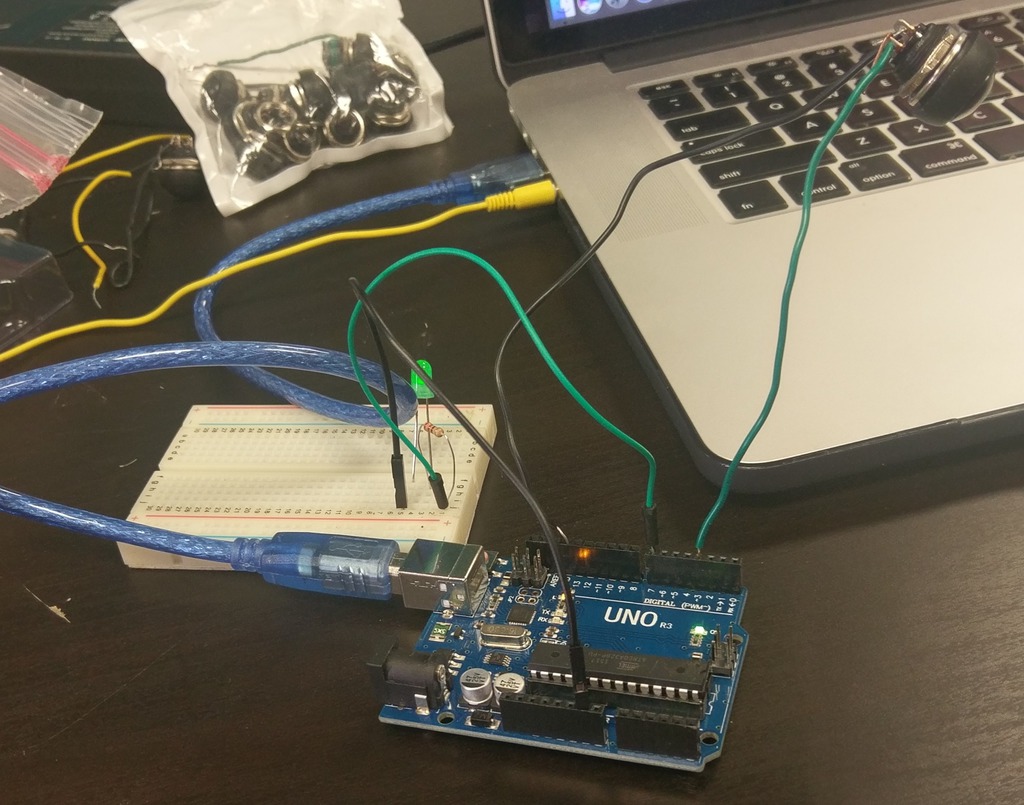
8) The take breadboard and put the positive (long end) of the led into (3, f) and the short end into (5, f) of the breadboard.
9) Take the resistor and plug that into (3, g) and (1, i) of the breadboard.

10) Take one jumper wire and plug it into pin (1, j) of the breadboard. Take the other jumper wire and plug it into (5,j).
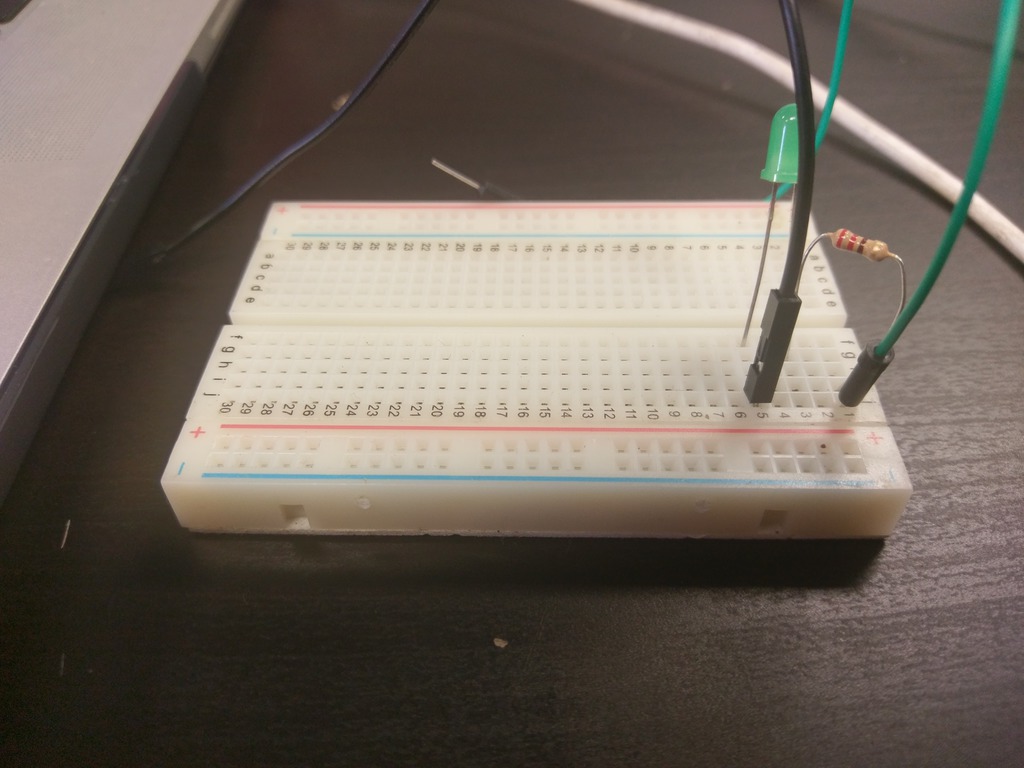
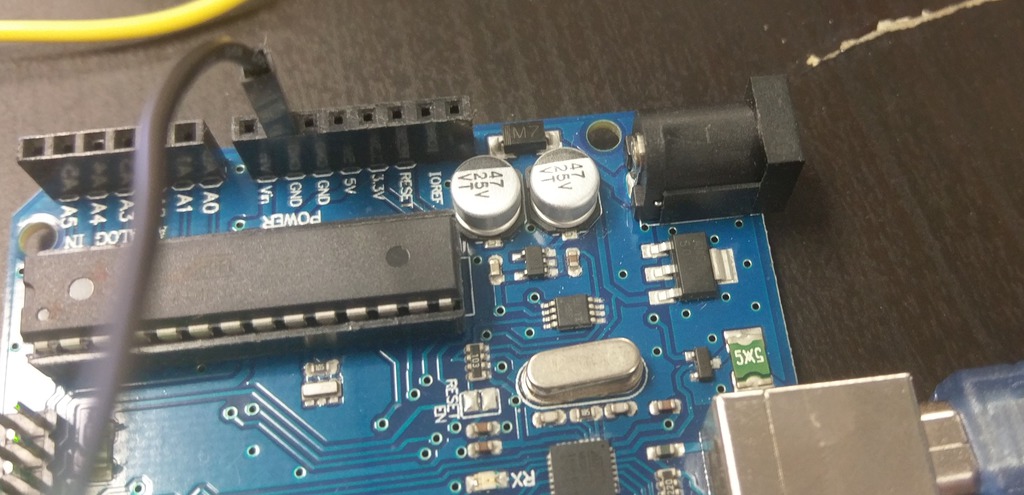
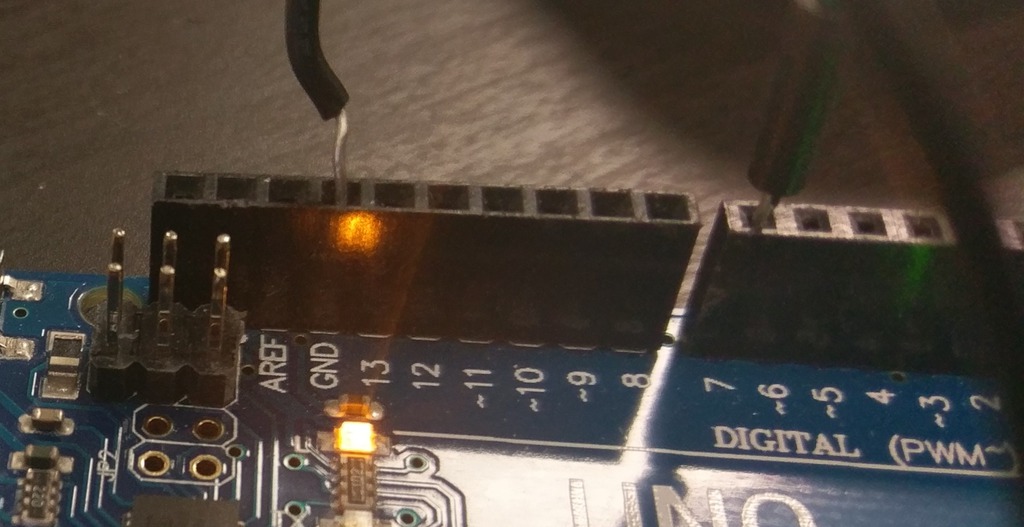
11) Take the jumper wire plugged into (1,j) and plug it into pin 7 of the arduino.
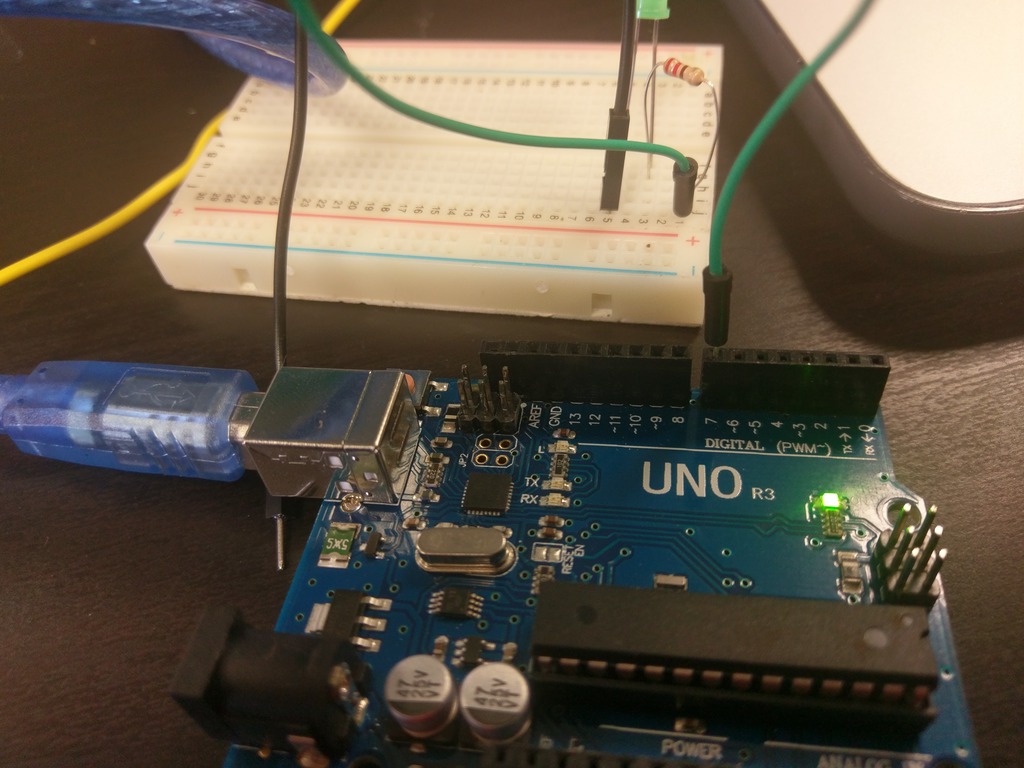
12) Take the other jumper wire and plug it into ground of the arduino.
13) Now open a new arduino sketch and paste in this code and paste the code in below.
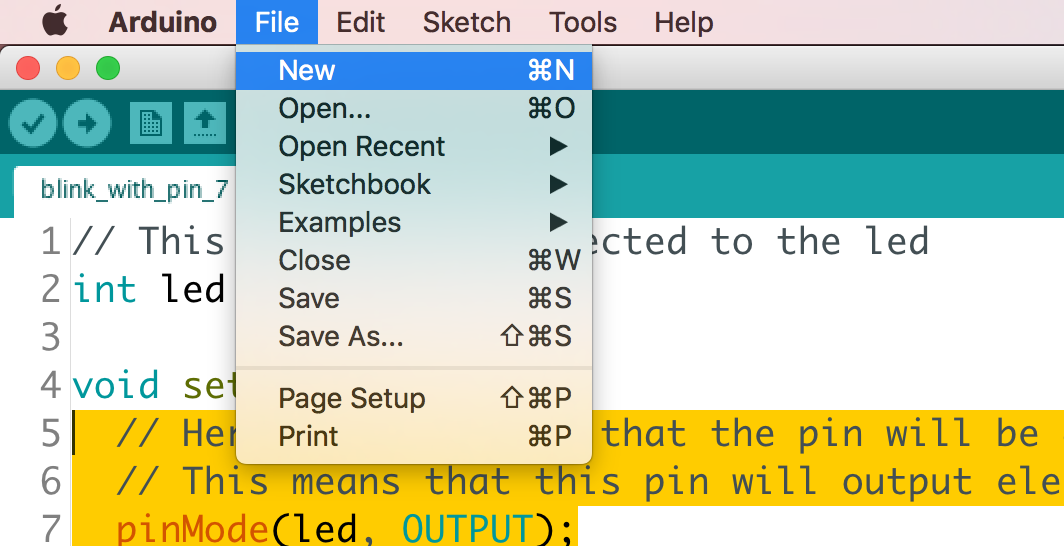
// This is the pin connected to the led
int led = 7;

void setup() {
  // Here we are saying that the pin will be an output pin
  // This means that this pin will output electricity.
  pinMode(led, OUTPUT);

}

void loop() {
  // This will turn the led on
  digitalWrite(led, HIGH);
  // This will make the program wait 1 second
  delay(1000);
  // This will turn the led off
  digitalWrite(led, LOW);
  // This will make the program wait another second
  delay(1000);
}
14) Upload the code like you did in step 6.
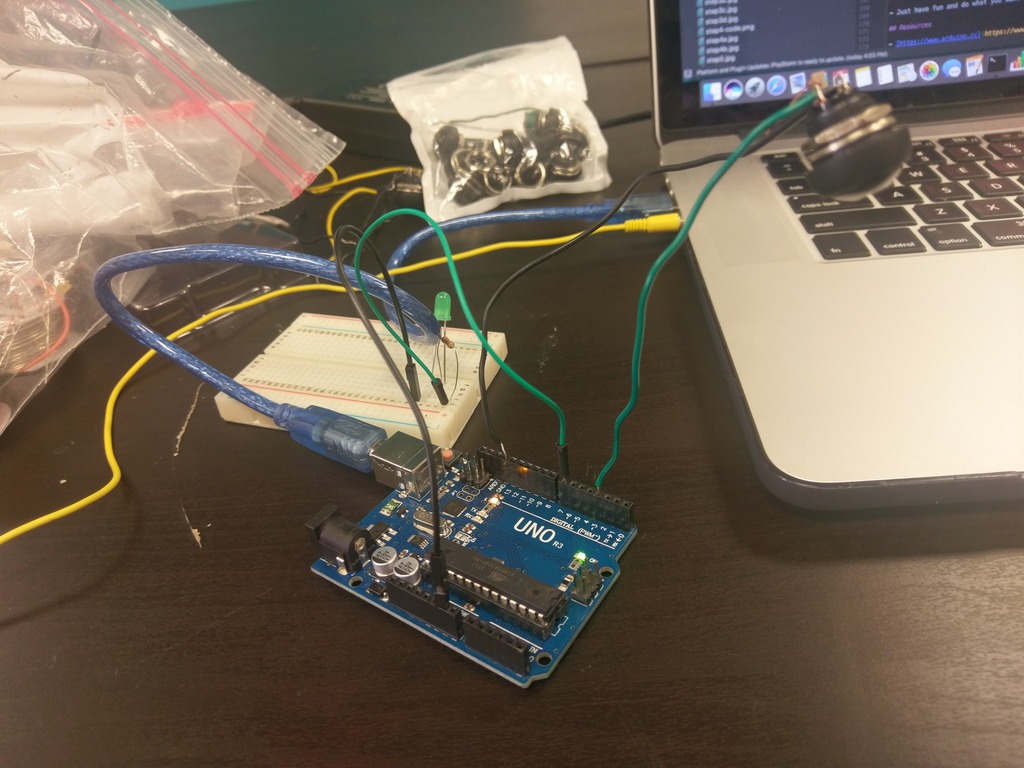
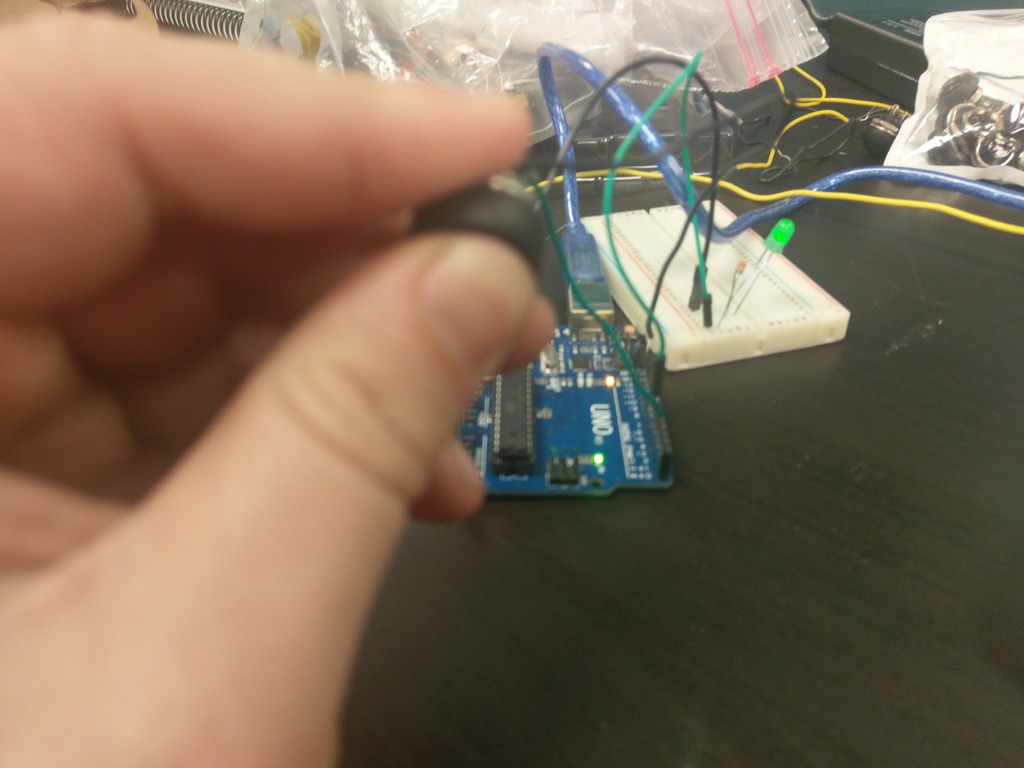
15) Next we are going to hook up the button. Take one end of the push button and plug that into ground (gnd).
16) Plug the other wire of the button into pin 3.

17) Now paste the code in below.
// This is the pin connected to the led
int led = 7;
int button = 3;

void setup() {
  // Here we are saying that the pin will be an output pin
  // This means that this pin will output electricity.
  pinMode(led, OUTPUT);
  pinMode(button, INPUT_PULLUP);
}

void loop() {

  if (digitalRead(button) == false) {
     digitalWrite(led, HIGH);
  }
  else {
     digitalWrite(led, LOW);
  }

}
18) Upload the code like you did in steps 6 and 14 to the arduino. When u push the button the light should go on.
Challenge Projects
-
Write code so the push button can act like a light switch. You push it once and it turns on the light and you push it again it turns off light. So it does not require continually pushing.
-
Make it so that the light blinks the number of times the button has been pushed
-
Just have fun and do what you want :)