Project Kit
Bill of Materials
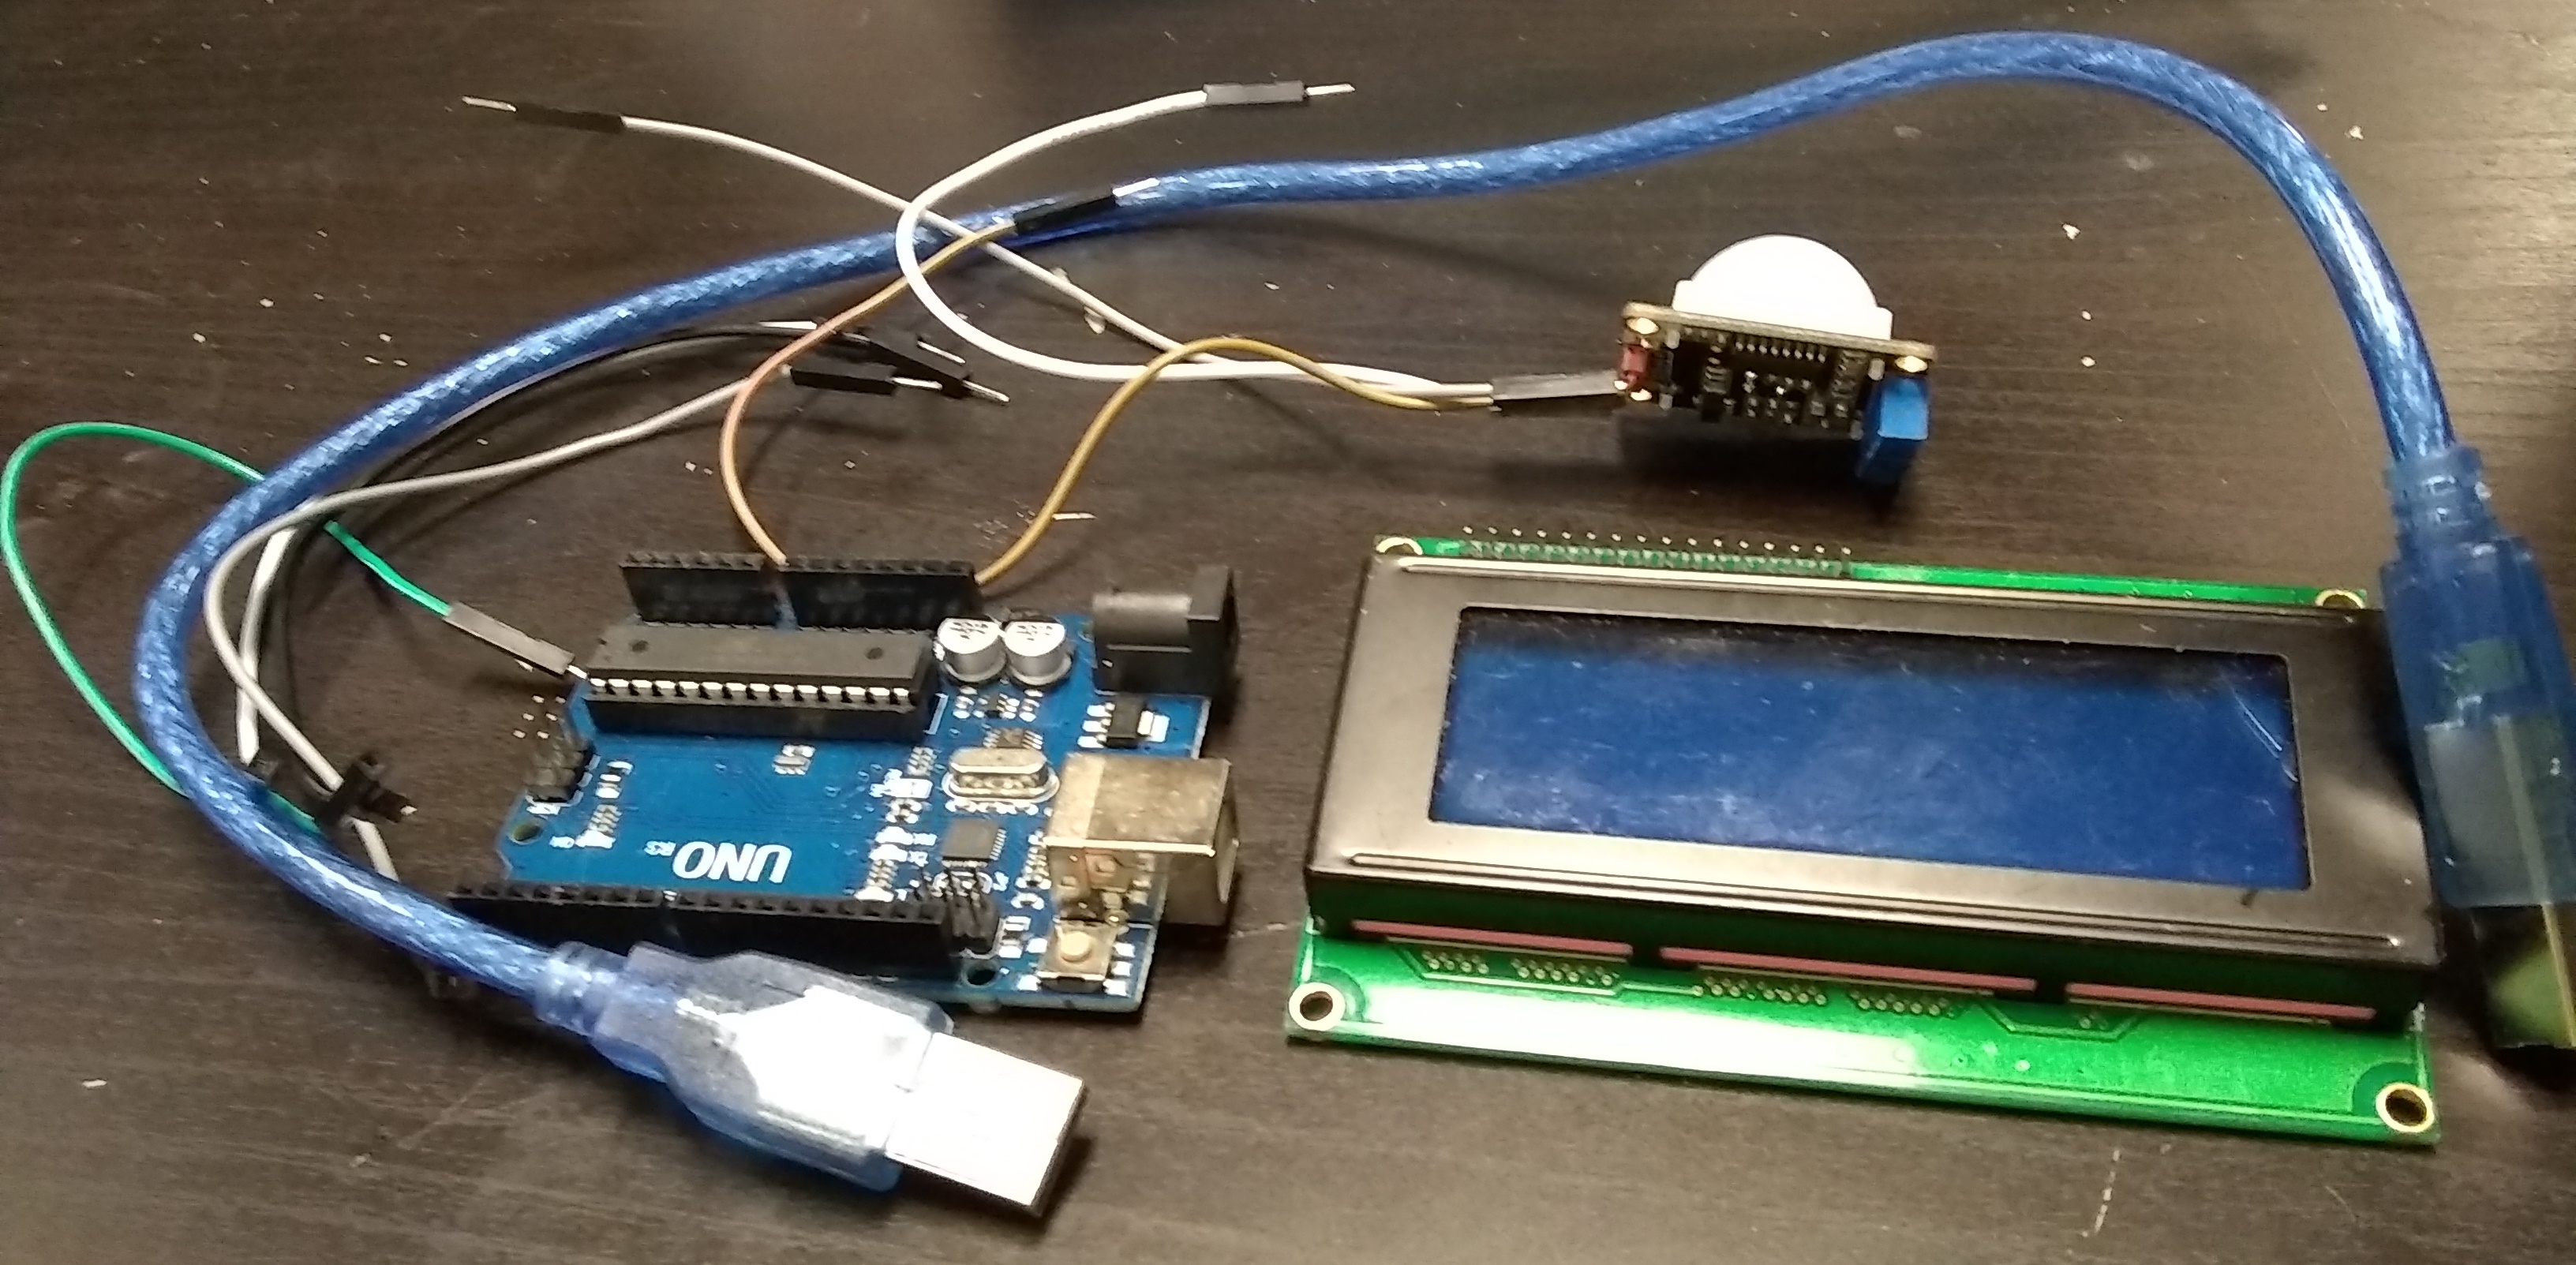
- 1 x Arduino Uno
- 7 x jumper wires (male to female)
- 1 x usb type b cable
- 1 x passive motion sensor for the class
- 1 x lcd screen that uses an I2C Bus
Steps
Before you begin be sure you have the arduino ide installed. You might want to review the class presentation if you found this on the internet.
Testing Setup
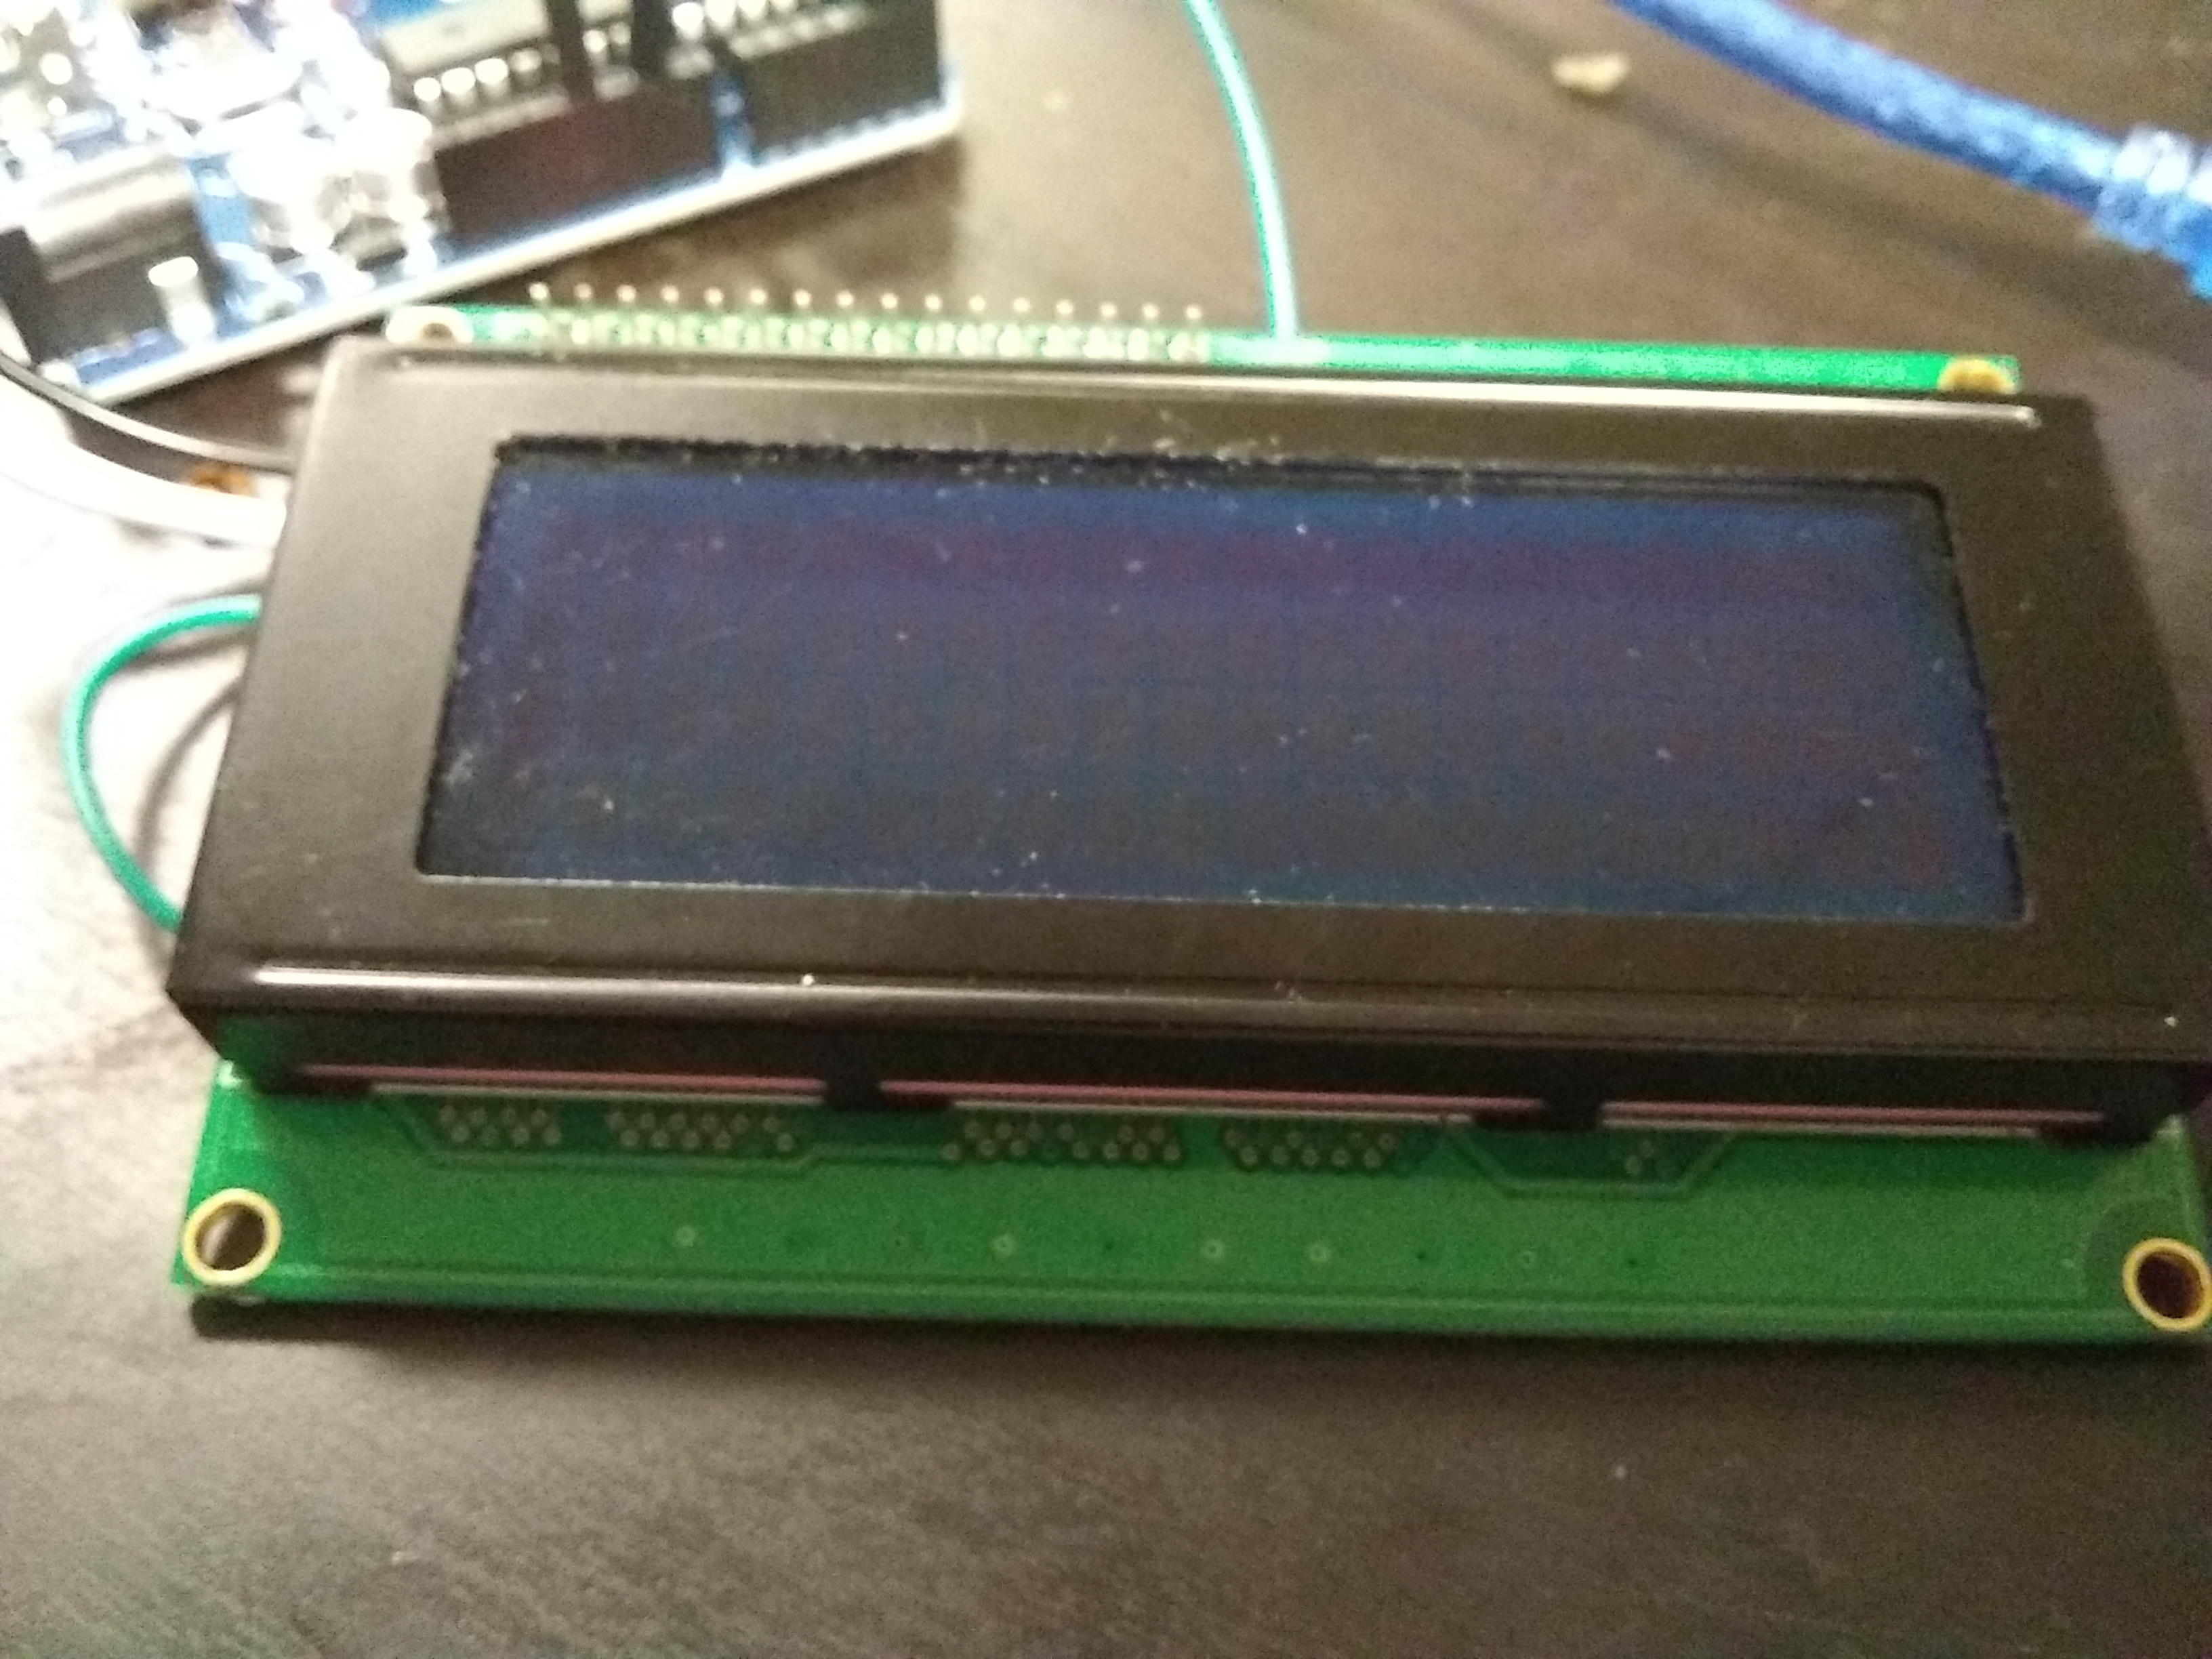
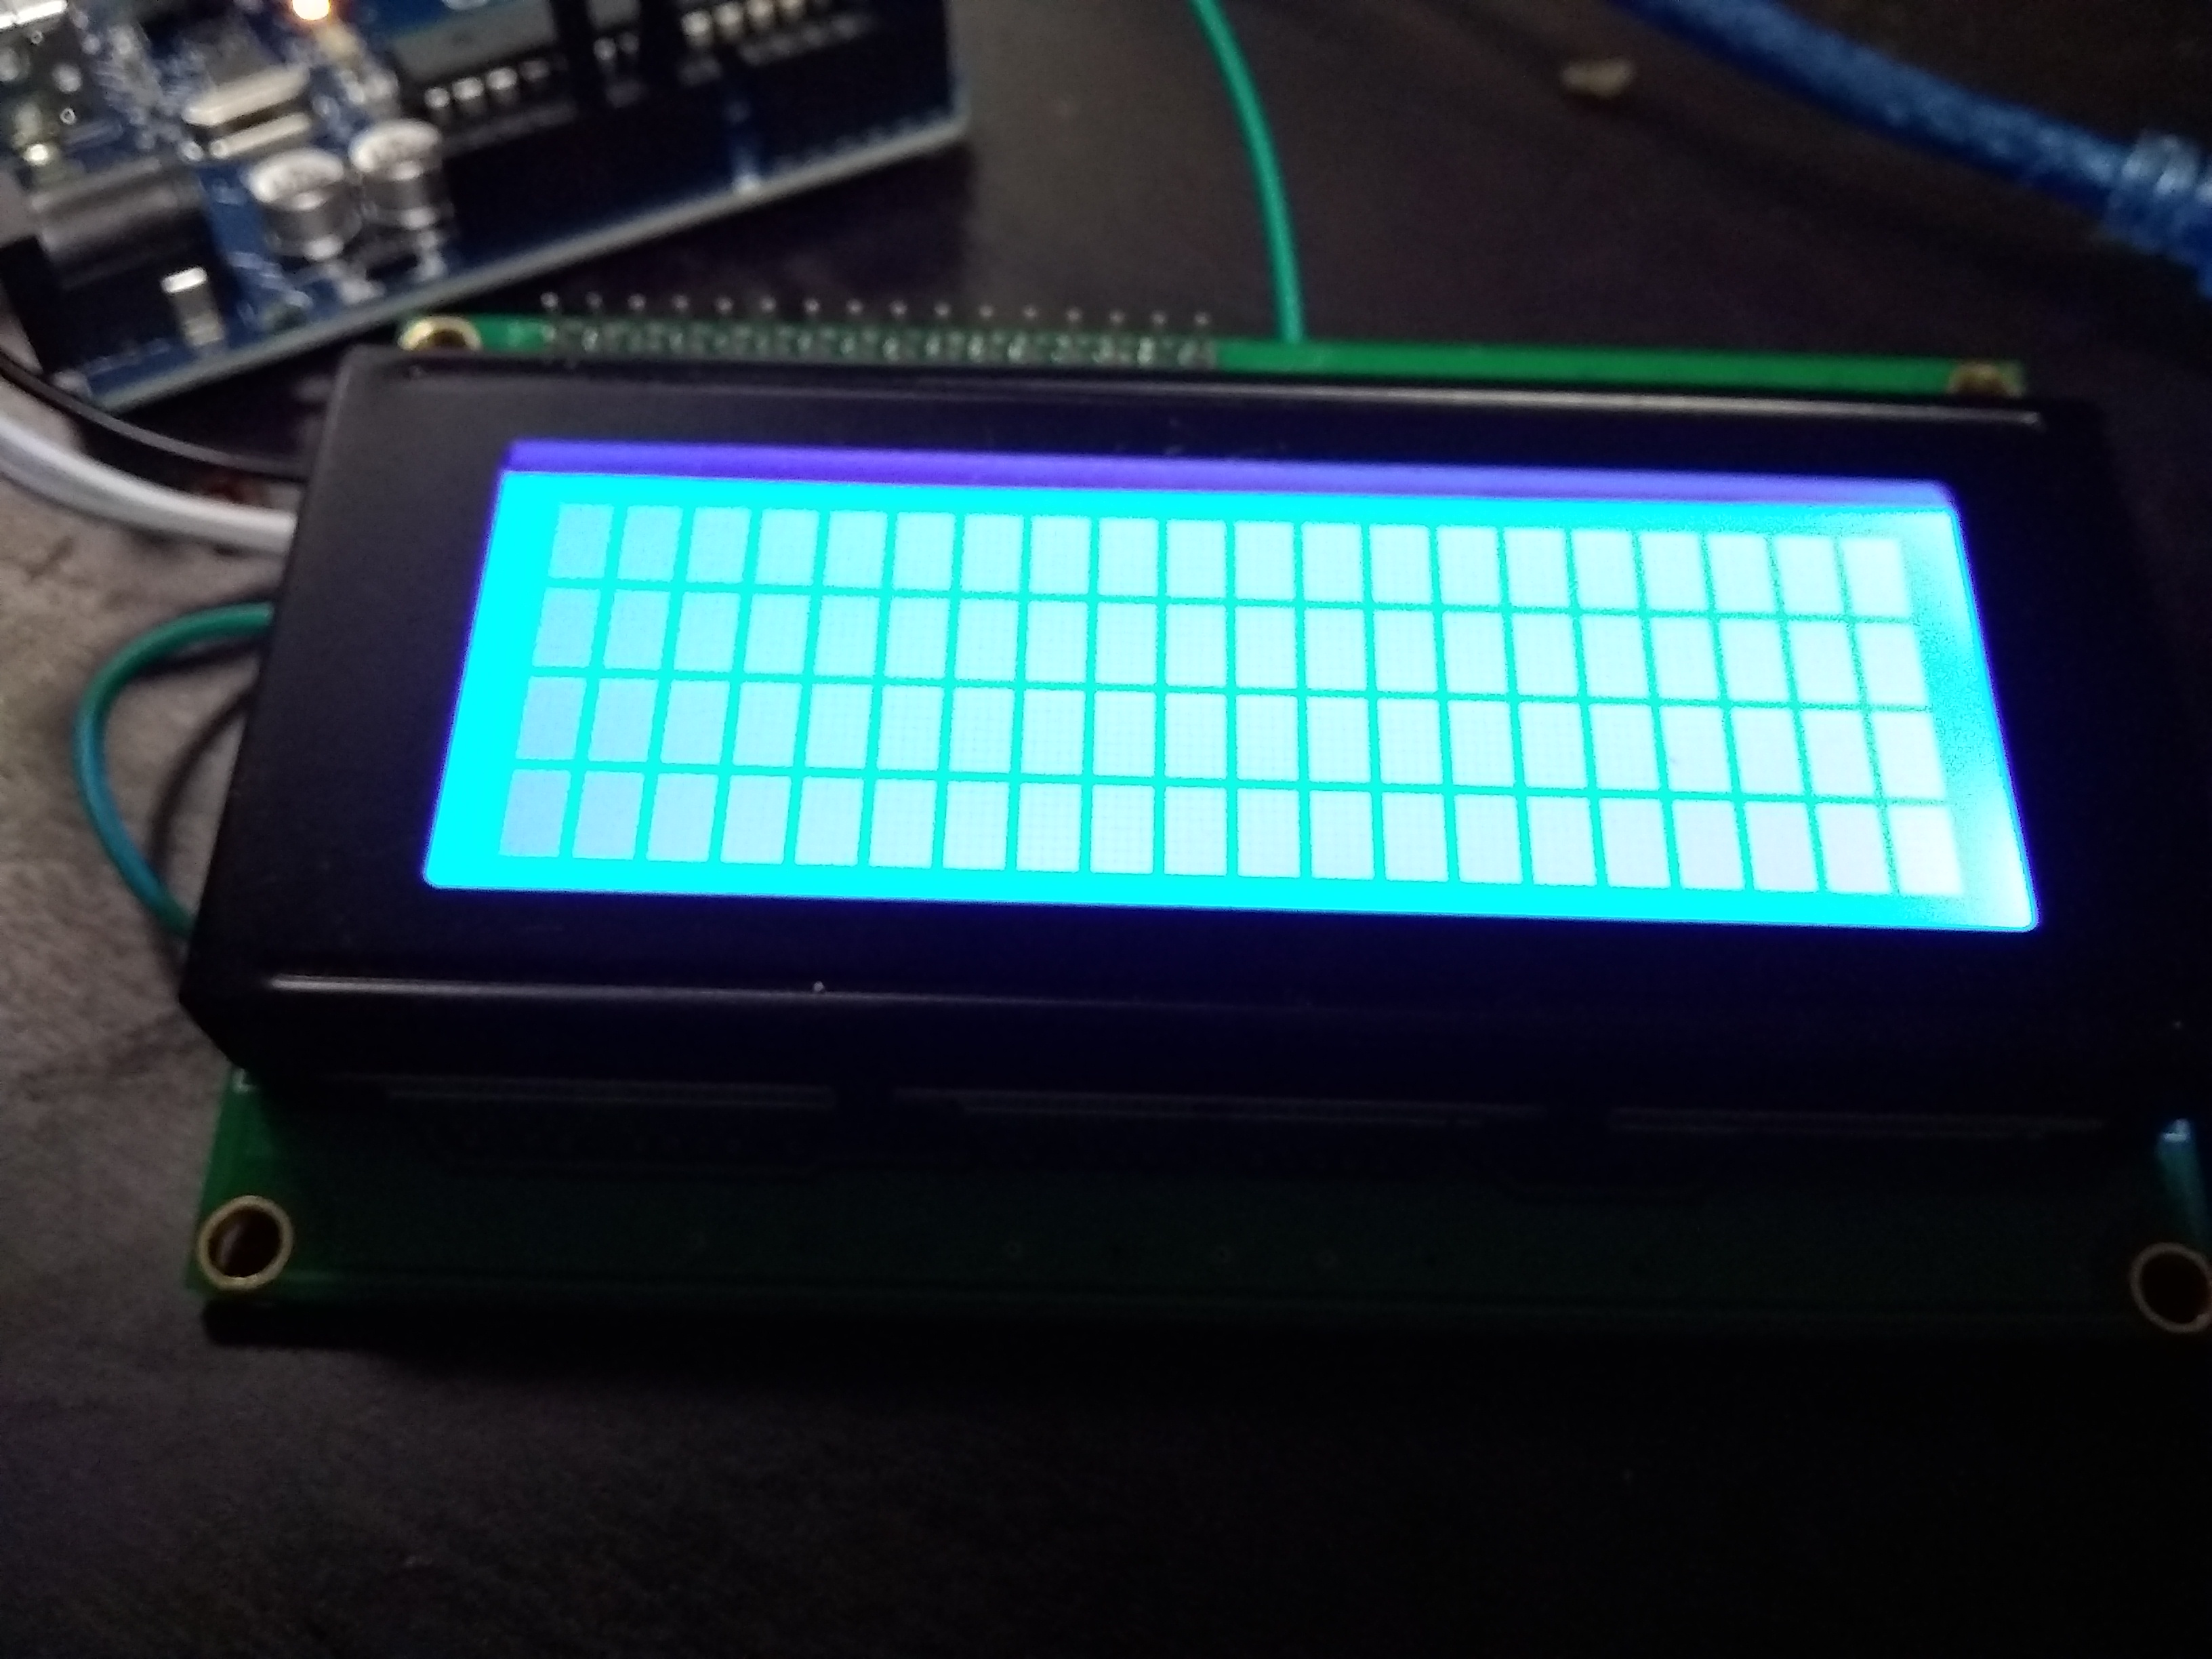
1) Turn the lcd screen on it’s back side and notice that it 4 pins connected to it. You can read more about it here
- ground (gnd)
- vcc (volts / +)
- sda (Serial Data Line)
- slc ( Serial Clock Line)

2) Take one of the wires and plug it into ground of the lcd screen and ground of the arduino.
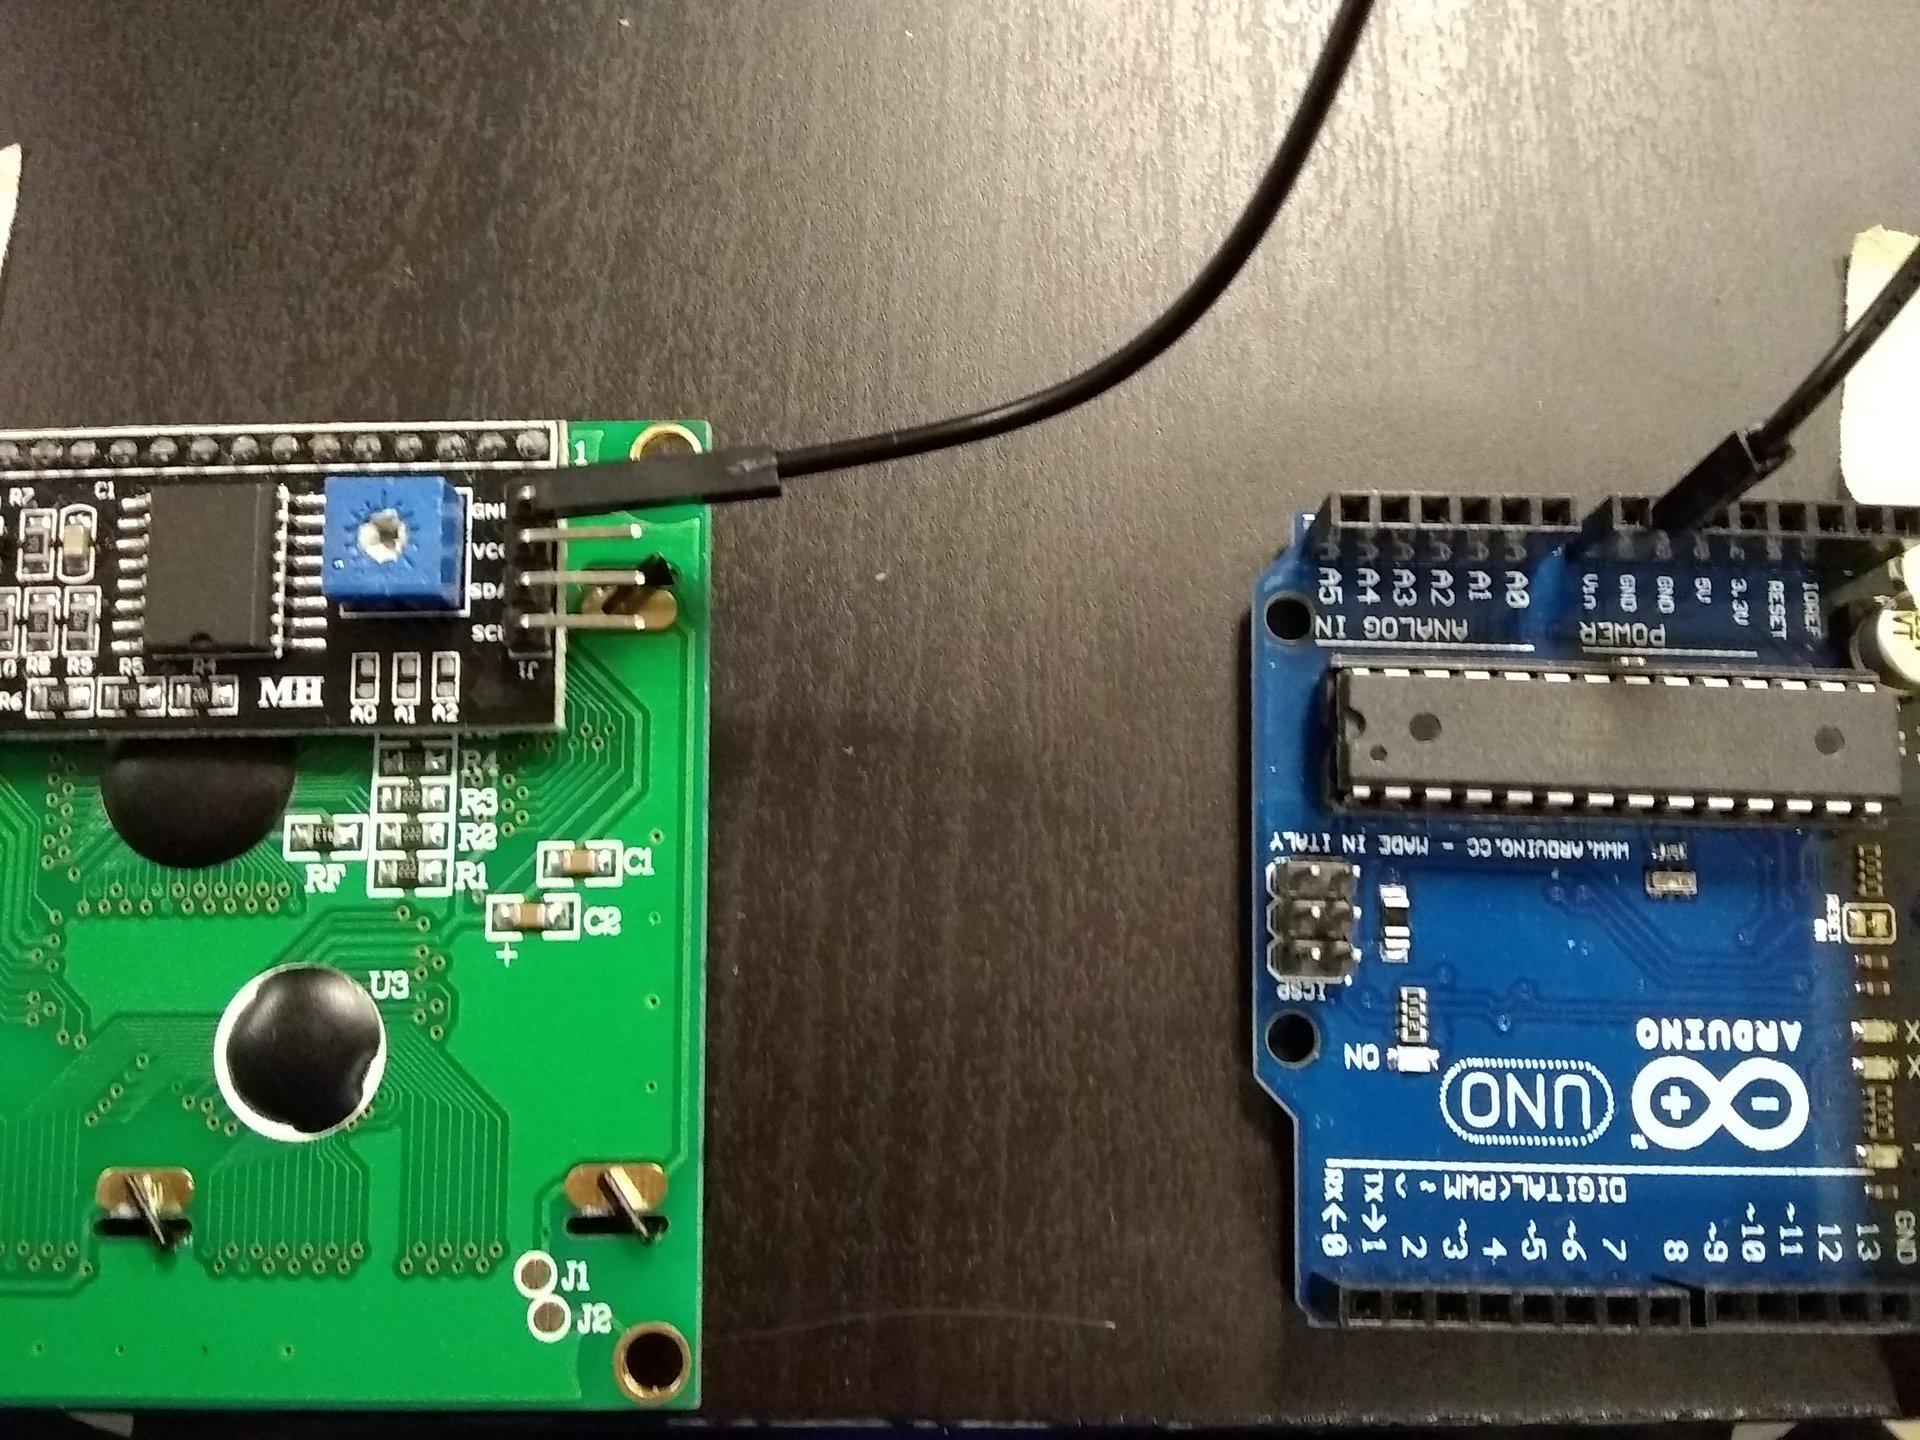
3) Take one of the wires and plug it into vcc of the lcd screen and 5v of the arduino.
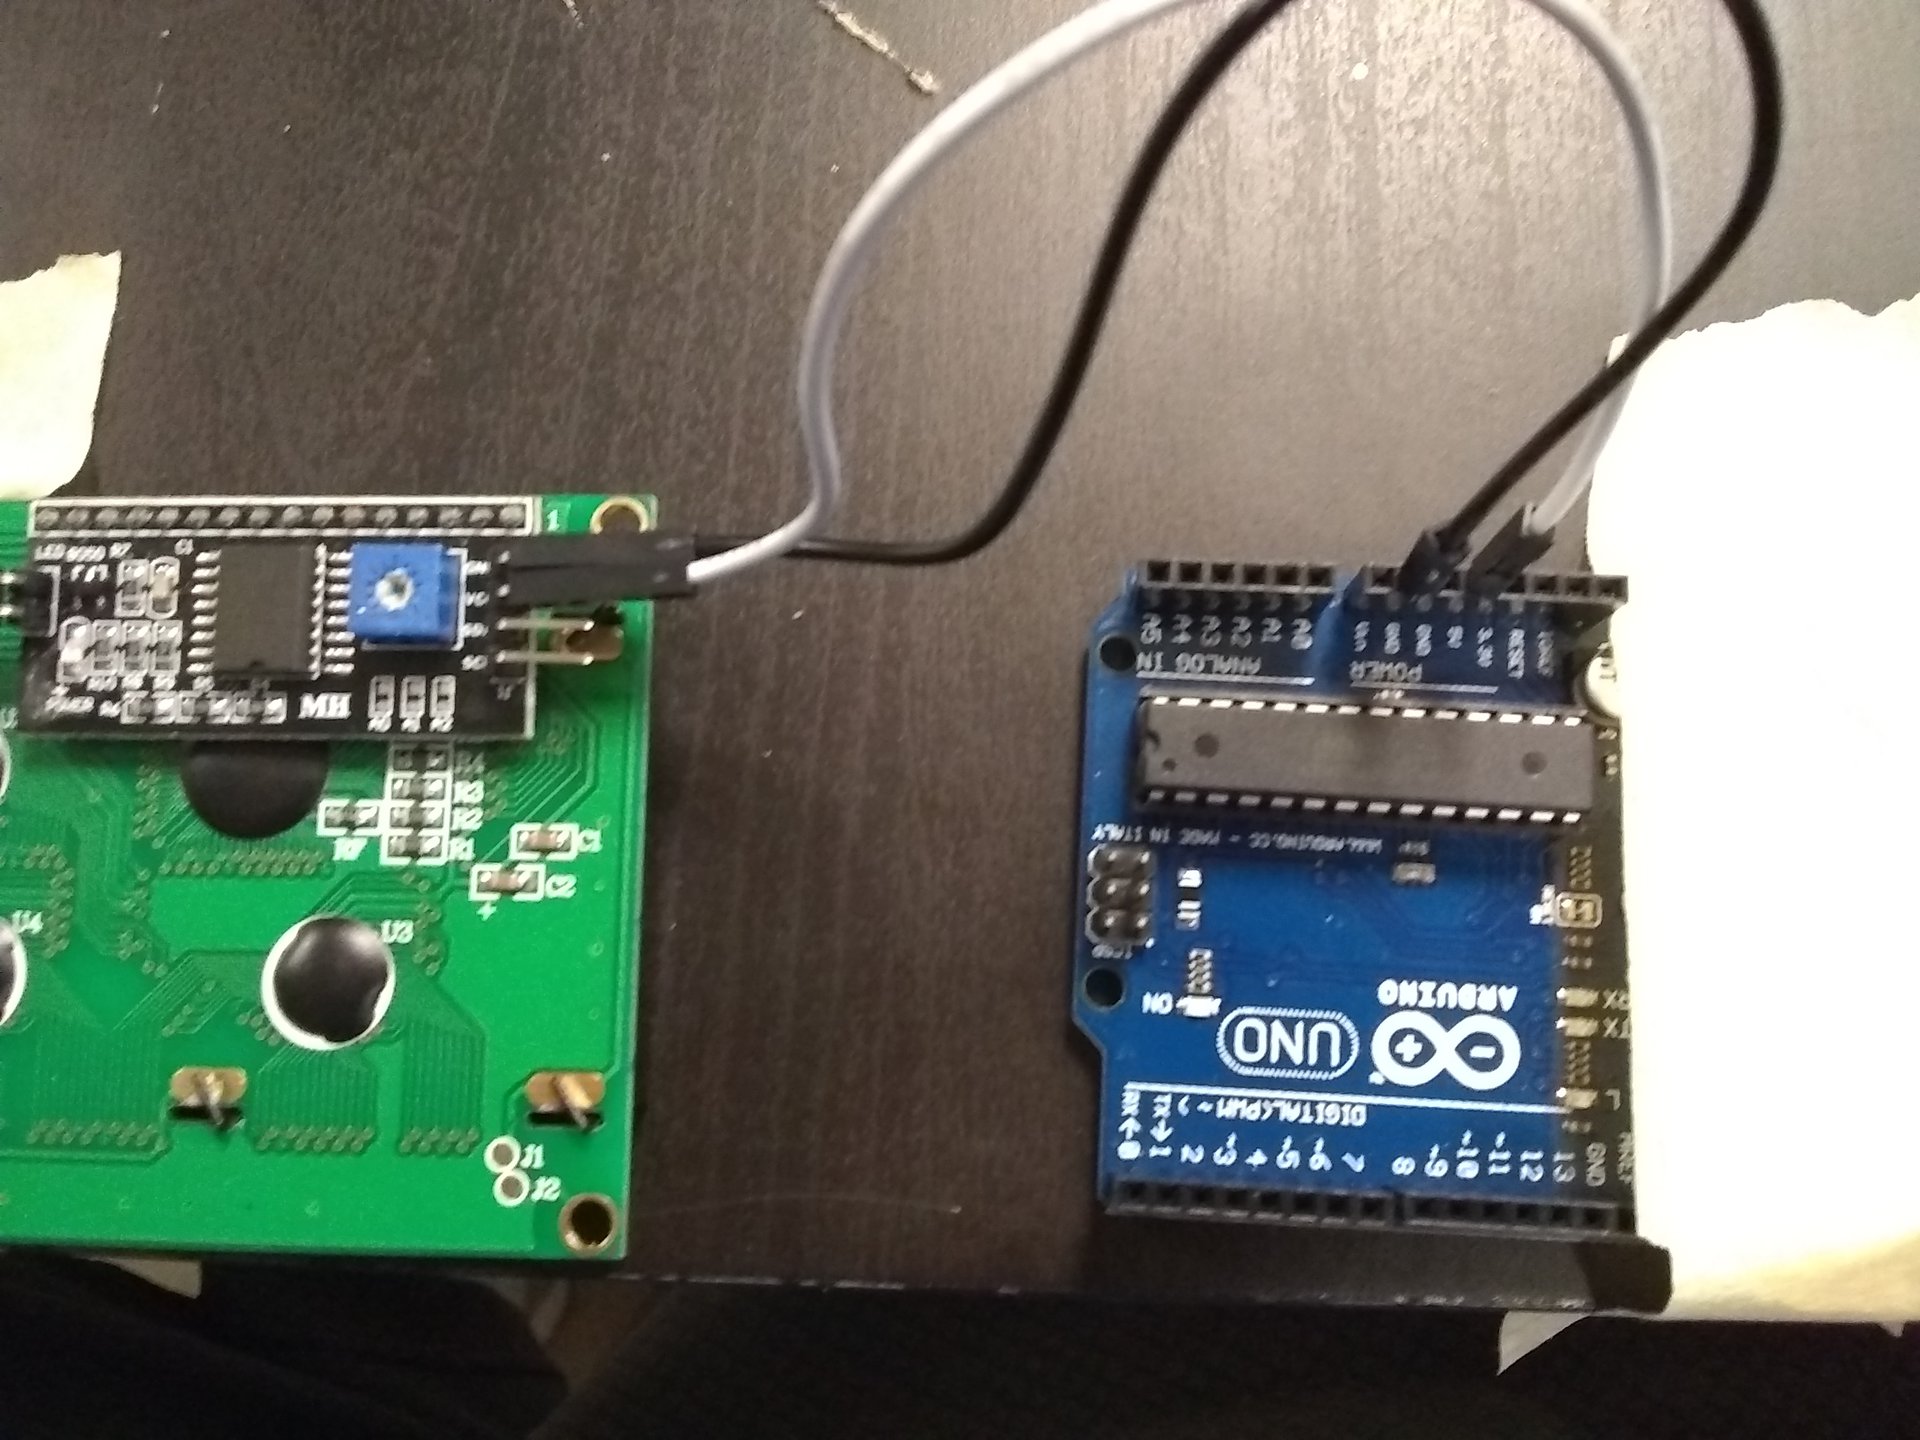
4) Take one of the wires and plug it into sda of the lcd screen and A4 of the arduino.
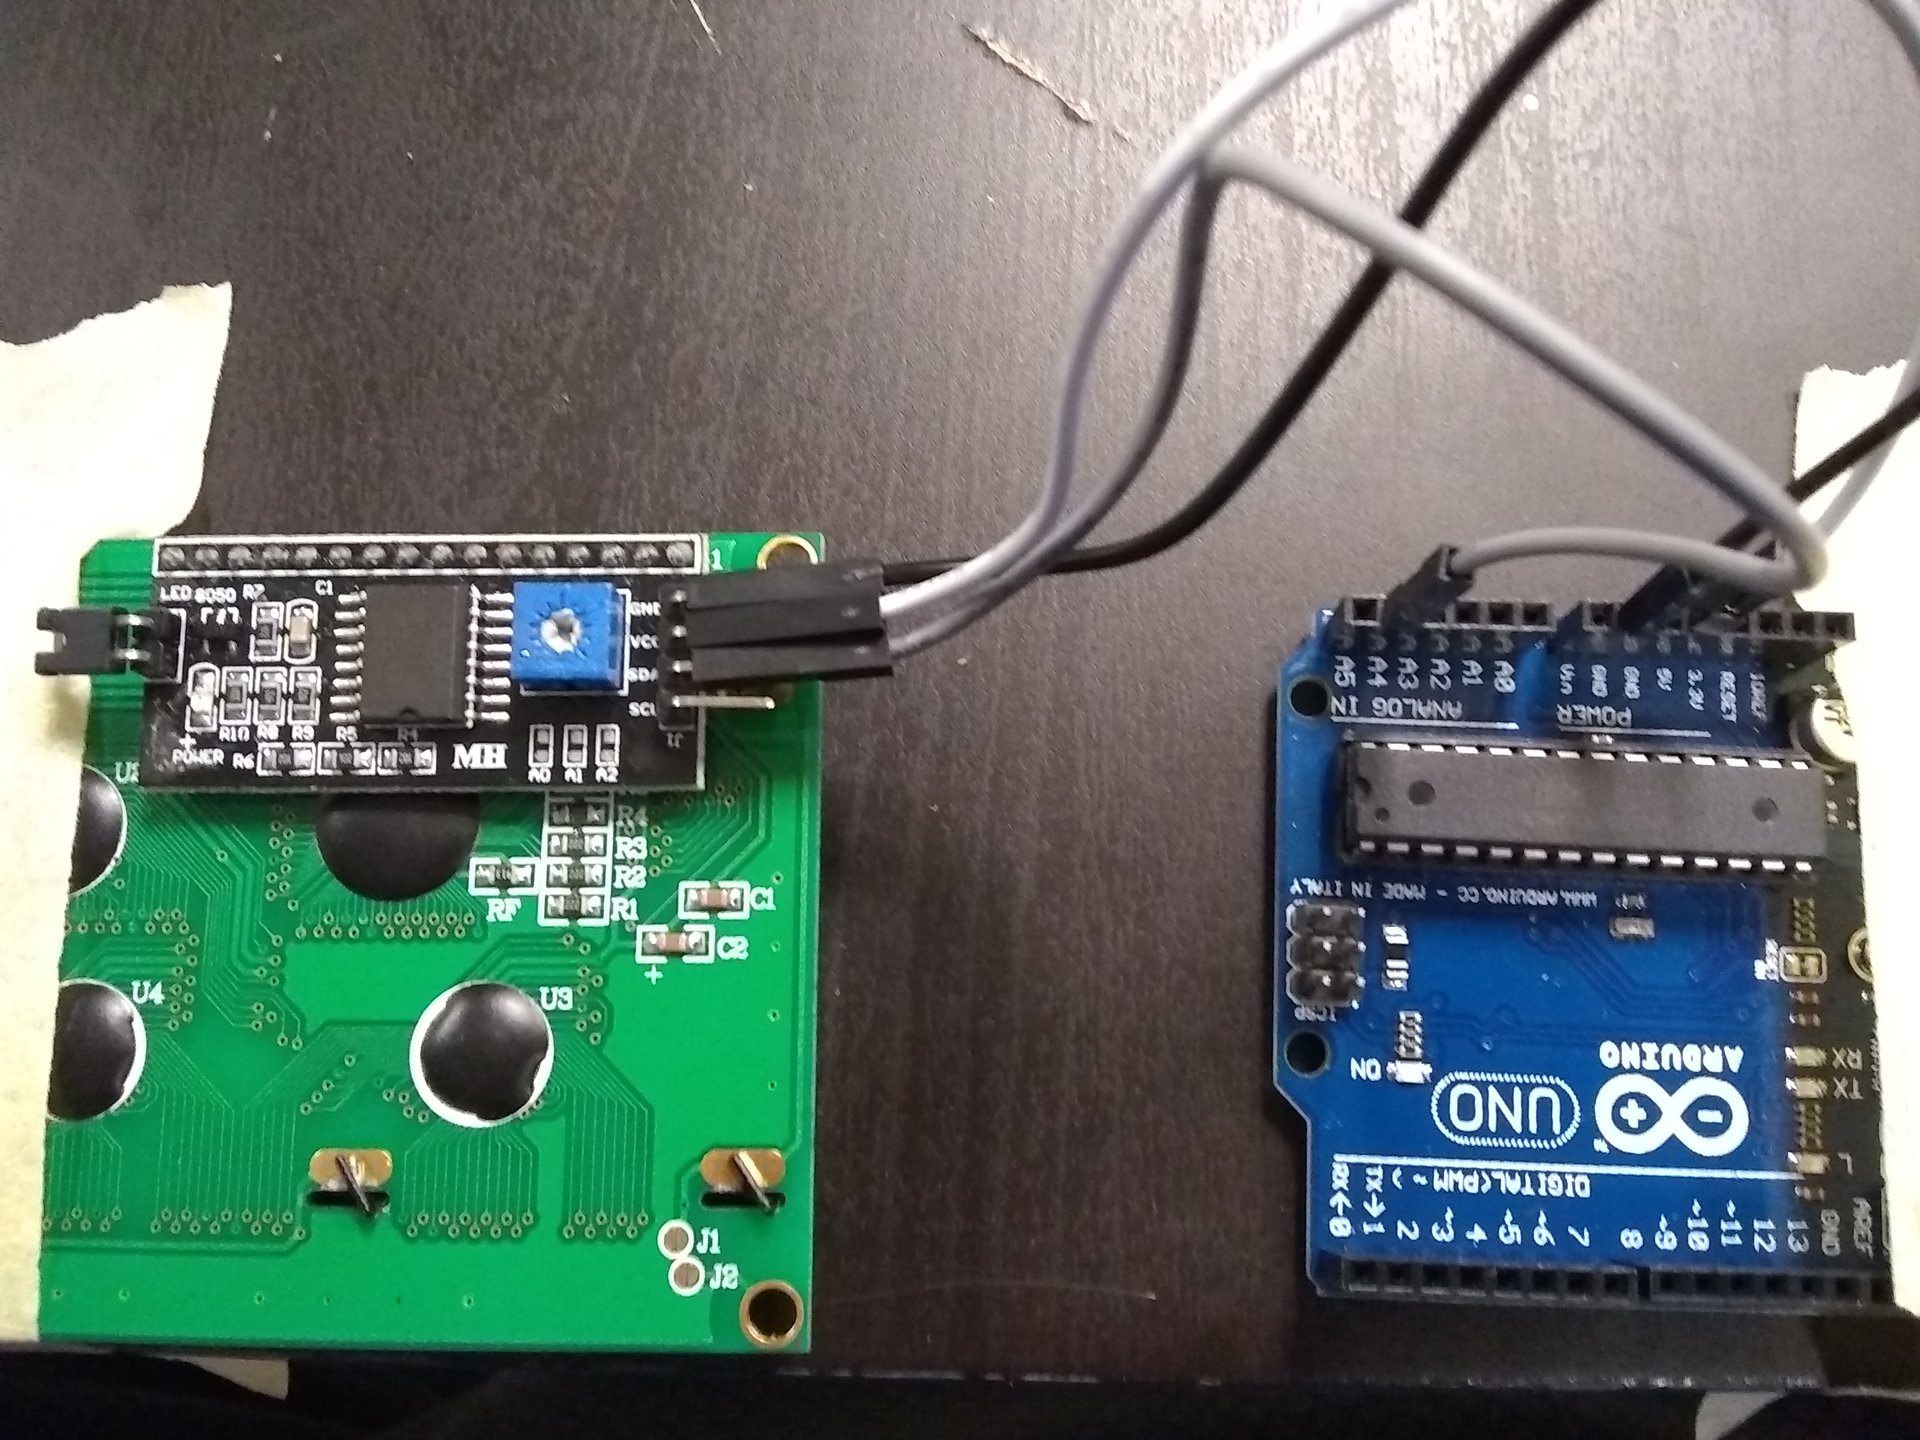
5) Take one of the wires and plug it into scl of the lcd screen and A5 of the arduino.
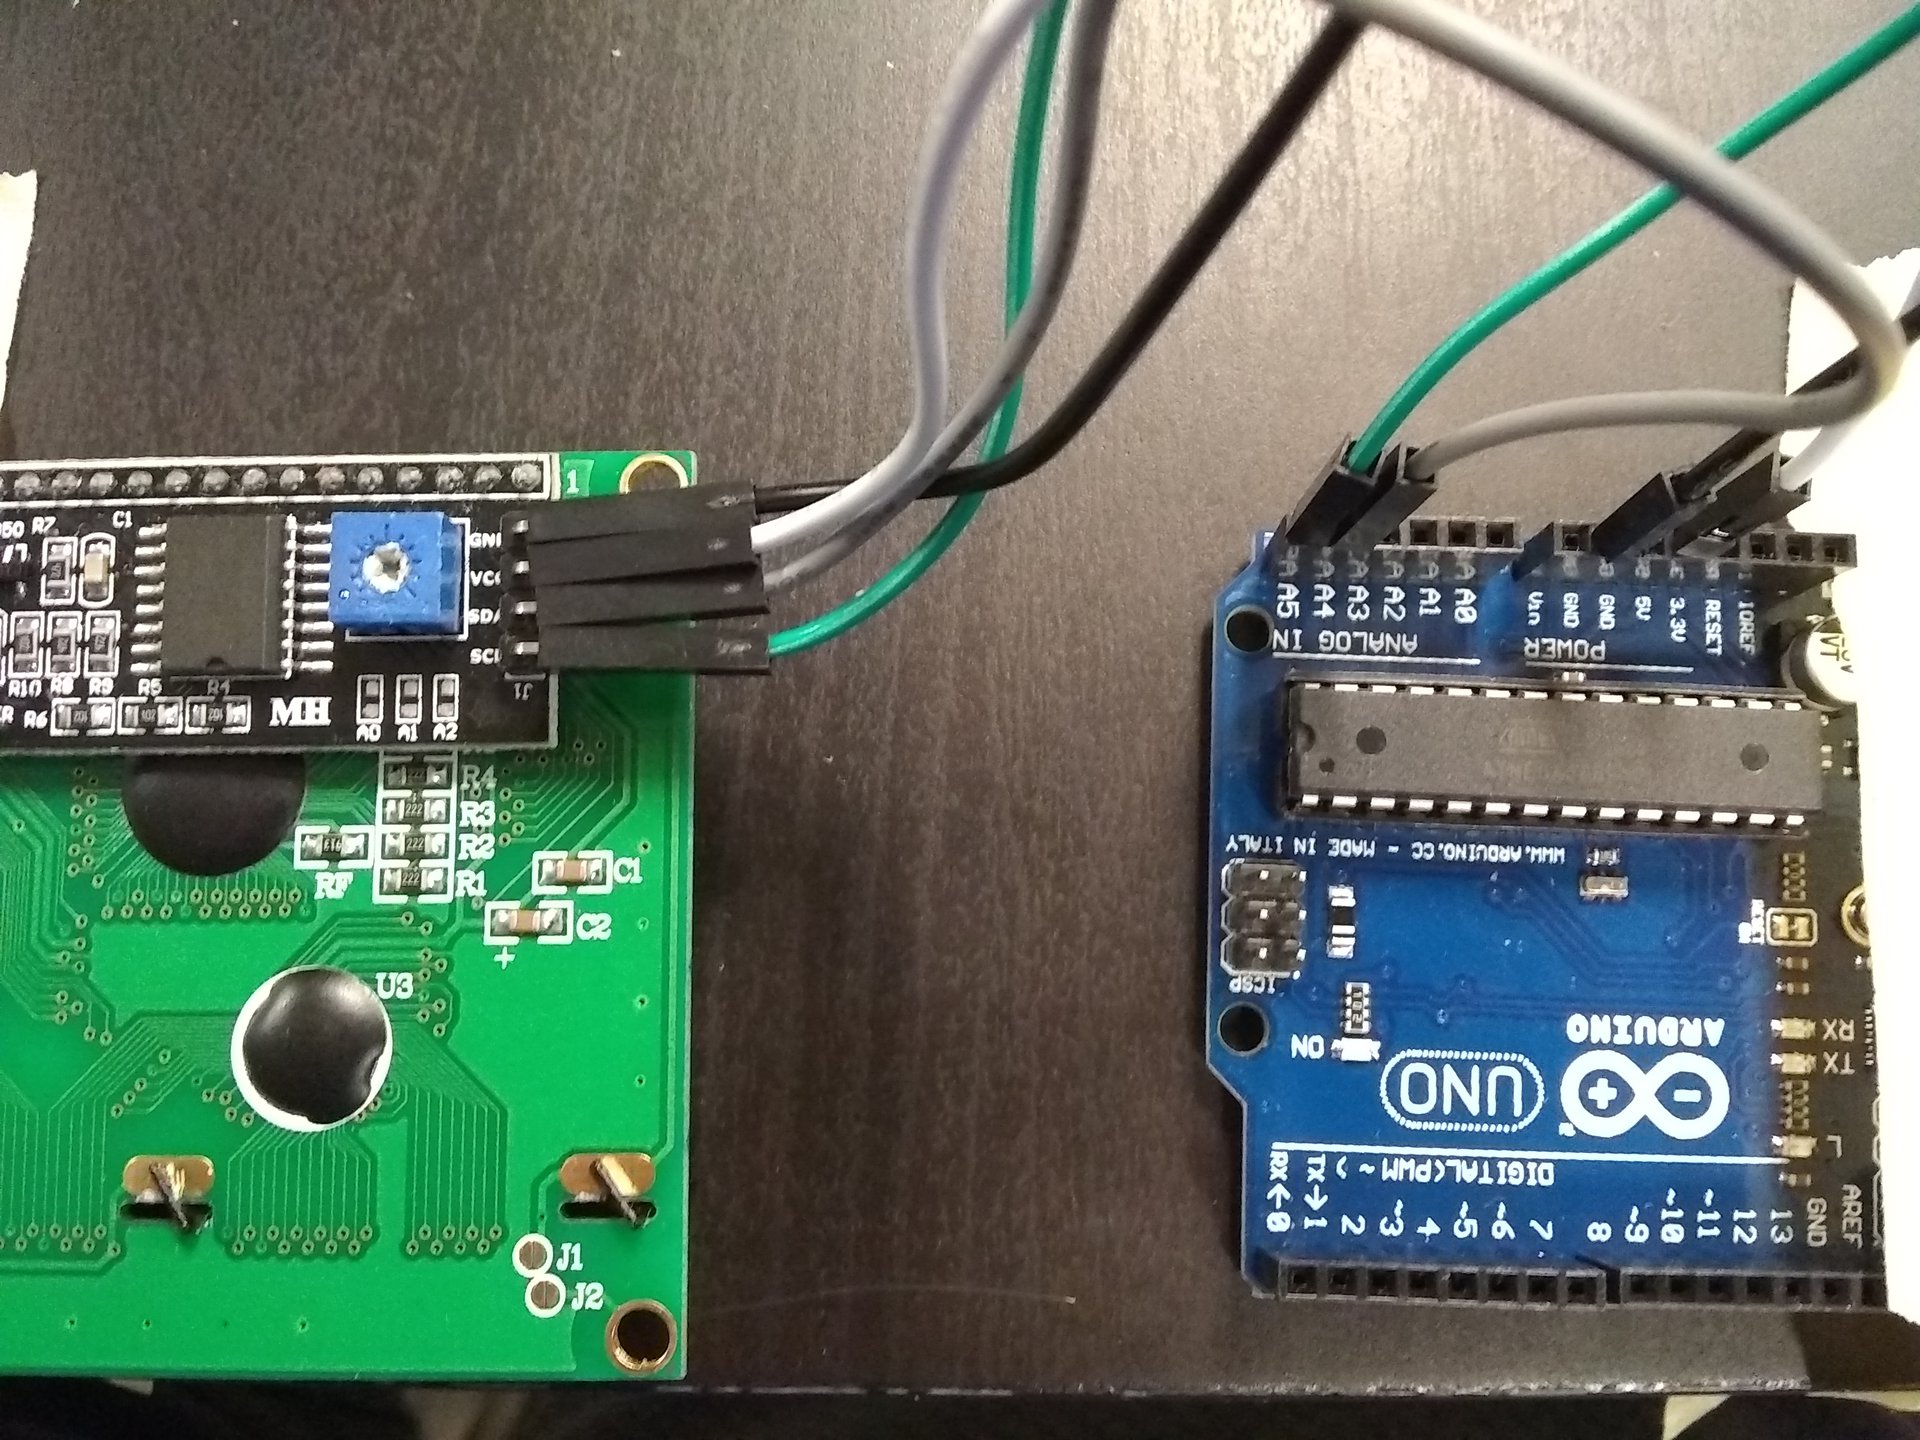
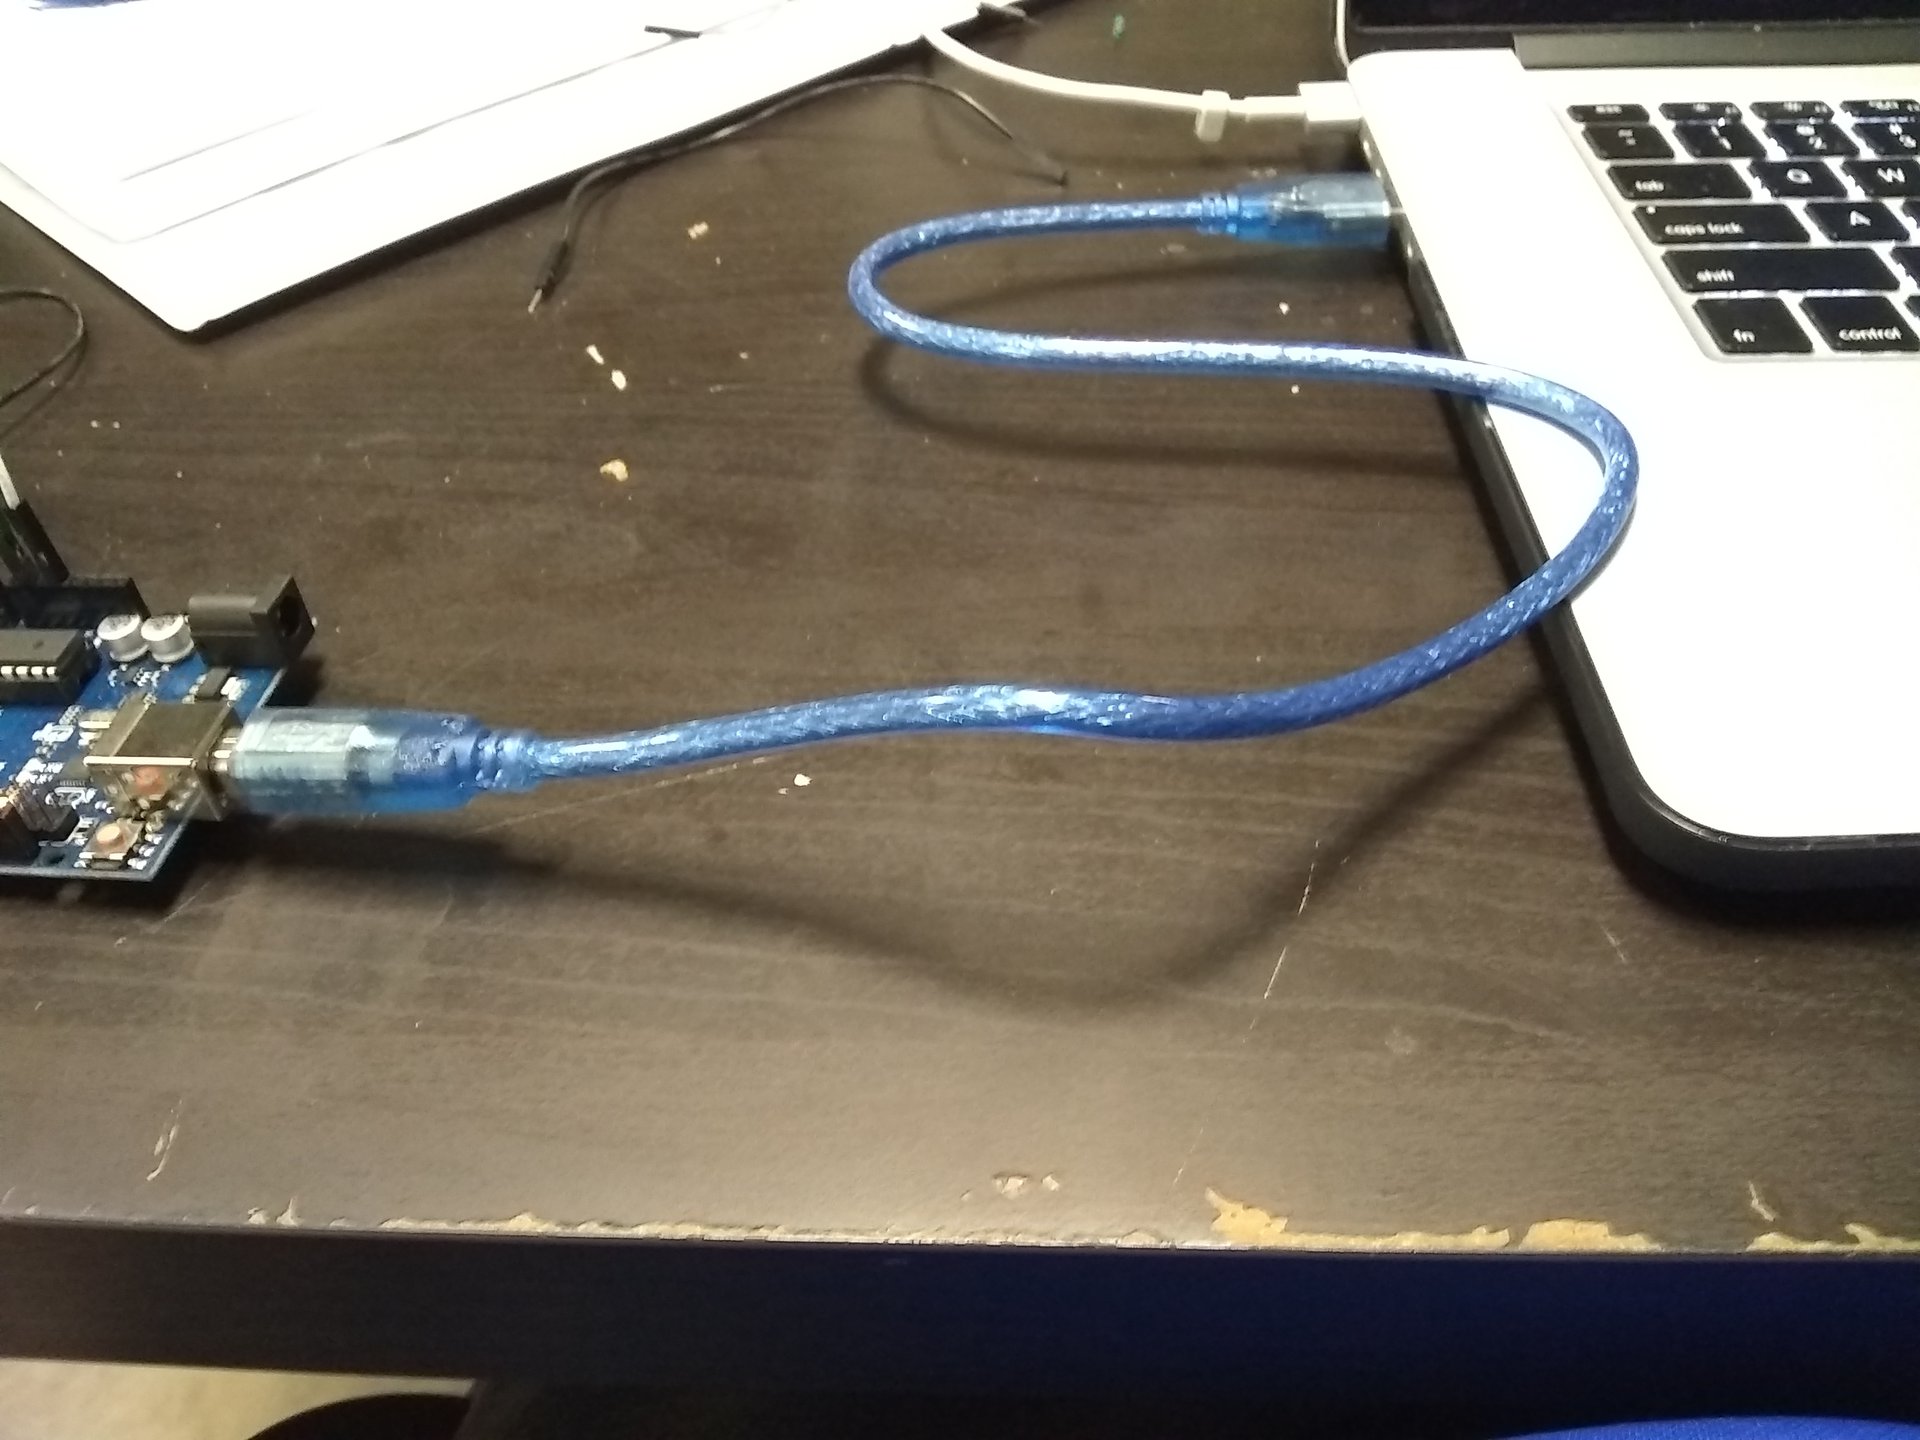
6) Take the arduino and plug it into the computer.
7) Drag the Big Lcd Block onto the screen.
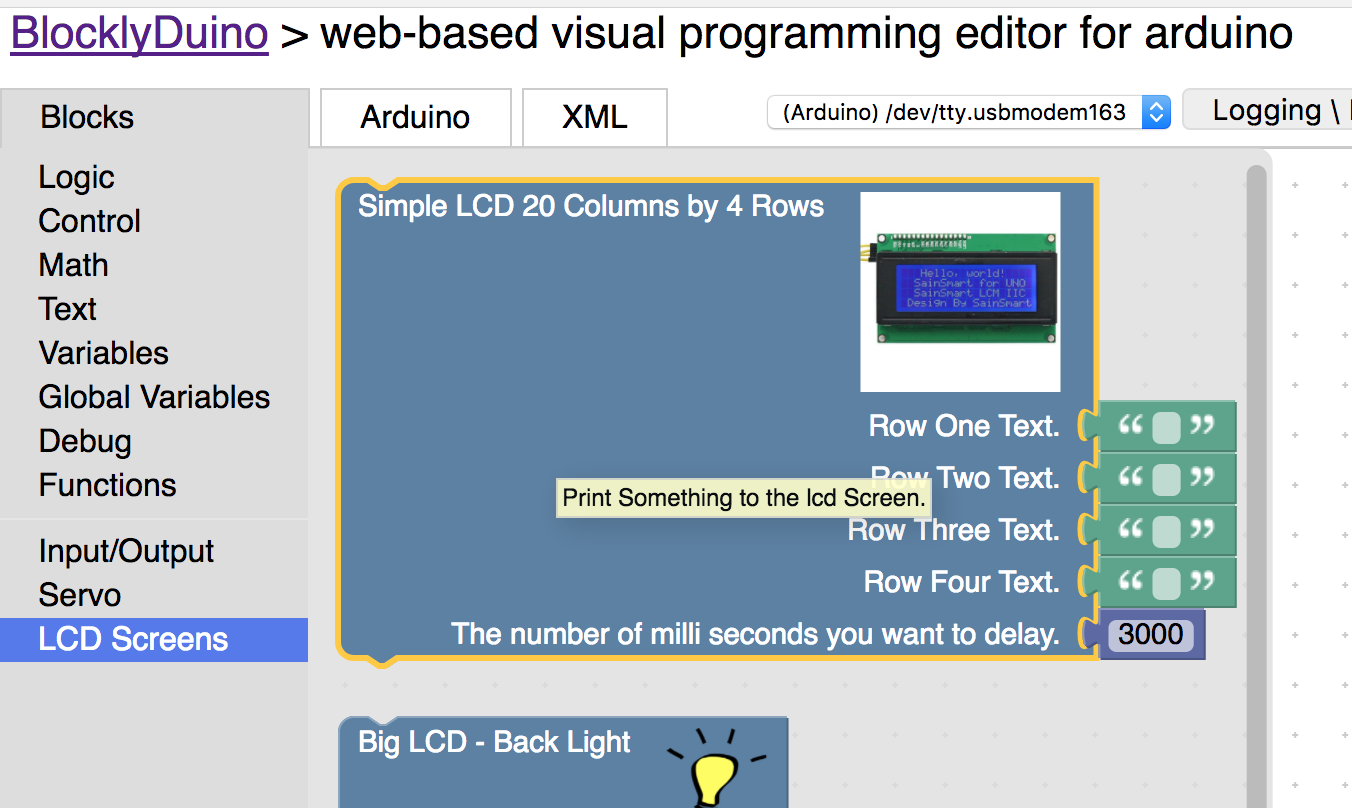
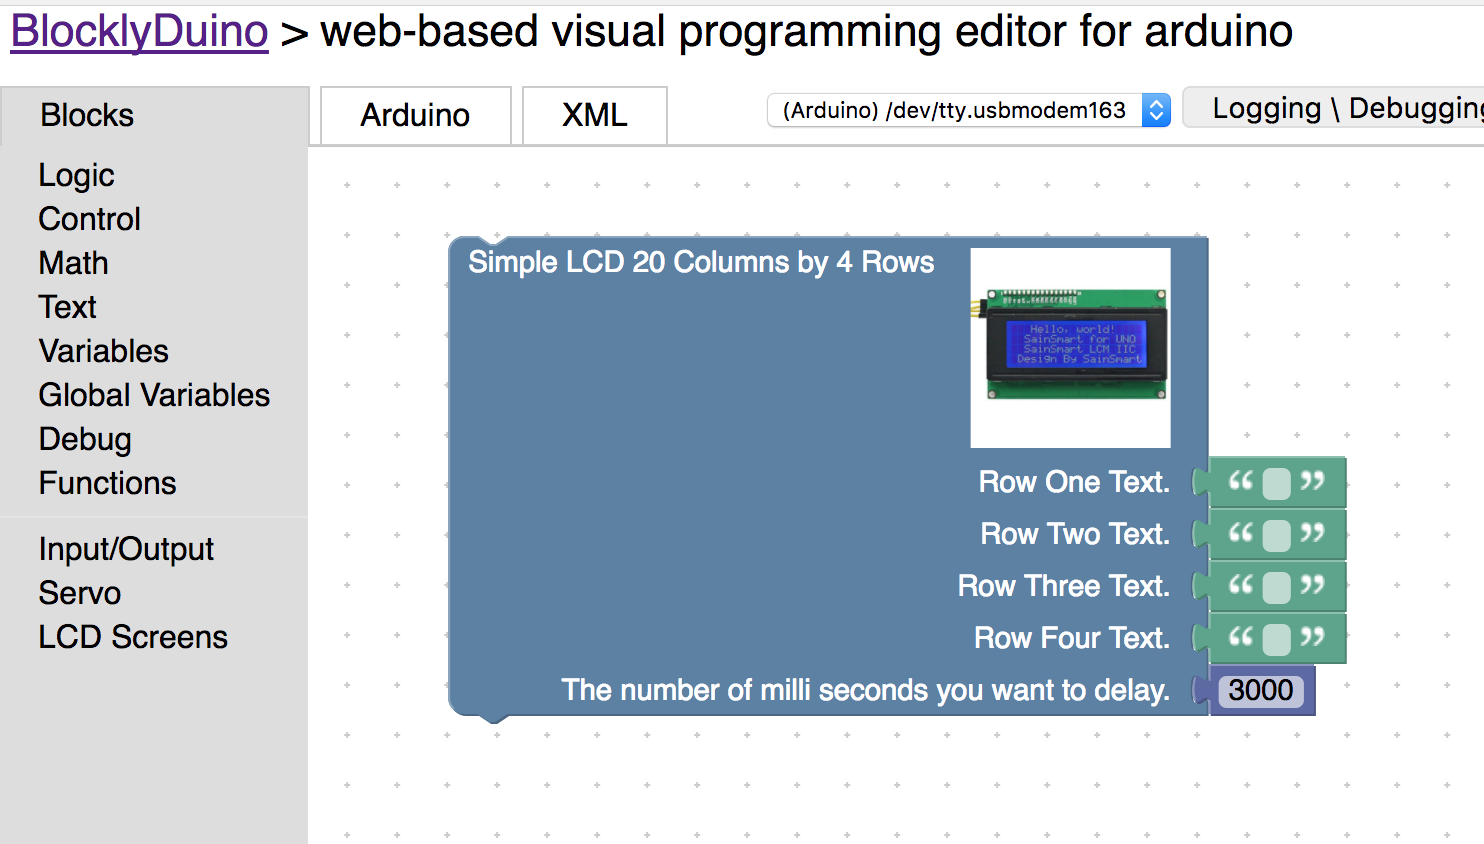
8) Type something into each text block.
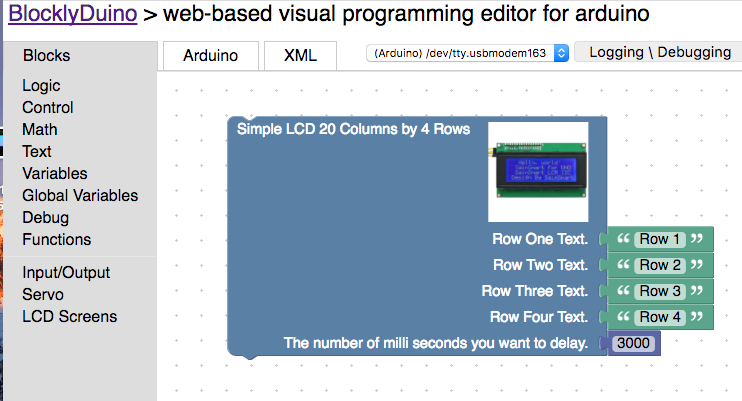
9) Upload the code to the arduino.

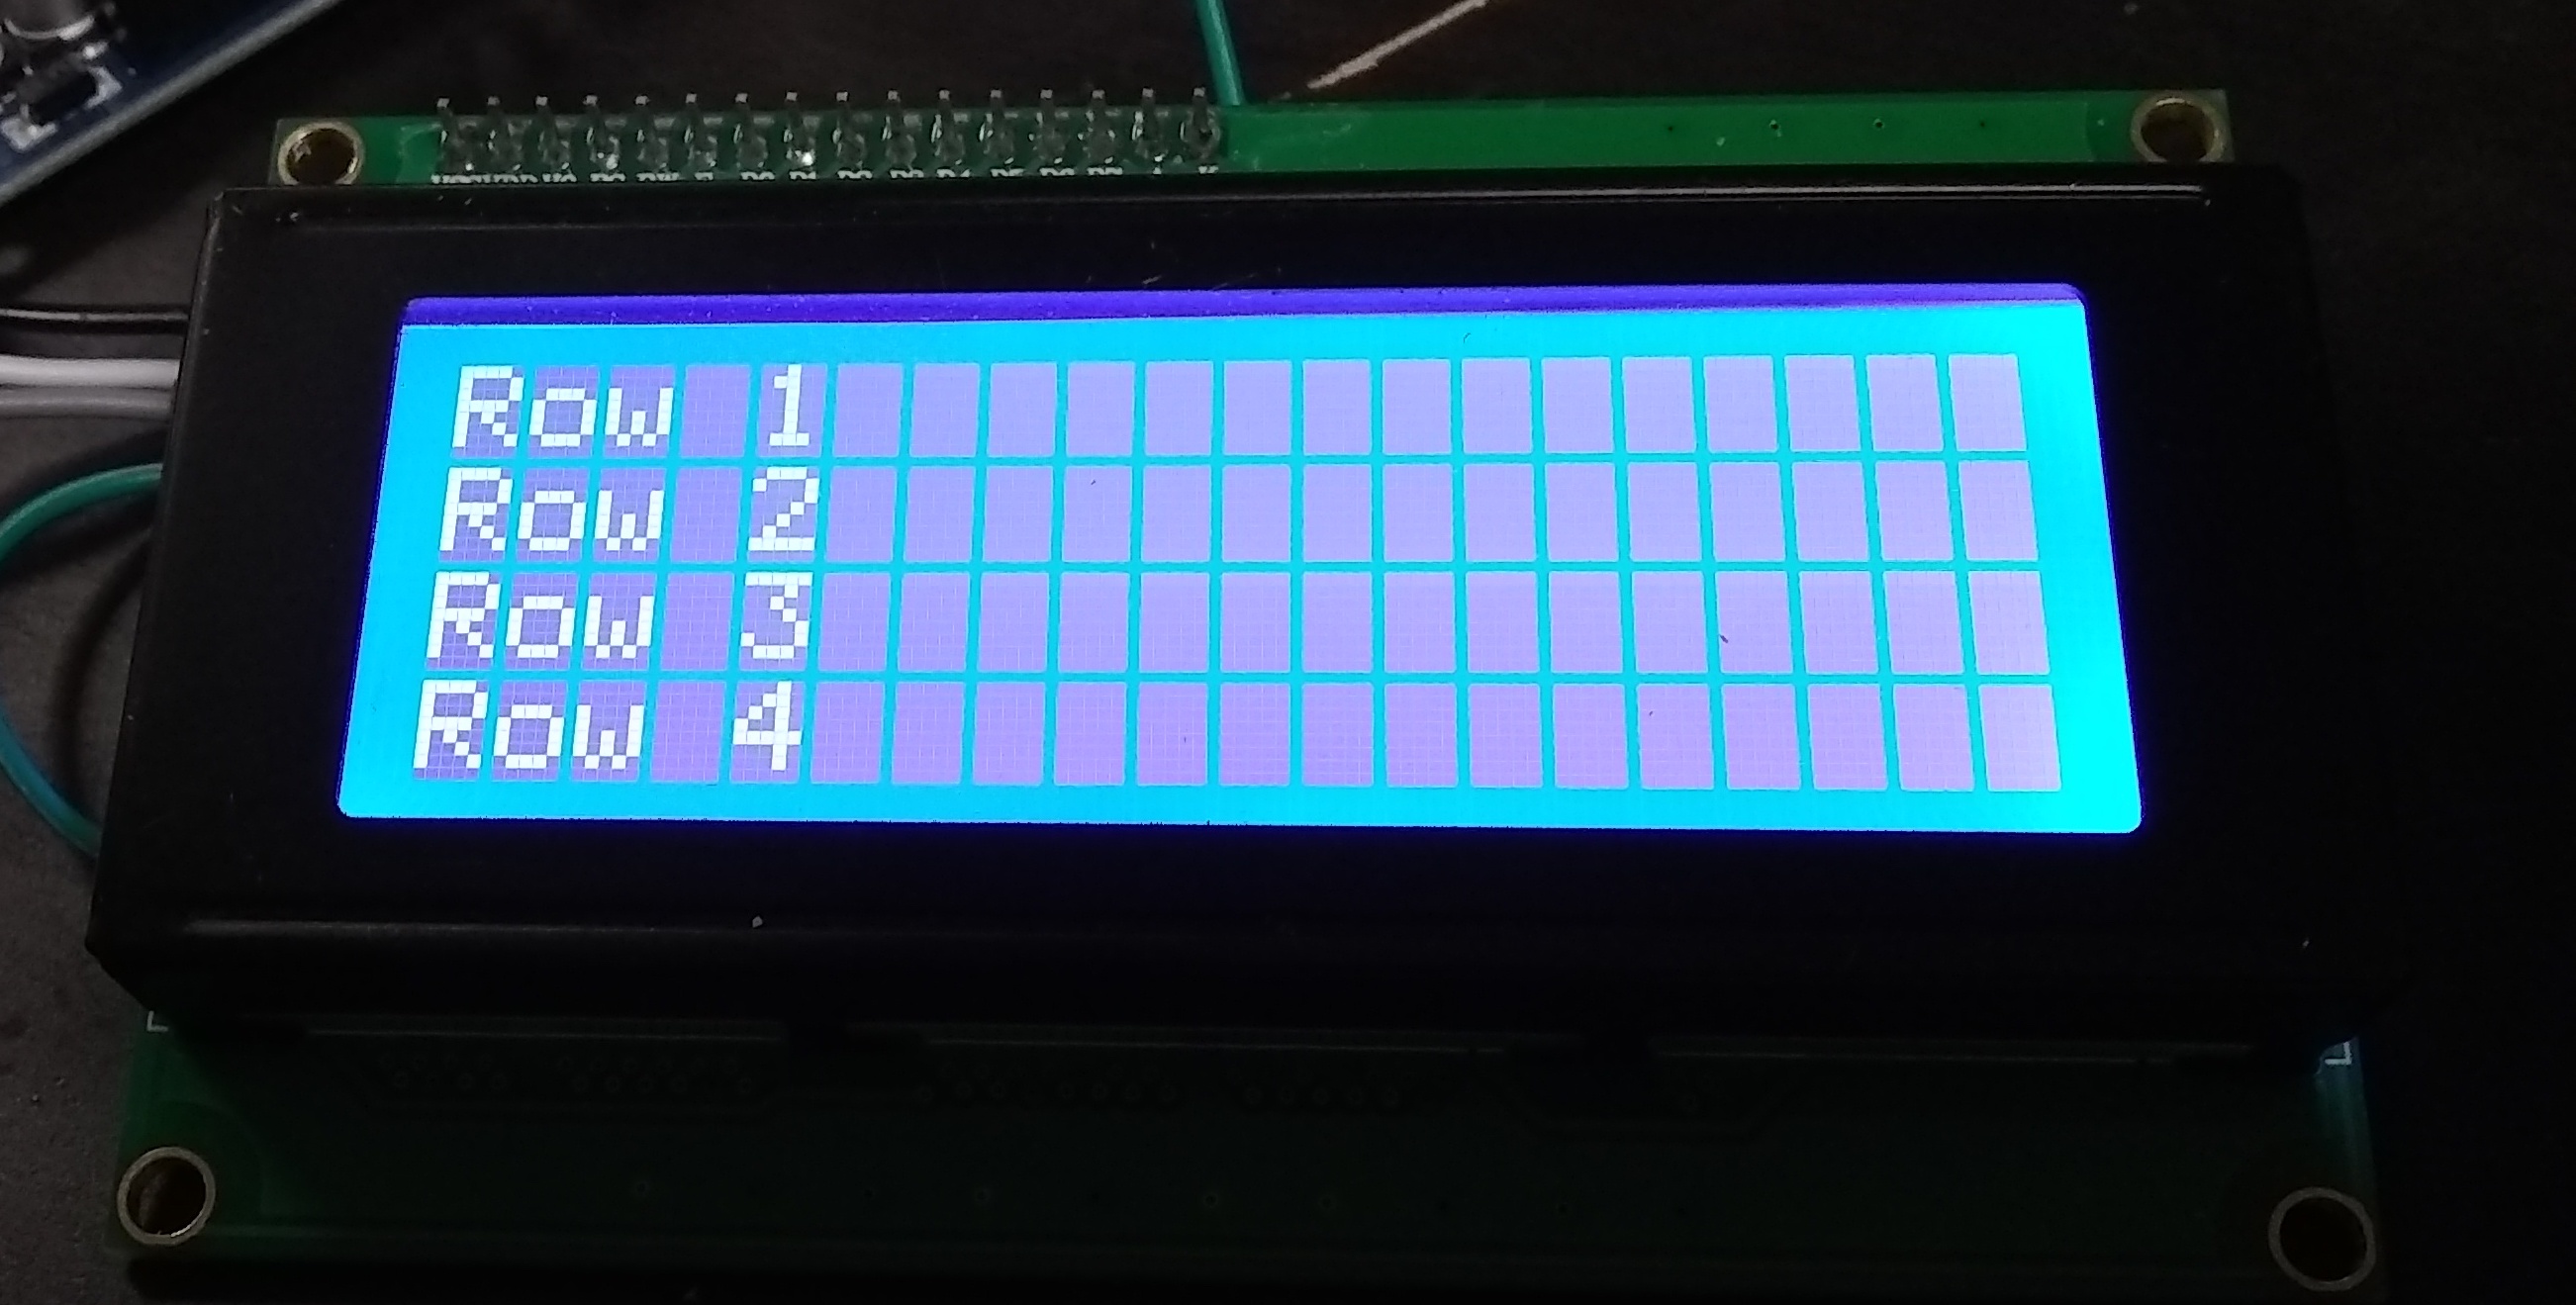
Great! We have just confirmed that our setup works and that we can write to the screen. This simple allows us to print simple stuff to screen, but we are going to learn how to get more control.
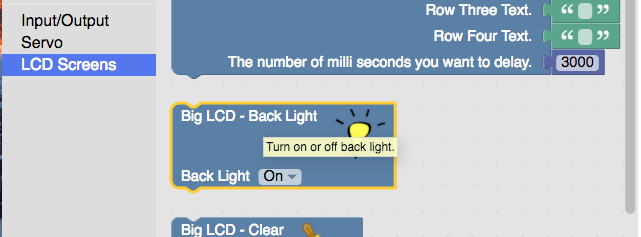
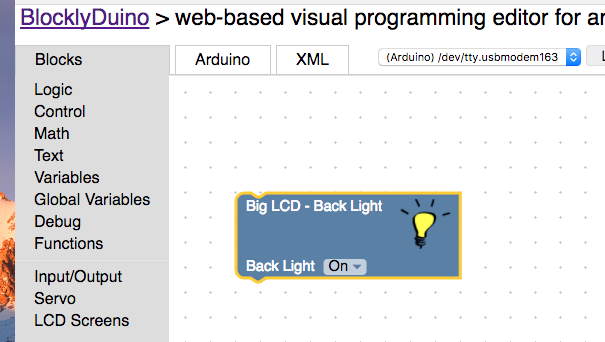
How to control the back light of the lcd screen.
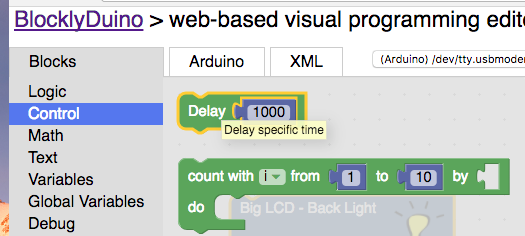
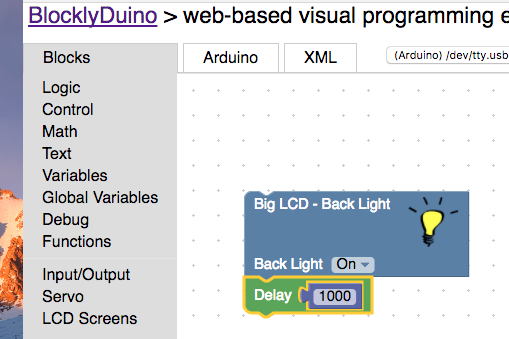
10) Drag the back light block on to the screen.
11) Drag the delay block onto the screen and connect it to the Back Light block.
12) Drag another back light block and connect it to the delay block and set it off.
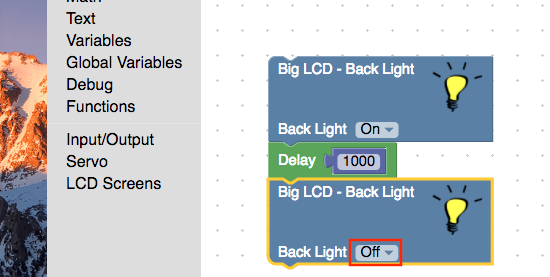
13) Drag another delay block and connect it to the bottom of the blocks.
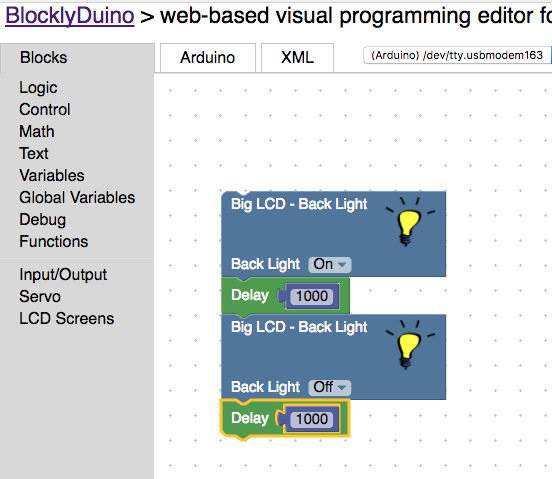
14) Upload the code the arduino. You should see the back light turn on and off every second.


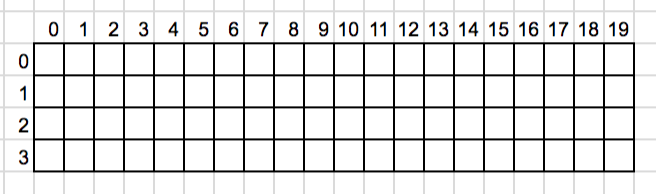
How LCD Grid System Works
LCD screens have an x and y axis. As you go to right the x axis number increase and as you go down the y number axis increases.
To specify a point you put in the x axis then the y axis. For example the red point would be (1, 3).
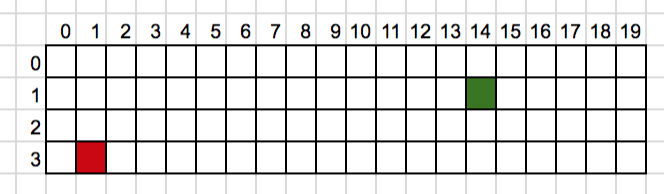
(Challenge) Can you tell me what the green point would be.
How to print something on the screen manually and clear the screen.
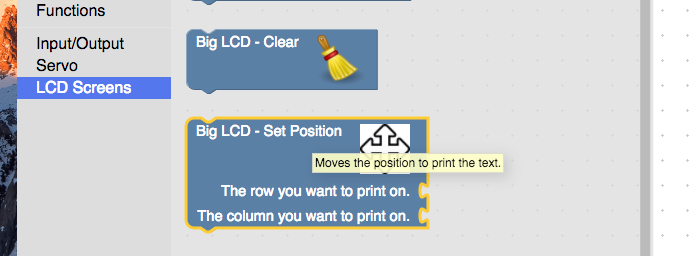
To position where to print you need to set the cursor. The cursor is where the position where the words will start printing on the lcd screen.
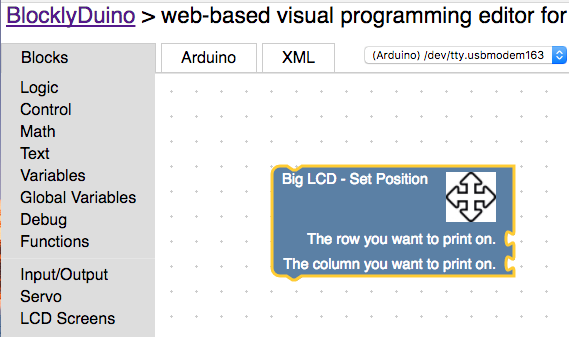
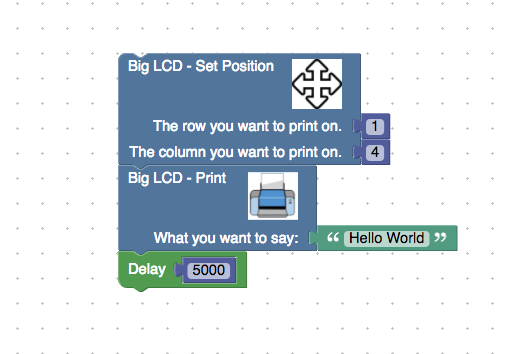
15) Delete all the blocks on the screen and drag the set position block onto the screen.
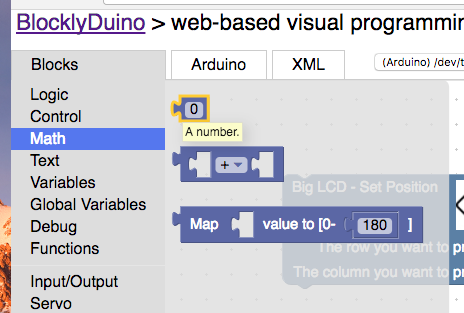
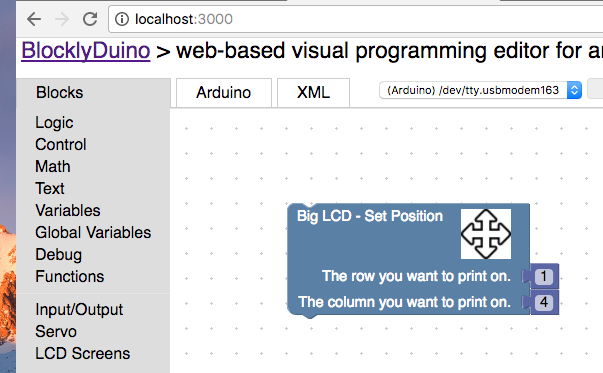
16) Drag the math number block and put it into row and column slots. For the column set the first number block to 1, and set the second column slot number block 4.
17) Drag the print block and connect it to the set position block.
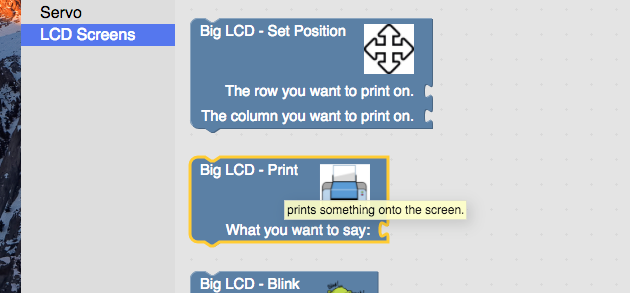
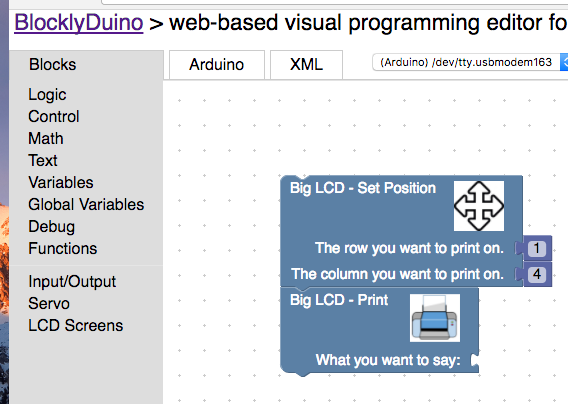
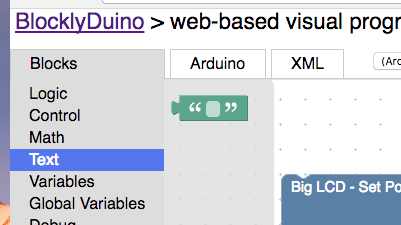
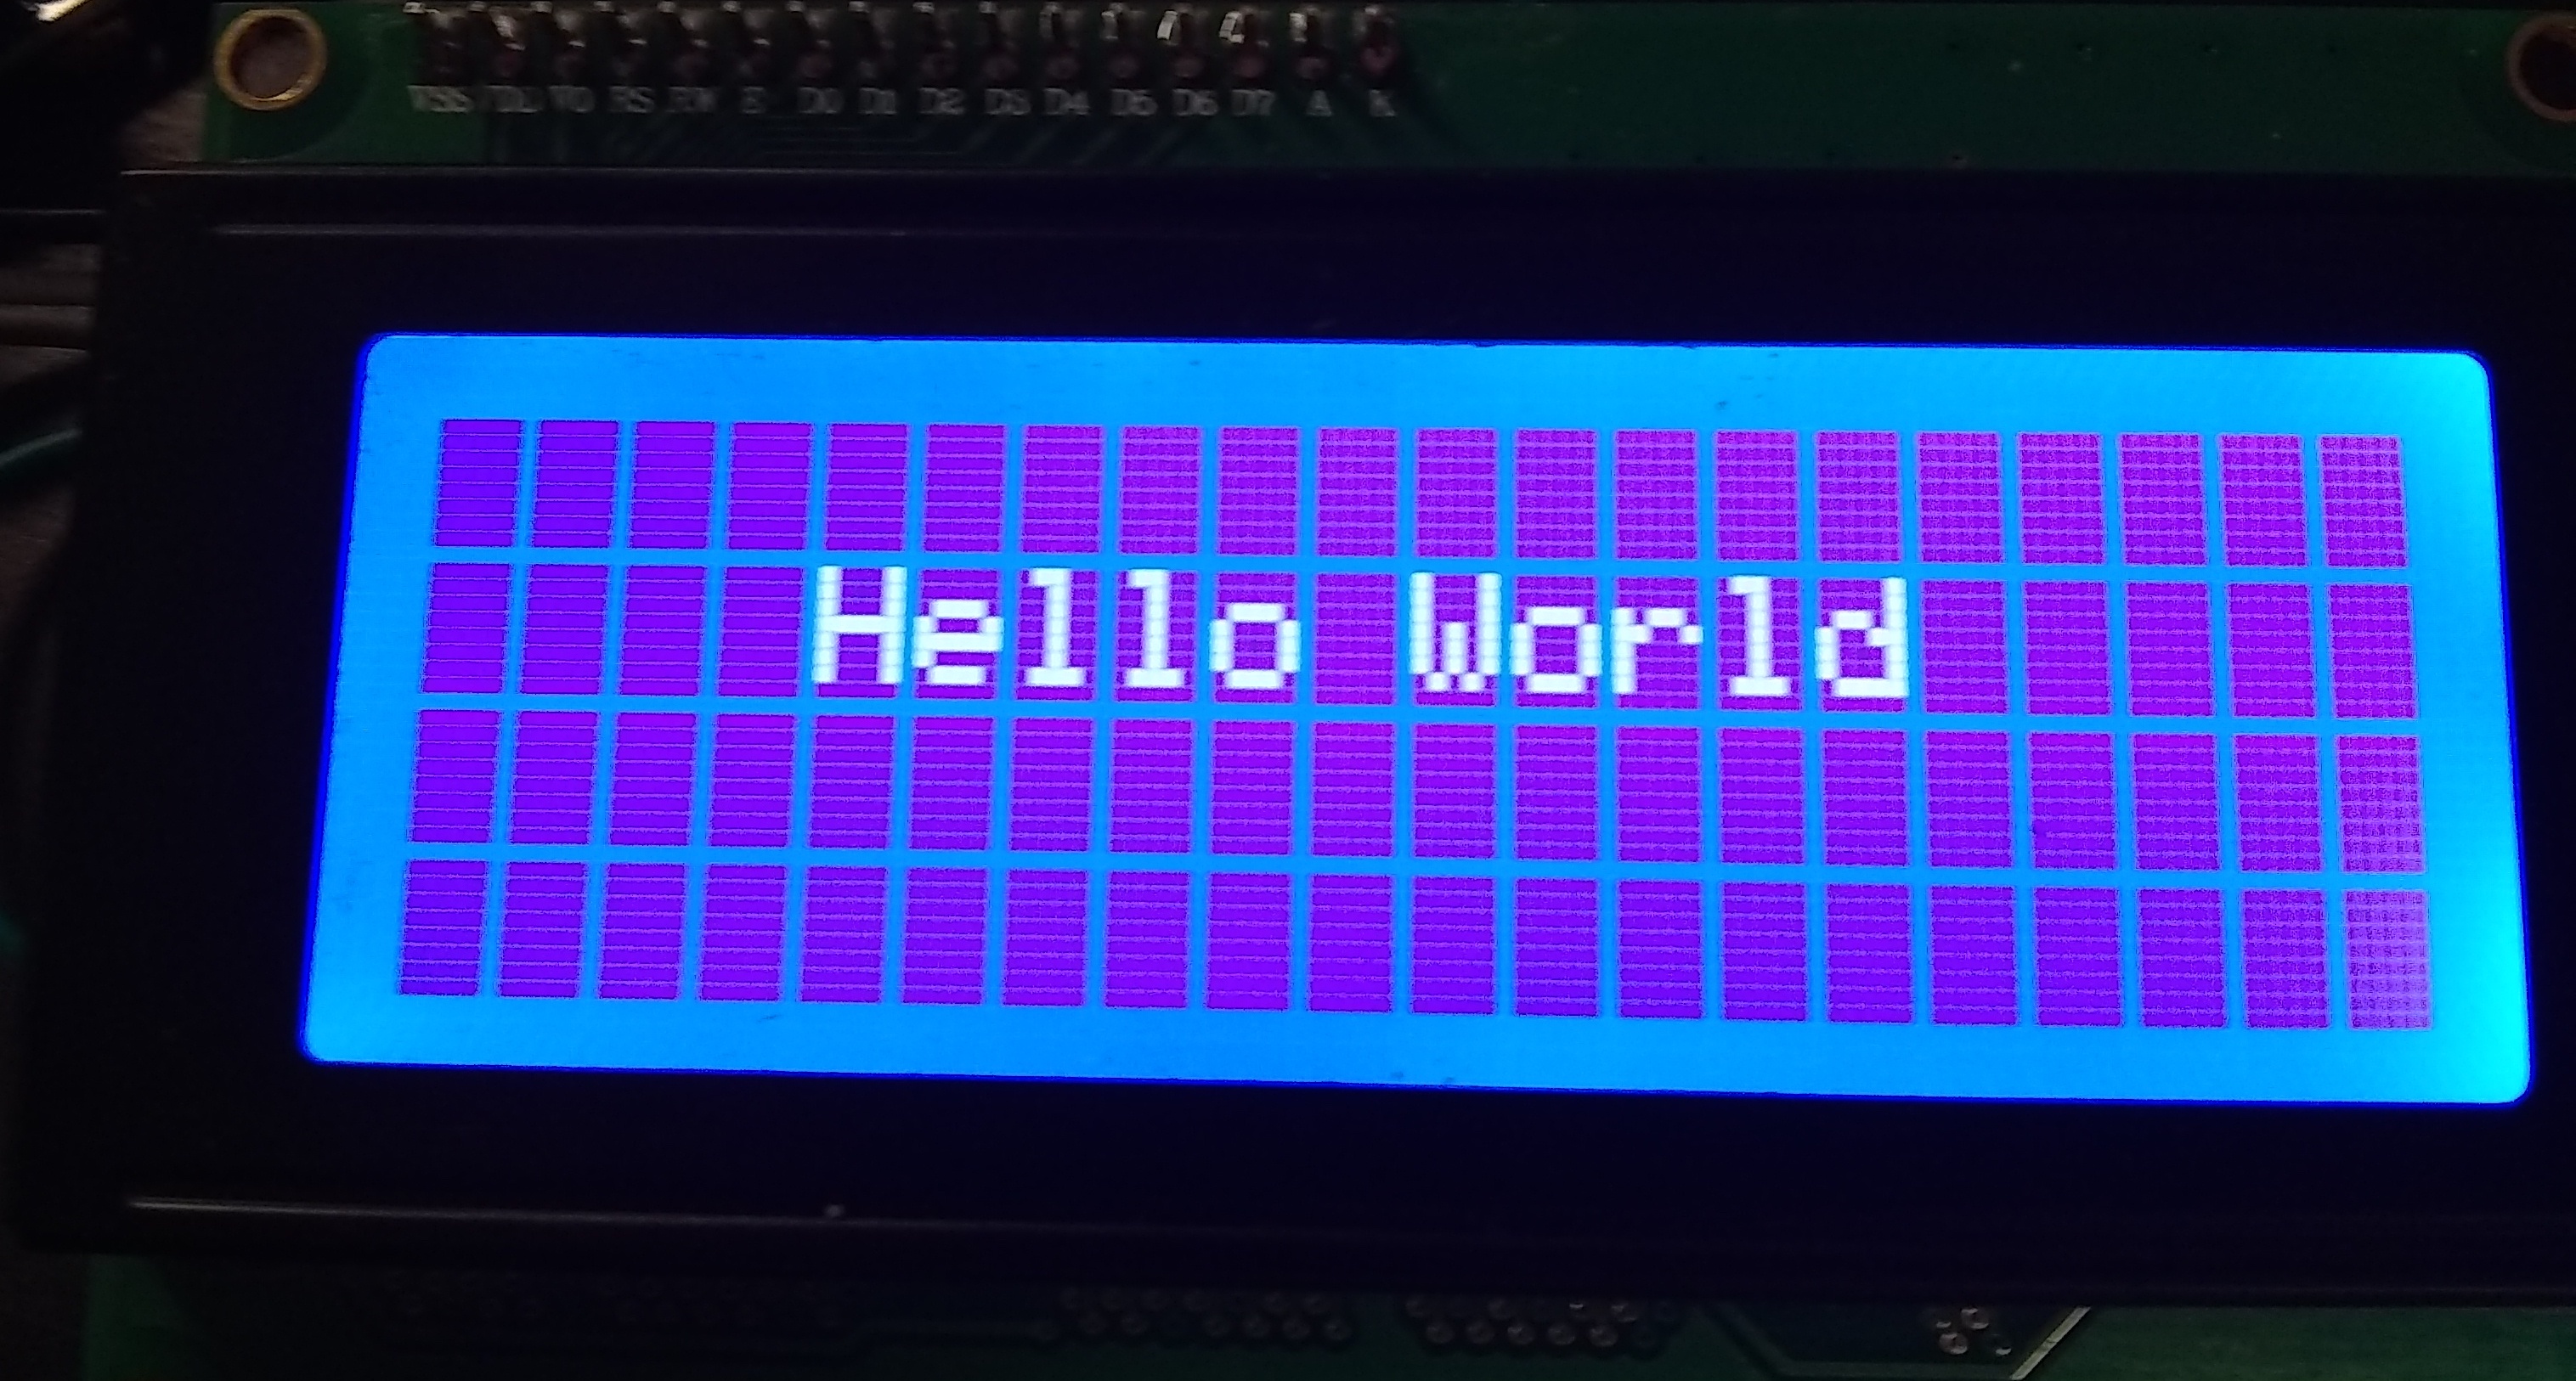
18) Drag the text block onto the screen and hook it into the lcd print block.
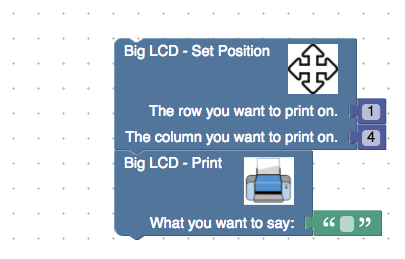
19) Type Hello World into the text block.
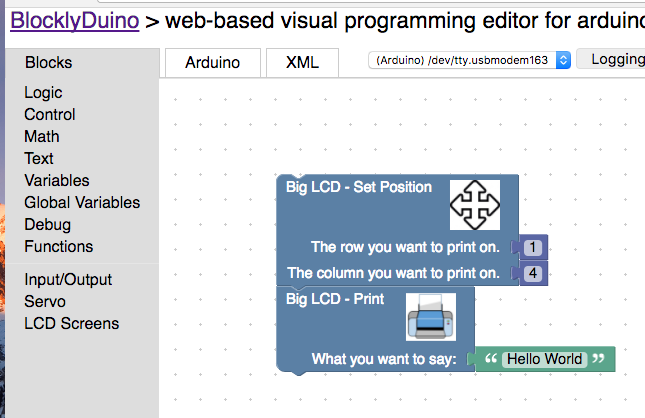
20) Upload the code to the arduino.

21) Now drag the delay block and put that onto the screen. Change the number in the delay block to 5000. That will make the program pause for 5 seconds.
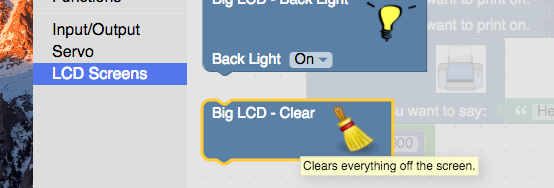
22) Drag the clear block on screen. This block will make the screen blank.

23) Drag the delay block and connect it to the clear block. Then put 5000 into the delay block.
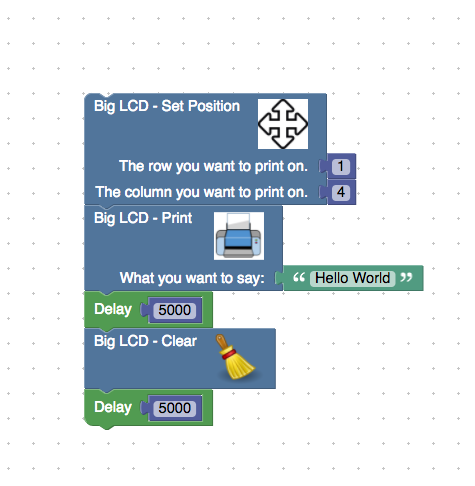
24) Upload the arduino code. Notice that after 5 second hello world goes away. Then it appears 5 seconds later.


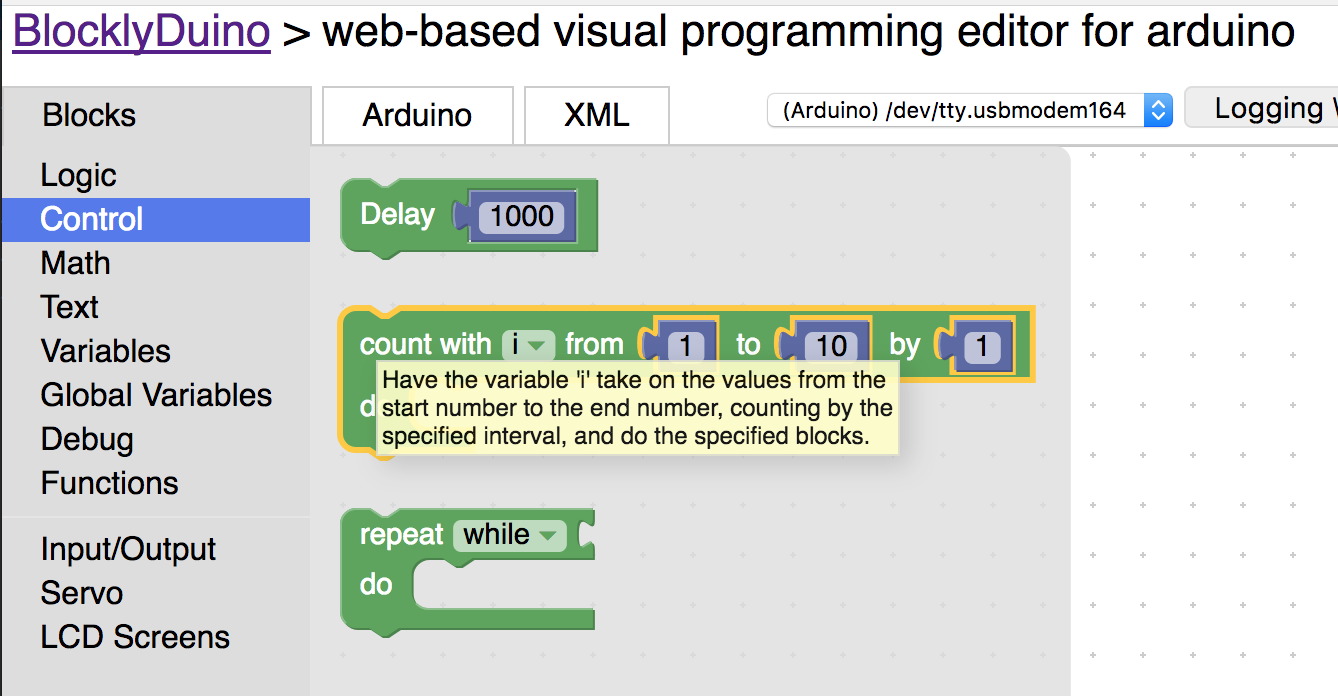
Count Loop Block / For Loop Block
So we going to learn about count loops also known as for loops. A count loops has three parts:
- Start Number: The starting number of the loop
- End Number: The ending number of the loop
- Step Number: The number to increase the starting number every time the blocks inside the loop is executed.
Let’s see how this works with a simple demo:
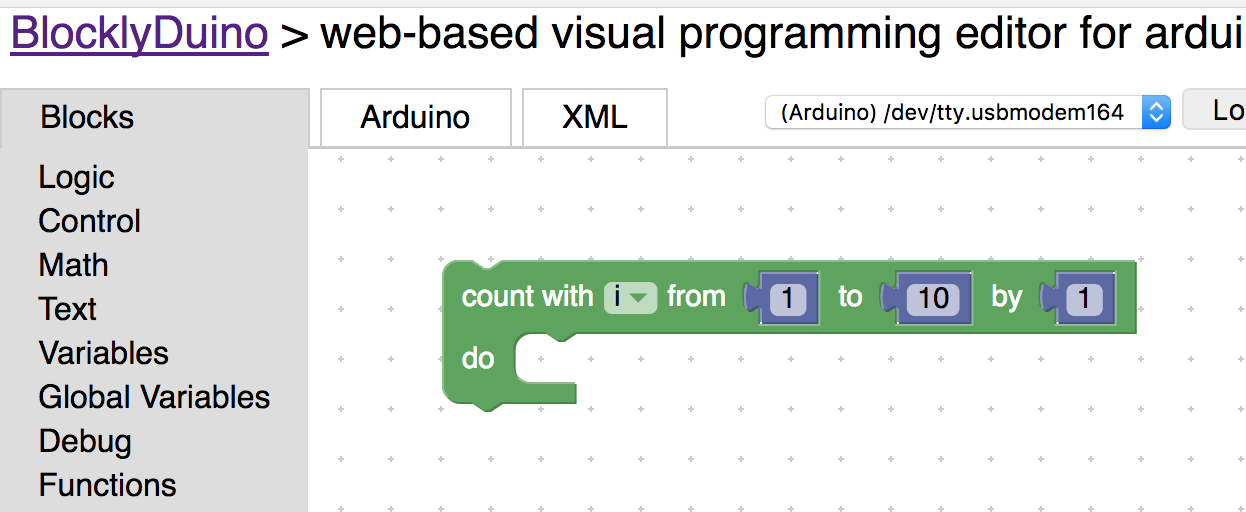
25) Drag the count loop block onto the screen.
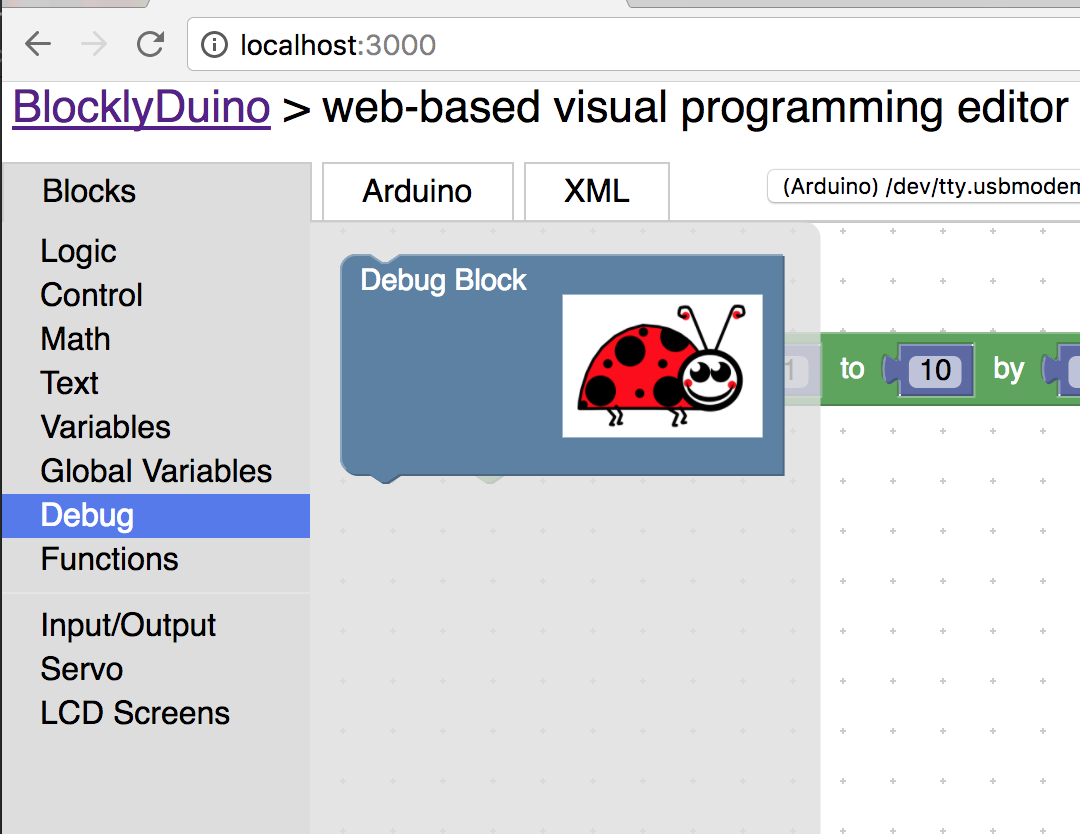
26) Drag the debug block inside the count loop block. The Debug Block will pause the program and print the variables to logout.
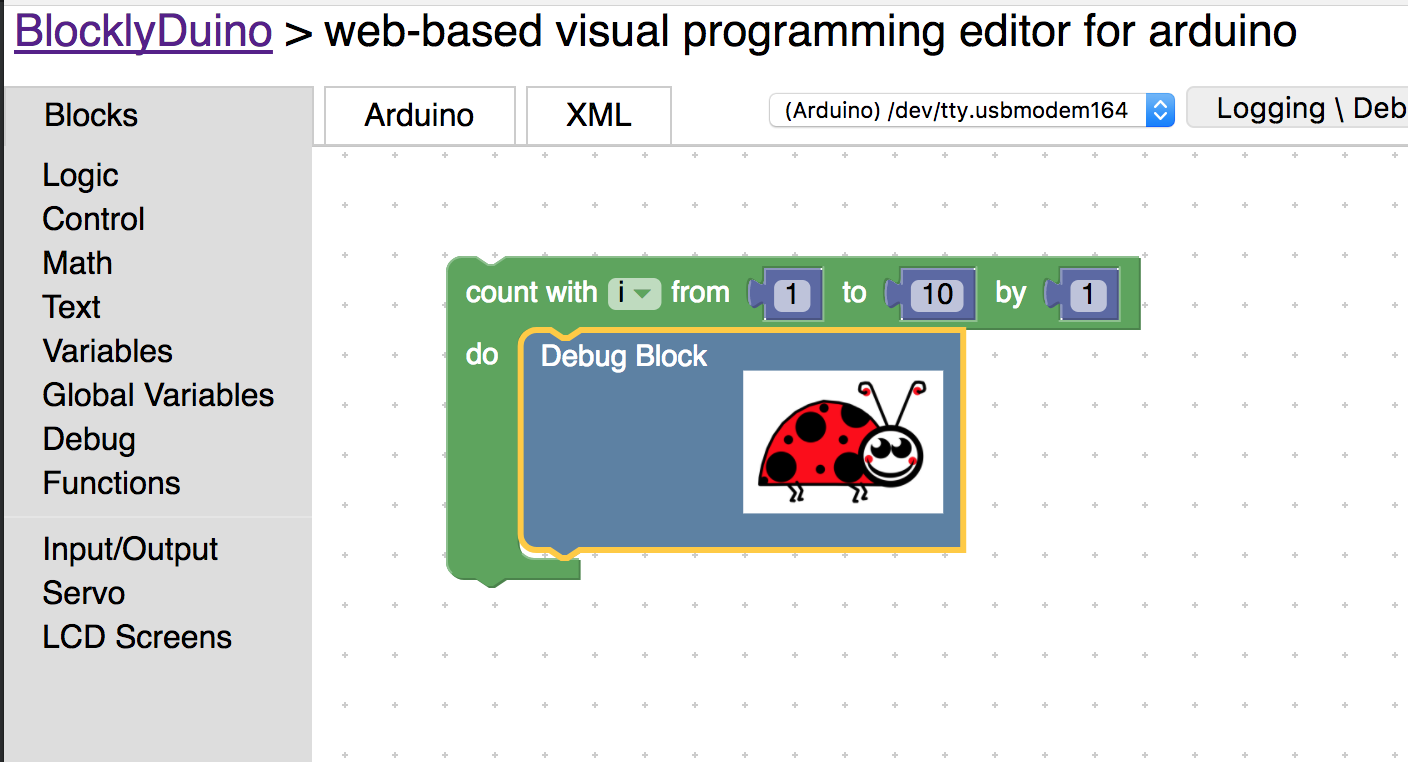
27) Now click the reset button and upload a blank sketch to the arduino. This is clear out any old code in the arduino.

28) Once it has successfully loaded, upload the code to the arduino.

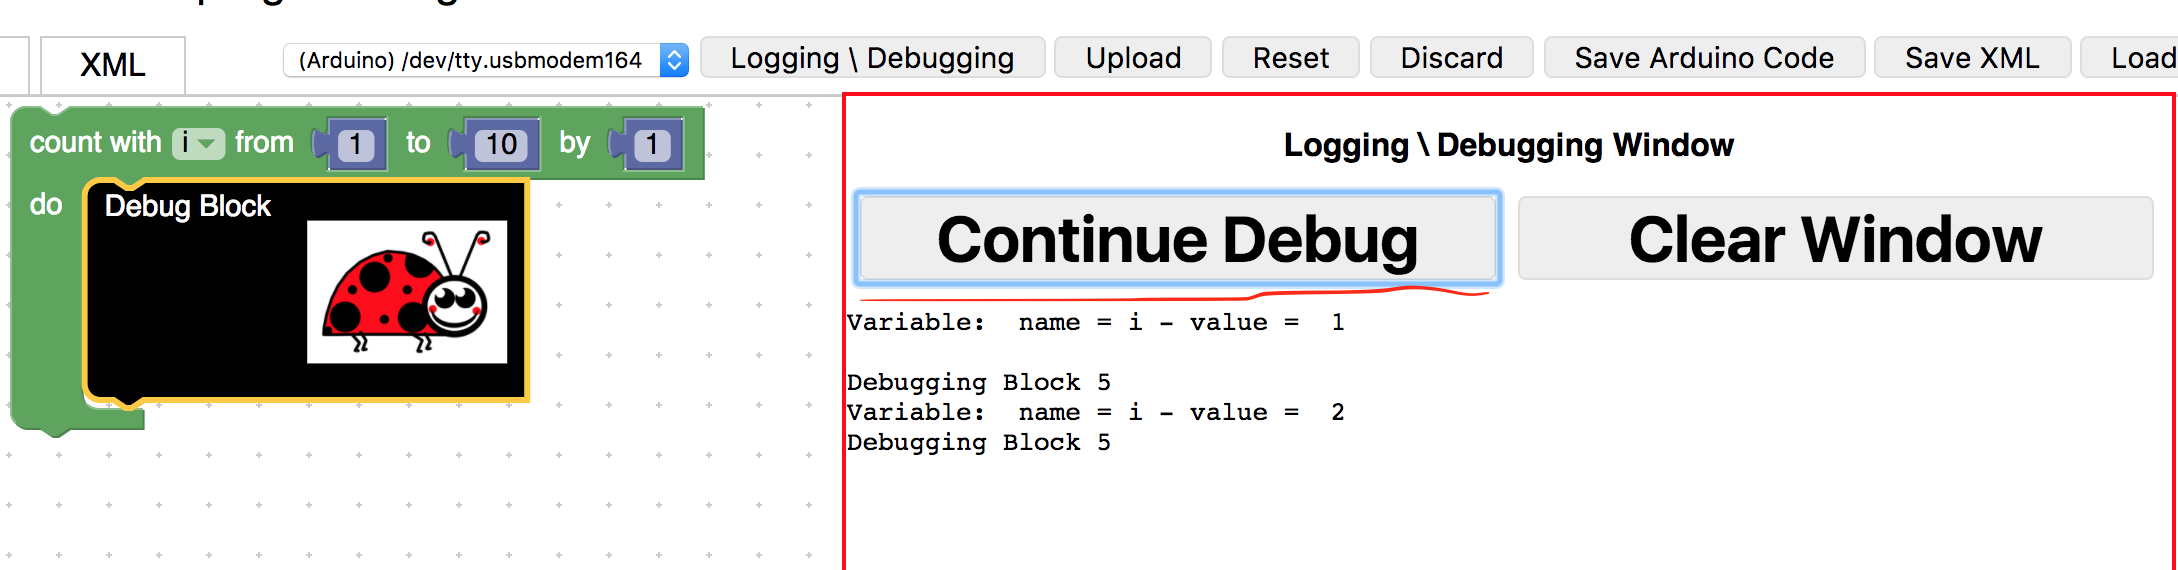
29) Open the Logging \ Debugging window and notice the debug block is black and high lighted.

30) You can now see that the program has stopped and has printed value and name of the variable. In our case the name of the variable is i and the value is 1.
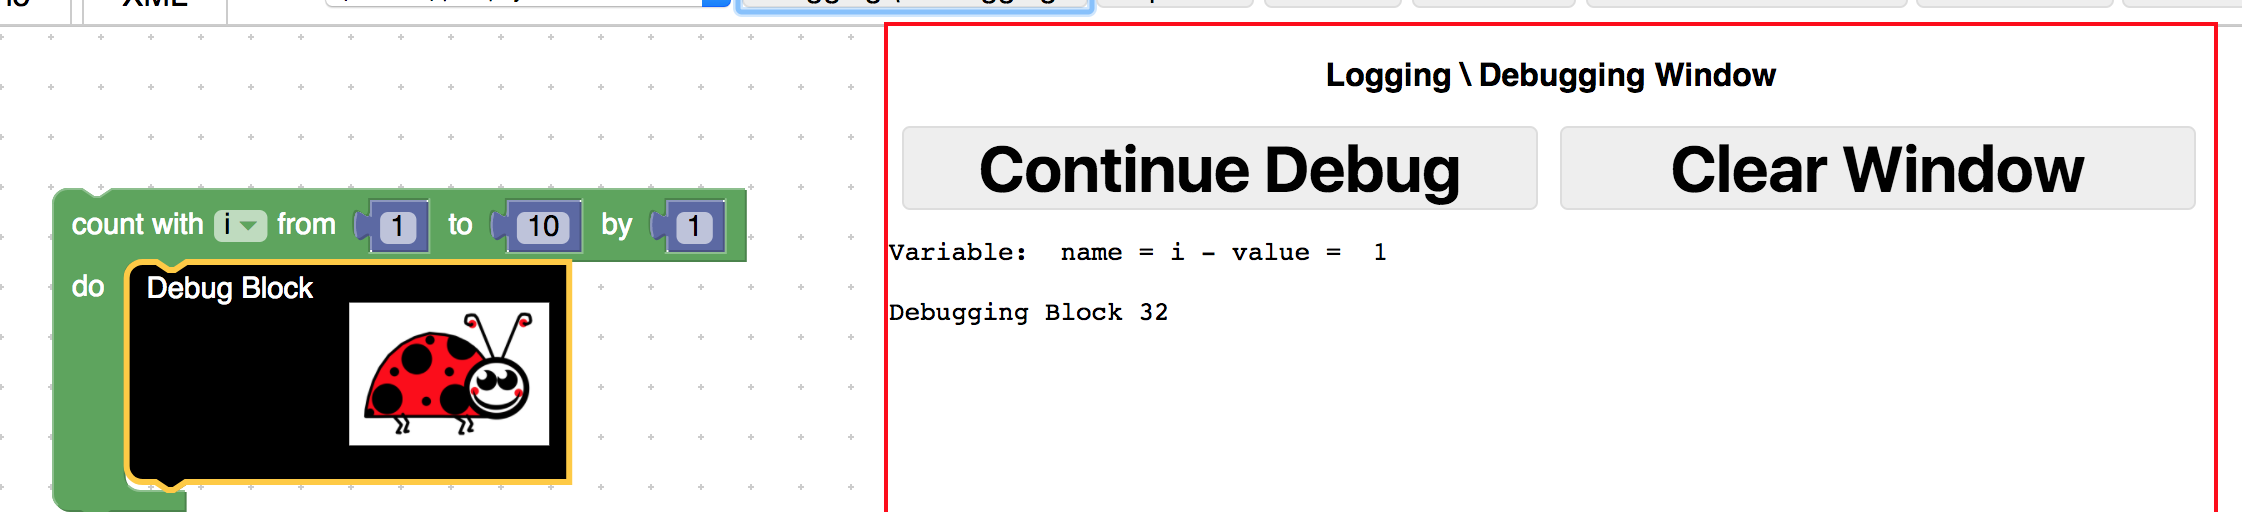
31) Click the continue block and notice the value for i changed to 2. Continue to click the continue block until i equals 10.
(Challenge) Create a loop using the debug blocks that will start at 10 and go to 50.
(Challenge) Create a loop using the debug blocks that will start at 2 and go 20 but will only print out even numbers.
Making something scroll left to right
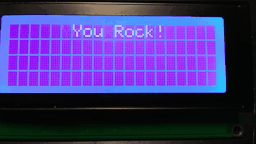
We want to scroll you rock on the screen. So we are going to at position print at position (0,0) and stop at position (11, 0).
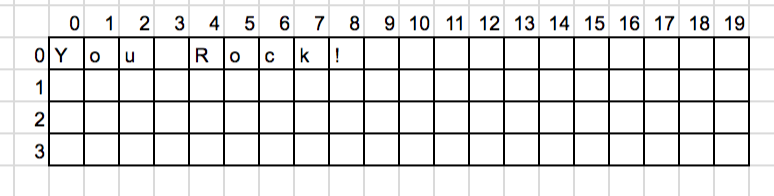
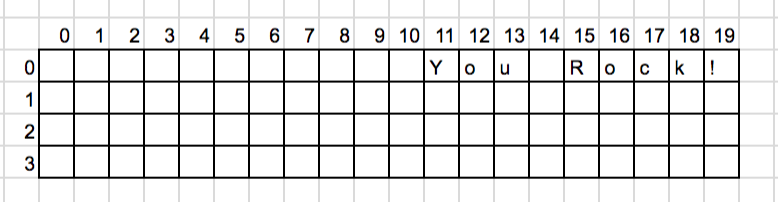
(Challenge) See if you can print “You Rock!” starting at position (0,0). See if you can do that as the without looking.
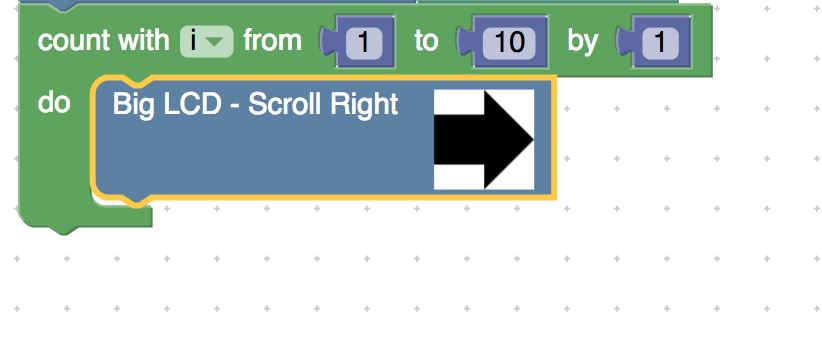
32) Drag the count block and connect it to the challenge block.

33) Drag the right scroll block inside the loop.

34) Drag the delay block inside the for loop.
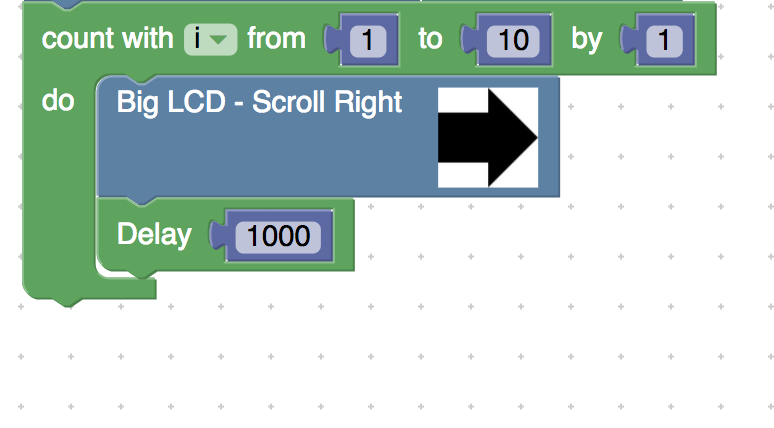
35) Upload the code the arduino and watch the words scroll on the screen.

(Challenge) Try to copy and paste the count block and make it scroll back to the left.
Challenge Projects
- Play with with the blink block and make it blink move around the screen
- Connect the passive motion sensor and print the number of times passive motion sensor sensed something
- Have fun and do your own thing.